General Filters, Inc. 43800 Grand River Ave., Novi, Michigan 48375 •
Toll Free (866) 476-5101
Phone: (248) 476-5100 • Fax (248) 349-2366 • www.generalaire.com
Model G-99 Air Filter Gage
Installation Manual
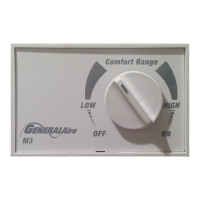
Install a clean filter and run blower on highest speed.
With a small screwdriver adjust the calibration screw, on
the face of the gage, to put the pointer in the clear area
in the center of the blue "FILTER IS CLEAN" range.
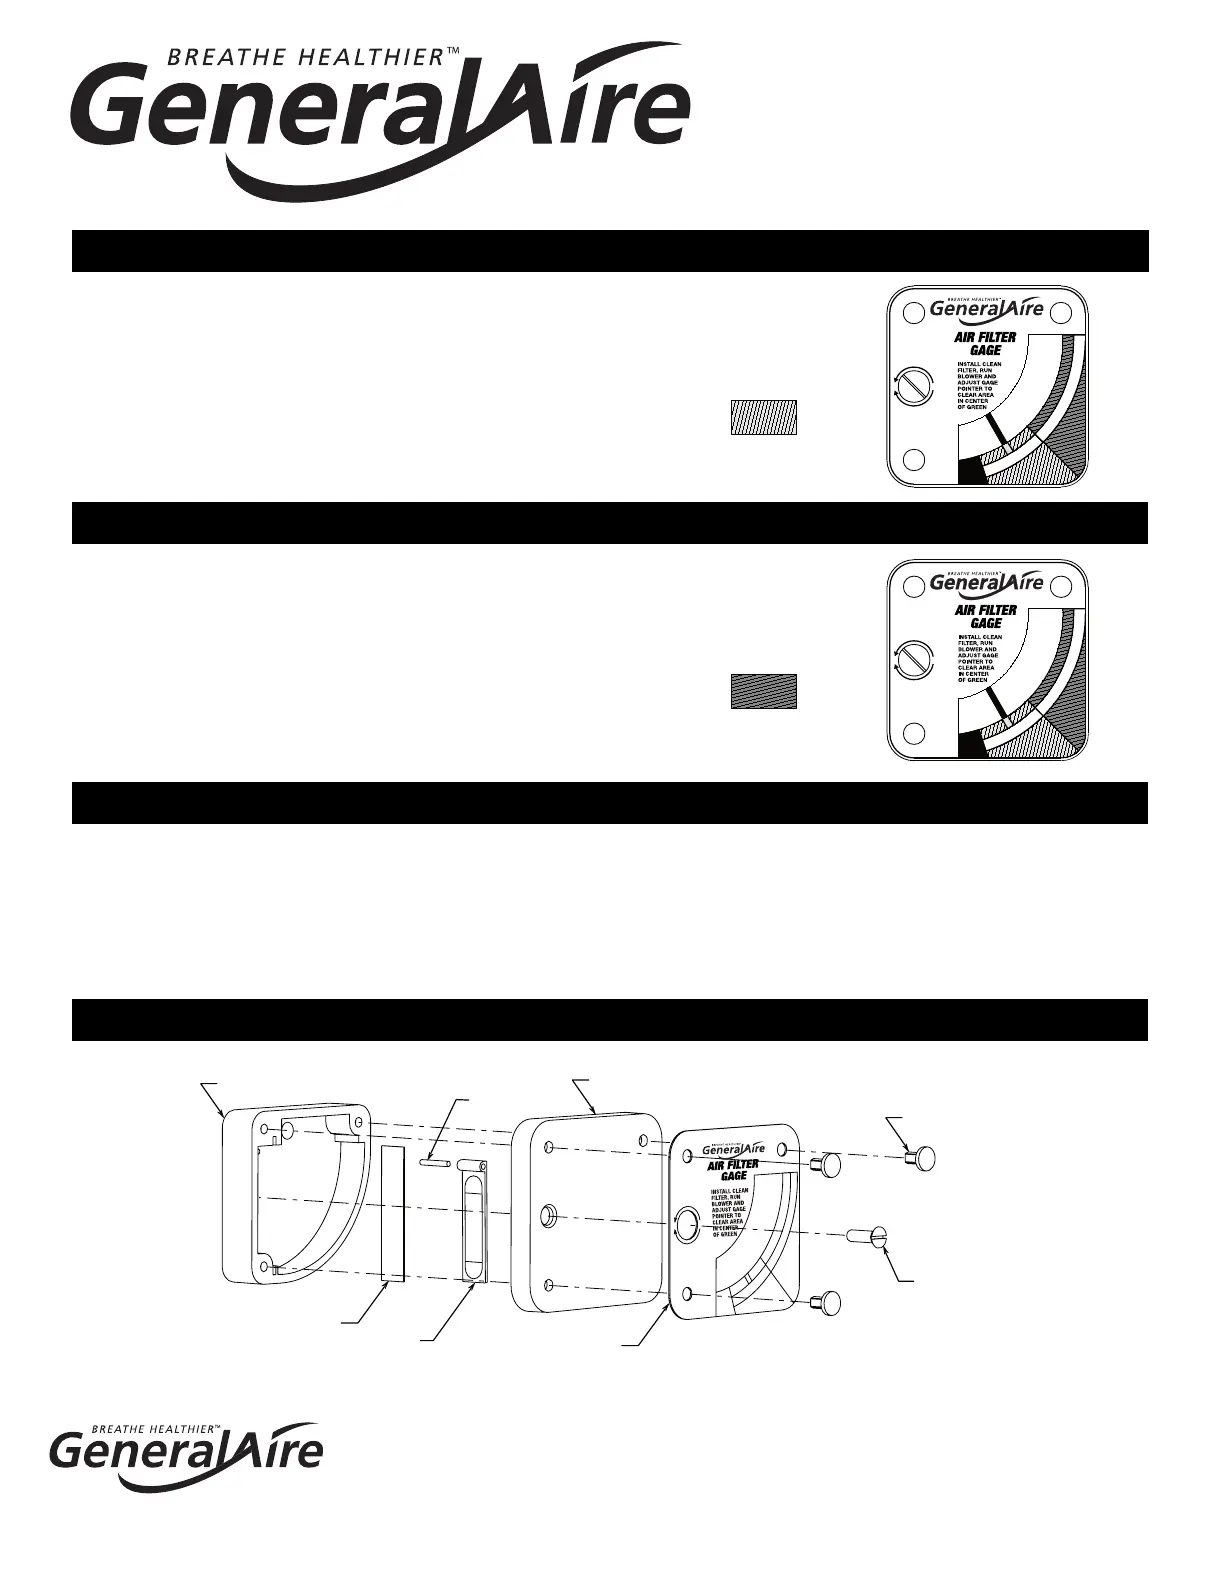
As the air filter begins to clog the pointer will move up
in the gage. When the pointer moves into the black
"CHANGE FILTER" range a clean filter should be
installed.
WHEN ORDERING PARTS, REFER TO THE ABOVE LIST OF PARTS NAMES AND PARTS NUMBERS
The gage may be disassembled for service although this should rarely be required since it
contains a small filter screen to stop dust from entering the area of the vane. Remove gage
and, from the back, push white plastic clips out with a blunt tool. Remove calibration screw,
lift o clear cover and dust all parts with a clean brush. Reassemble and test that the vane
moves freely in the gage. A fresh adhesive strip may be required to reinstall.
F
I
L
T
E
R
I
S
C
L
E
A
N
C
H
A
N
G
E
F
I
L
T
E
R
UP
DOWN
U.S.
PAT.
6190442
BLUE
F
I
L
T
E
R
I
S
C
L
E
A
N
C
H
A
N
G
E
F
I
L
T
E
R
UP
DOWN
U.S.
PAT.
6190442
BLACK
F
I
L
T
E
R
I
S
C
L
E
A
N
C
H
A
N
G
E
F
I
L
T
E
R
G99-1 GAGE HOUSING
G99-2 GAGE COVER
G99-3 FILTER SCREEN
G99-4 VANE
G99-7 PIN
G99-12 DIAL PLATE
G99-8
RETAINER CLIP
G99-9
CALIBRATION SCREW
G99-11 FOAM ADHESIVE STRIP - NOT SHOWN
U.S. PAT. 6190442
®
®
®
®
Form G-99 File 13179 Rev. G
®
CALIBRATION
OPERATION
SERVICE
PARTS LIST
 Loading...