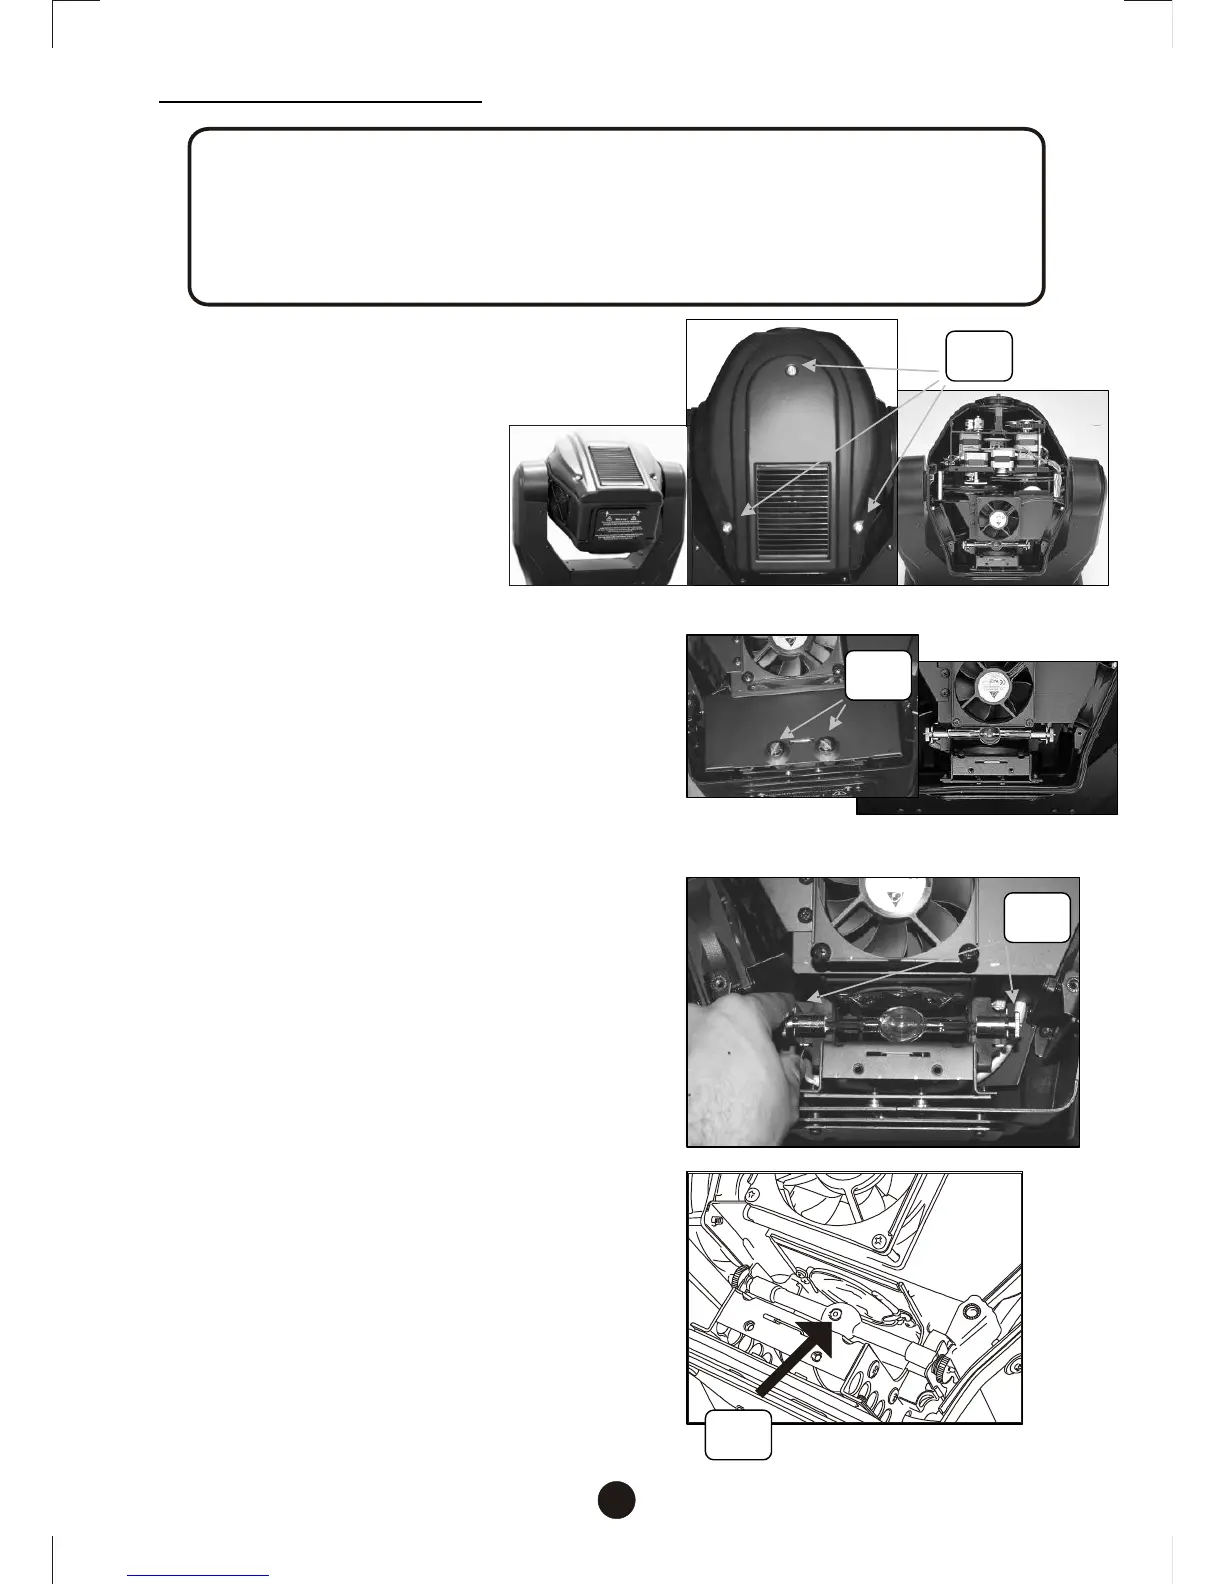
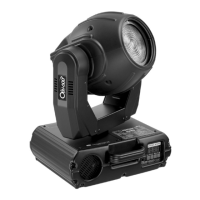
Lamp Installation
5
When replacing the lamp, please wait 15 minutes after powering down to allow the
unit to cool down! Always disconnect from main power prior to lamp replacement.
Do not touch the envelope (glass area) of the bulb with bare hands. If this happens,
clean the lamp with alcohol and wipe it with a lint free cloth before installation.
Warning!
2
S3
3,4
5
N
1
1
S1
2
S2
1.Keep projector-head upward .Unscrew
thumbscrews (S1) to detach the top
cover.
2. Unscrew screws (S2) to remove lamp
cover and expose lamp compartment.
3. If installing a new lamp, loosen both
screws on the double ended lamp to
allow for the lamp to slide into the
lamp socket slots. Lower lamp
evenly.
4. If replacing a lamp, loosen both lamp
screws (S3) to relieve tension from
lamp socket slots so you can slide the
lamp freely, upwards and out of lamp
socket. Raise lamp evenly to remove.
5. Before you tighten the lamp end
screws, rotate the bulb until the nipple
on the envelope (N) of the bulb is facing
upwards as illustrated.
6. If you are replacing the lamp, you may
want to log the fixture hours in order to
track the lamps use. Navigate to the
(LPti)on the menu display to obtain this
information.