4
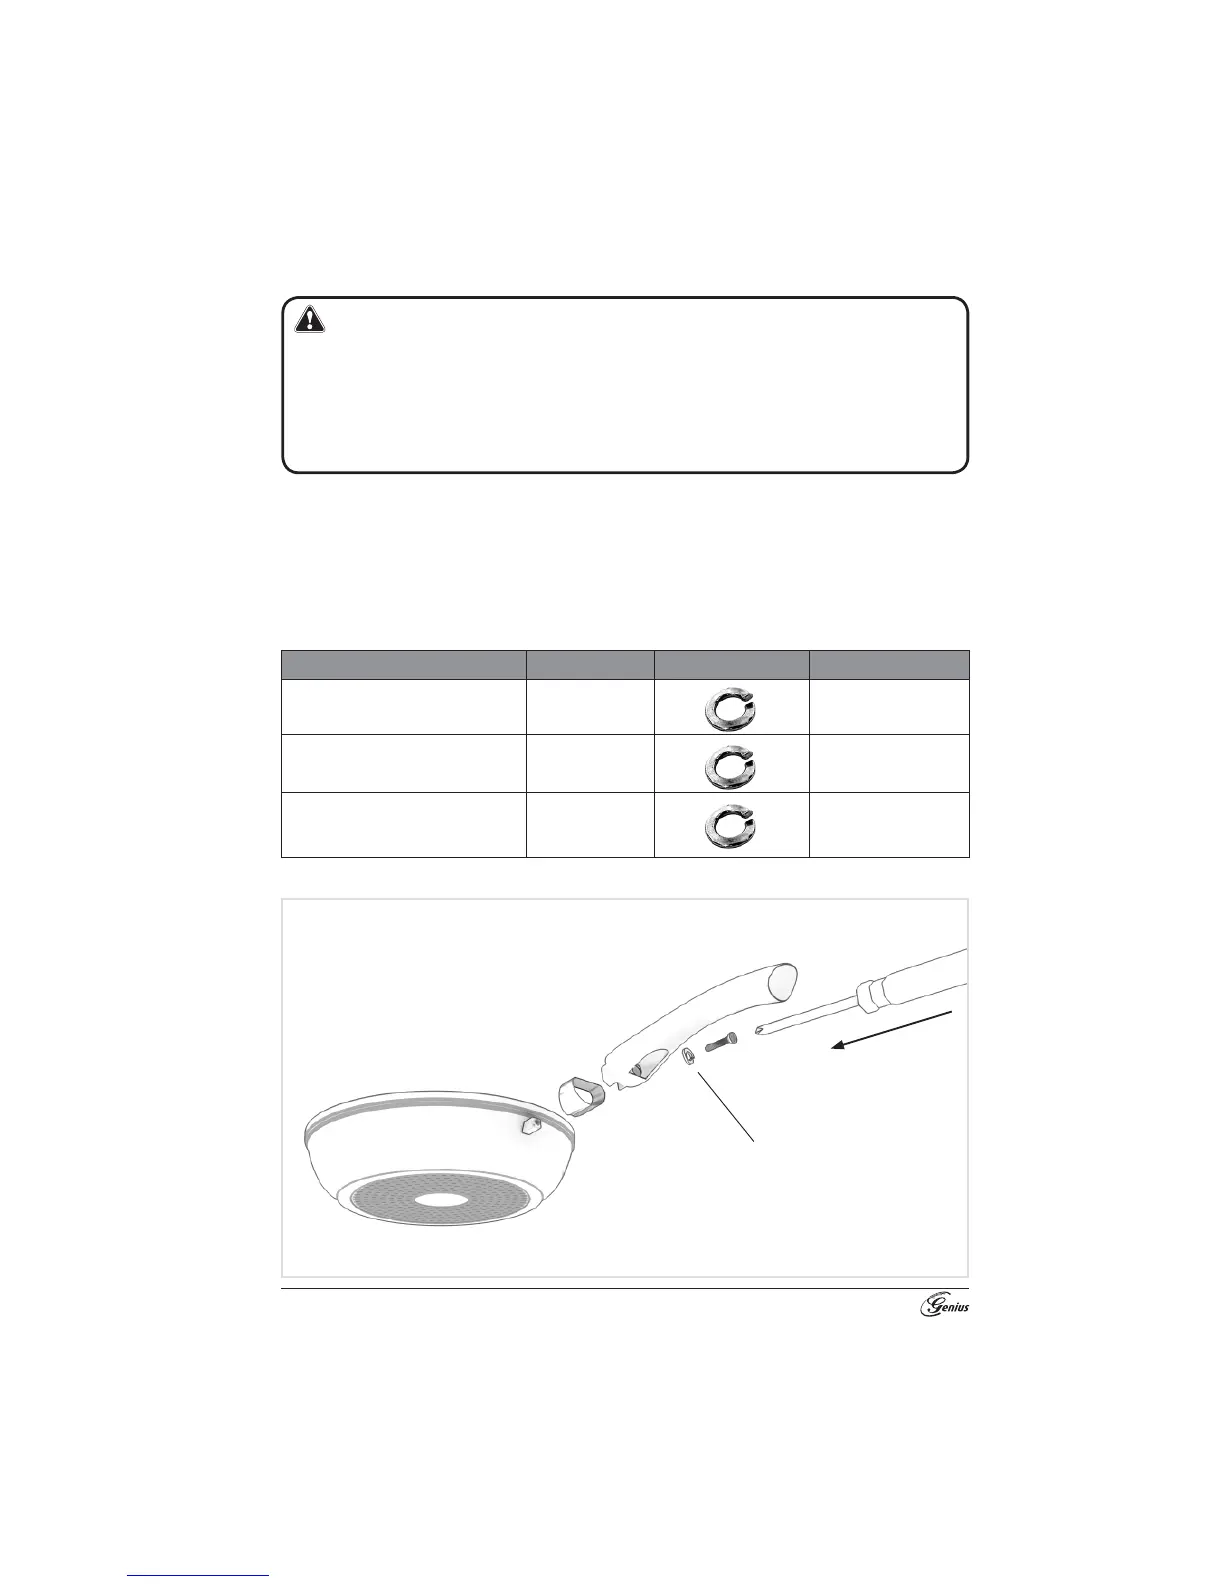
Before fi tting the handle, remove the protective cover from the screw-fi x element on the side of the pan.
During fi tting, take special care to see that the screws screw-in easily. If this is not the case, then the
screw is sitting at an angle to the thread. Screw out the screw and re-enter making sure the screw is
aligned with the thread. Never use force. Screws entered with force can lead to damage to the internal
thread and the handle can never be fi xed in position again.
Do not use a pan with a loose handle – certain danger of injury!
Attention!
Assembly
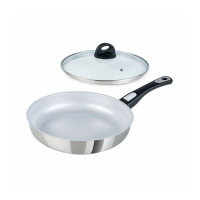
Before you can use your Cerafi t Ceramic Pans for the fi rst time, you must fi x the handle to the pan and the knob
onto the glass lid. Follow the instructions listed below:
Pan Handle Spring ring Screws
Ceramic Pan (Ø 28 cm) Number 28 1 x 1 x 20 mm
Ceramic Pan (
Ø 24 cm) Number 24 1 x 1 x 20 mm
Ceramic Pan (Ø 20 cm) Number 20 1 x 1 x 20 mm
Handles are numbered to correspond to the pan. Take care to fi nd and identify the right screw for the handle as
well as the right handle before starting assembly.
Material list for fi xing the right handles
Fixing the handle
Spring ring