4.4.1 System check
● Conrm whether the controller is installed rmly and whether the surrounding environment is clean enough.
● Conrm that there is good ventilation around the controller, and clean the dust and debris on the surface of the controller.
● Check whether the external power cord is damaged due to aging, rubbing, insects or small animals biting, Insulation skin, etc. If damaged,
please replace it in time.
● Check whether the external power cord is loose, and tighten the loose power cord further.
● Check that the LED indications are consistent with the operation of the equipment. If you nd any faults or wrong indications, please take
immediate measures to correct them.
● Check whether all grounding wires of the system are well grounded.
4.4.2 Inspection of controller wiring cover
WARNING! Risk of electric shock!
Before removing the wiring cover, make sure that all power supplies connected to the controller are disconnected. If the power has not been
disconnected, do not open the controller wiring cover. Please open the controller wiring cover 5 minutes aer all power is disconnected.
● Check whether the power cord in the junction box is damaged due to aging, rubbing, insect or small animal bites, etc. If there is any damage,
please repair and replace it in time.
● Check whether the power cord in the junction box is loose, and tighten the loose power cord further.
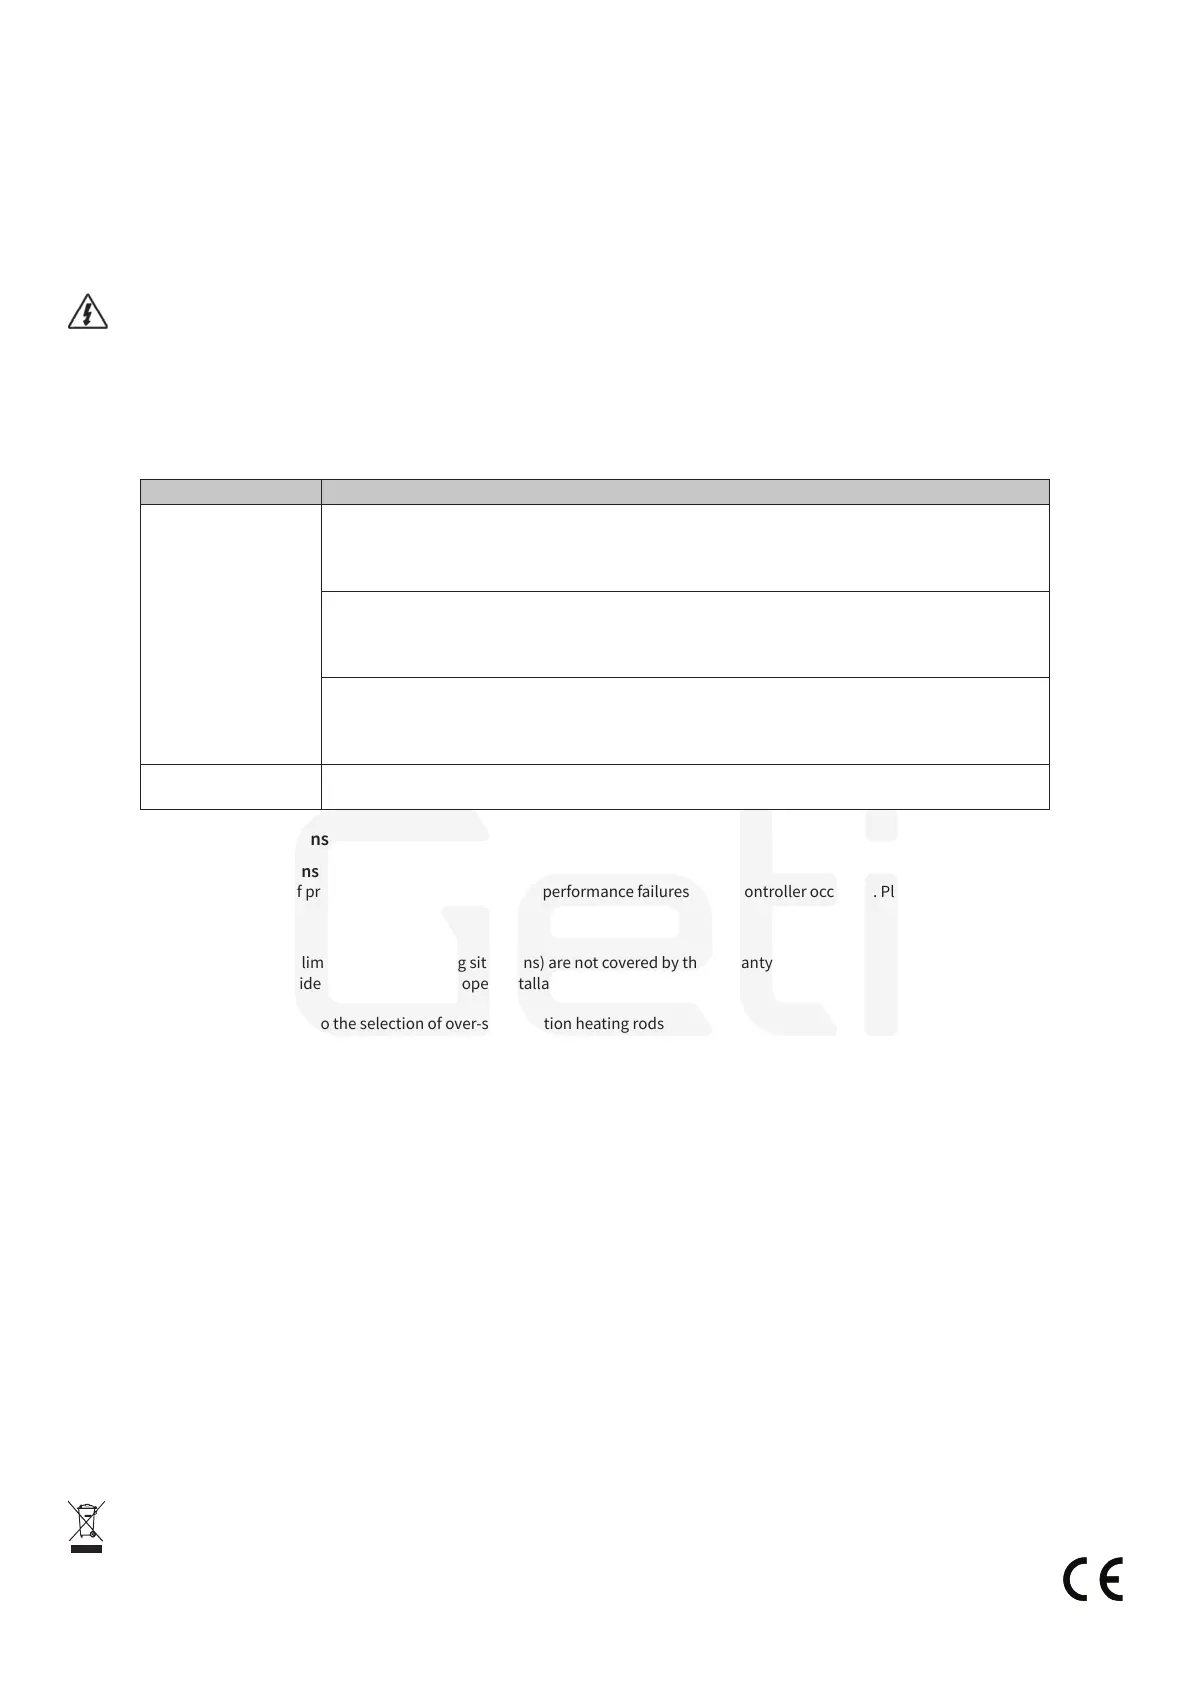
5. Common trouble shooting
Problem Solution
There is no LED
indicator, and the
controller appears
to have no electrical
connection and
does not turn on
Use a multi-meter to measure the voltage across the terminals of the photovoltaic panel of the
controller. The voltage of the photovoltaic panel terminal must be above 160 VDC for the controller
to operate. If the voltage at both ends of the photovoltaic panel terminal of the controller is between
DC 160V and 350V, and there is no LED display, please contact your local dealer.
Use a multimeter to measure the voltage between the AC socket L-N and the AC voltage range. The
voltage must be above AC 180V. If the voltage between the AC socket L-N is between AC 180V and
260V, check whether the AC plug is properly inserted, or connected well. If no LED display, please
contact your local dealer.
If no voltage is measured at both ends of the photovoltaic panel wiring terminals of the controller,
please check whether the photovoltaic cable is in good condition, and whether there is a fuse or
circuit breaker on the circuit. If the AC socket does not have the voltage, please check whether the
AC is normal.
The red light indicates
a malfunction
Check whether the controller triggers a protection condition of 4.2 or a failure condition of 4.3.
If no triggers, please contact your local dealer.
6. Warranty service regulations and Repair process
6.1 Warranty service regulations
Within two years from the date of production, all non-human being performance failures of the controller occurred. Please contact your local dealer to
provide warranty service.
Non-warranty regulations
The following situations (but not limited to the following situations) are not covered by the warranty service:
● made damage caused by accident, negligence, improper installation or improper use
● exceeding the rated value
● The controller is damaged due to the selection of over-specication heating rods
● Modify or repair the product without authorization
● Damage occurred during transportation
● Damage caused by natural disasters such as lightning and extreme weather
● Damage caused by irresistible factors such as re and ood
It is specially stated that the scope of use of the controller dened in the specication is unique, and any over-range application promise without the
authorization of the manufacturer will not be recognized by the manufacturer. Without the authorization of the manufacturer, anyone has no right to
make any modication or extension of the warranty. The manufacturer is not responsible for the economic losses caused by this.
6.2 Repair process
Before applying for warranty, please read the product manual carefully again, especially the troubleshooting part.
1. Please contact the local authorized dealer or agent, the local dealer can oen solve the warranty problem quickly.
2. Please provide the following information:
a) the name of the business or company at the original invoice.
b) full model and serial number (SN is the 16-digit number on the product label).
c) failure behavior, including LED screen display content.
d) the maximum power, open circuit voltage, maximum power point voltage, short-circuit current and AC heating rod power and resistance value of
the solar panel, and DC heating rod power and resistance value.
3. Aer the warranty is approved, please mail the controller to the designated repair point and provide the shipping documents to your dealer.
4. Please keep in touch with the dealer. Aer the controller is repaired, it will be returned to the original address on the shipping receipt provided
by you.
Product disposal
This symbol means that the device should not be disposed of in mixed waste. To avoid potential harm to the environment or health, please
recycle your device responsibly to support the sustainability of natural resource renewal. To return your used device, use the collection centers
or contact the retailer from whom you purchased the device. They can send the device for environmentally safe recycling.
6
 Loading...