Remove the wheel from bike.
Loosen the brake pad assembly bolt with a 3mm hex wrench.
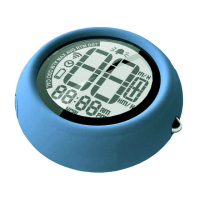
Pull the cotter pin from the brake pad retaining bolt – be careful not to lose thispiece (Fig. H-2)
Set the bolt and cotter pin aside. Be careful to save the spring assembly for lateuse.
Remove the pads from the bottom end of the caliper.
Install new pads and spring assembly into the calipers in a reverse fashion to theremoval process.
Reinsert brake pad retainer bolt into the caliper and re-attach the cotter pin.
Tighten the brake pad assembly bolt.
Repeat for other caliper and adjust cable or pad alignment if necessary.
Contact your Authorized Giant Retailer for further details as necessary.
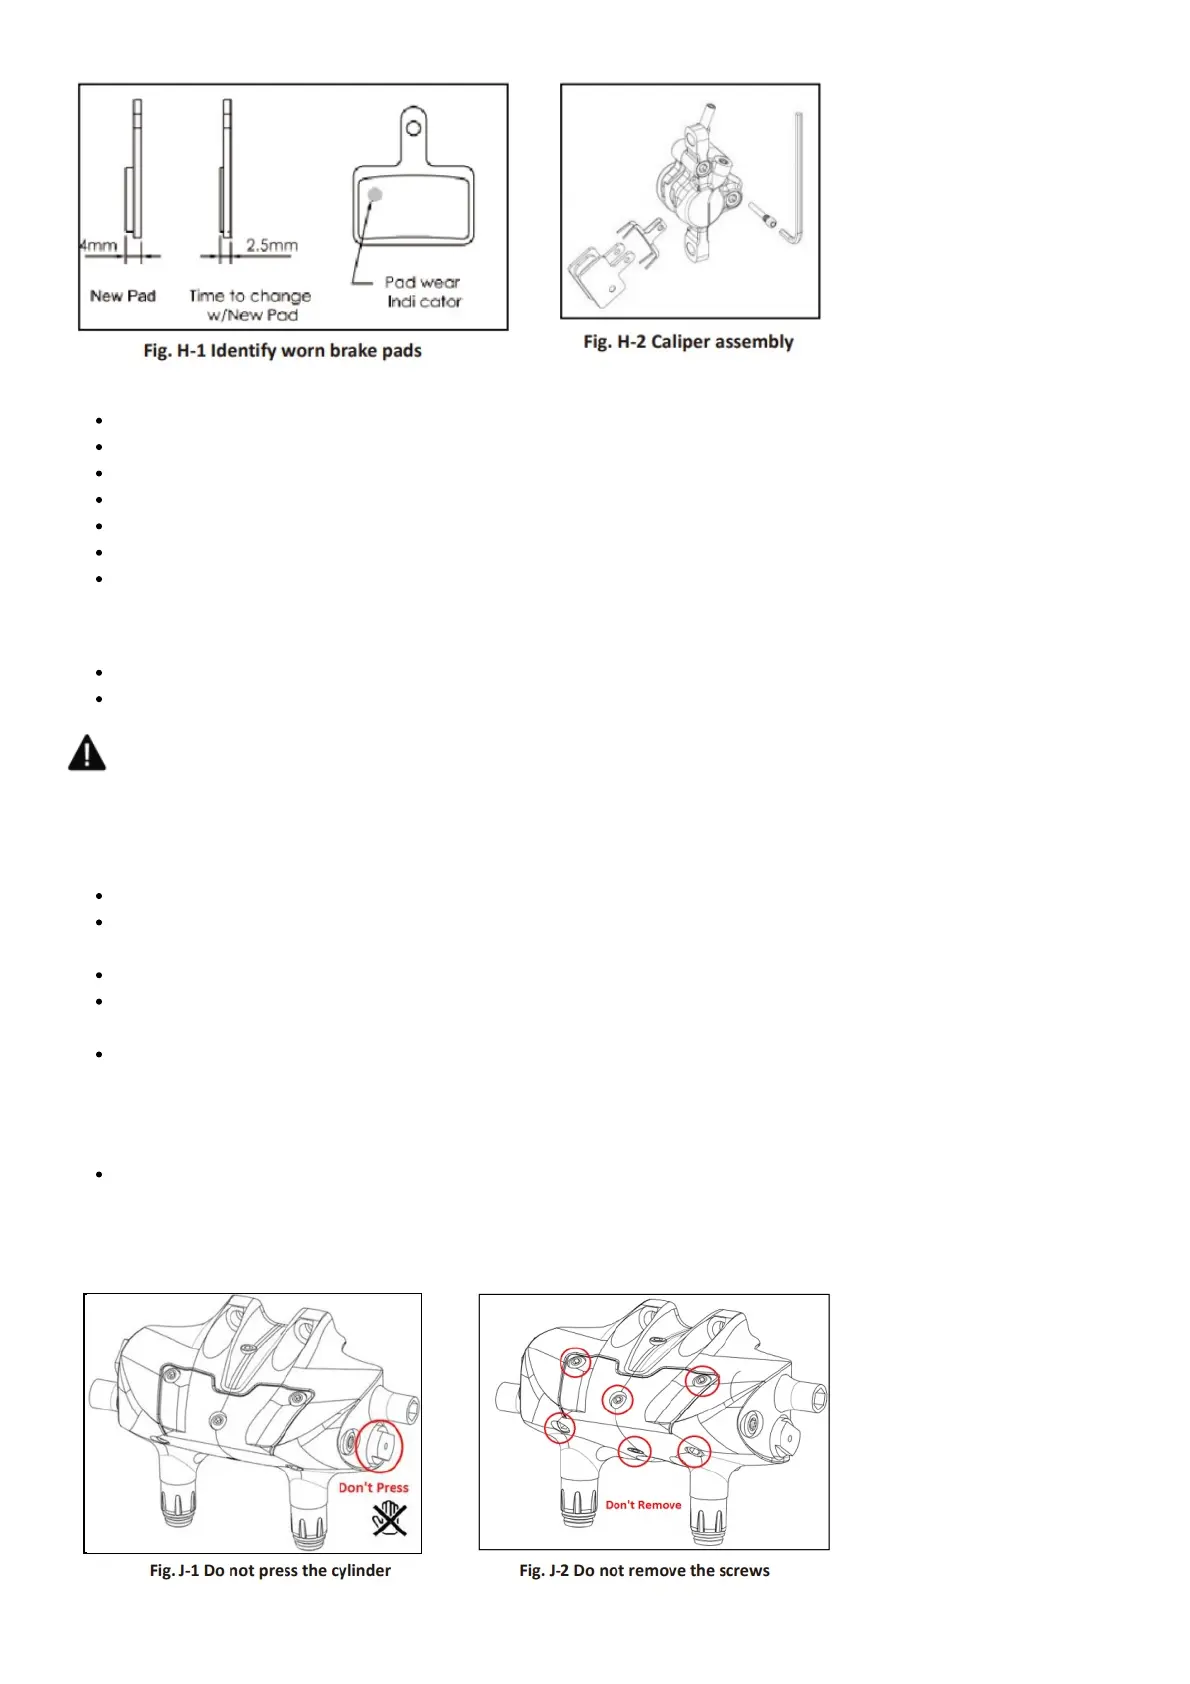
WARNING: When the braking pads are worn out please make sure to replace bo pads, this way it insures the
same 0.3mm clearance in between the rotor and the braking pad. Uneven clearance may cause major braking failure
and result in serious injury.
I) Bleed the System
Please always use mineral oil for the Giant Hydraulic disc brake.
You should always bleed the system after you have shortened or replaced the hose or have opened the system
to air at any time.
If the brake action feels spongy, you may improve performance by re-bleeding the system.
If this is the case, contact your Authorized Giant Retailer or a qualified professional bicycle mechanic to resolve
the problem.
Contact the place of purchase or your Authorized Giant Retailer for further detail information on the bleeding of
products that are not found in this user’s manual.
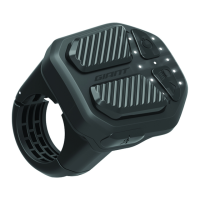
J) NOTICE
Please do not press the circled cylinder section before the brake assembly is complete. Pressing the cylinder
before assembly may cause unexpected braking characteristics. (Fig. J-1)
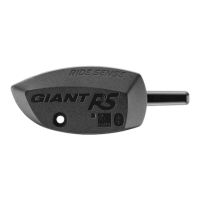
Please do not remove the screws from the hydraulic cap located the circled cylinder section, by removing the screw
may cause unpredictable malfunctions. (Fig. -2)