- 87 -
Because BIOS ashing is potentially risky, please do it with caution. Inadequate BIOS ashing may
result in system malfunction.
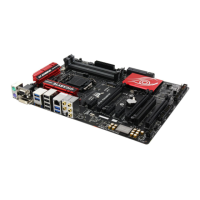
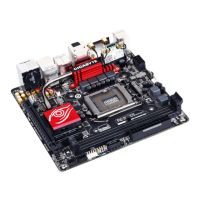
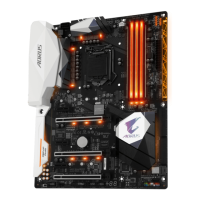
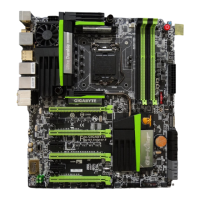
Chapter 5 Unique Features
5-1 BIOS Update Utilities
GIGABYTE motherboards provide two unique BIOS update tools, Q-Flash
™
and @BIOS
™
. GIGABYTE Q-Flash
and @BIOS are easy-to-use and allow you to update the BIOS without the need to enter MS-DOS mode.
Additionally, this motherboard features the DualBIOS
™
design, which enhances protection for the safety and
stability of your computer by adding one more physical BIOS chip.
What is DualBIOS
™
?
Motherboards that support DualBIOS have two BIOS onboard, a main BIOS and a backup BIOS. Normally, the
system works on the main BIOS. However, if the main BIOS is corrupted or damaged, the backup BIOS will
take over on the next system boot and copy the BIOS le to the main BIOS to ensure normal system operation.
For the sake of system safety, users cannot update the backup BIOS manually.
What is Q-Flash
™
?
With Q-Flash you can update the system BIOS without having to enter operating systems like MS-DOS or
Window rst. Embedded in the BIOS, the Q-Flash tool frees you from the hassles of going through complicated
BIOS ashing process.
What is @BIOS
™
?
@BIOS allows you to update the system BIOS while in the Windows environment. @BIOS will download the
latest BIOS le from the nearest @BIOS server site and update the BIOS.
5-1-1 Updating the BIOS with the Q-Flash Utility
A. Before You Begin
1. From GIGABYTE's website, download the latest compressed BIOS update le that matches your motherboard
model.
2. Extract the le and save the new BIOS le (e.g. G1SNIPER5.F1) to your USB ash drive or hard drive. Note:
The USB ash drive or hard drive must use FAT32/16/12 le system.
3. Restart the system. During the POST, press the <End> key to enter Q-Flash. Note: You can access Q-Flash
by either pressing the <End> key during the POST or pressing the <F8> key in BIOS Setup. However, if the
BIOS update le is saved to a hard drive in RAID/AHCI mode or a hard drive attached to an independent
SATA controller, use the <End> key during the POST to access Q-Flash.
 Loading...