- 14 -
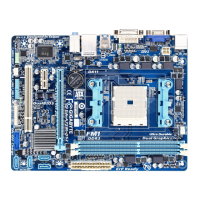
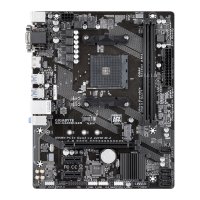
B. Follow the steps below to correctly install the APU into the motherboard APU socket.
• Before installing the APU, make sure to turn off the computer and unplug the power cord from the
power outlet to prevent damage to the APU.
• DonotforcetheAPUintotheAPUsocket.TheAPUcannottiniforientedincorrectly.Adjustthe
APU orientation if this occurs.
Step 1:
Completely lift up the APU socket locking lever.
Step 2:
Align the APU pin one (small triangle marking) with the triangle mark
on the APU socket and gently insert the APU into the socket. Make
surethattheAPUpinstperfectlyintotheirholes.OncetheAPUis
positionedintoitssocket,placeonengerdownonthemiddleofthe
APU, lowering the locking lever and latching it into the fully locked
position.
APU Socket
Locking Lever
 Loading...