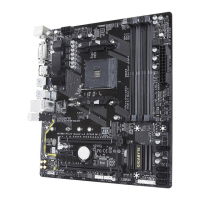
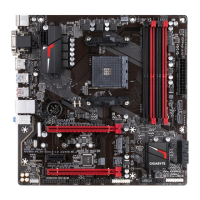
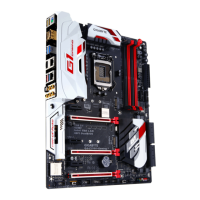
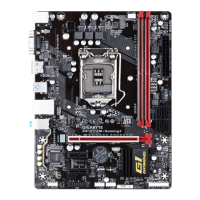
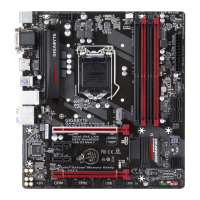
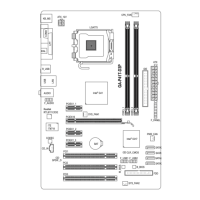
8) M2F_32G (M.2 Socket 3 Connector)
TheM.2connectorsupportsM.2SATASSDsandM.2PCIeSSDsandsupportsSATARAIDconguration
throughtheAMDChipset.PleasenotethatanM.2PCIeSSDcannotbeusedtocreateaRAIDarray.Refer
toChapter3,"ConguringaRAIDSet,"forinstructionsonconguringaRAIDarray.
F_USB30
F_U
B_
F_ F_
_
B
BS_
B
SB_
B
_S
S_
_
B
_U
_
B
S
123
123
123
123
1
1
1
1
BSS
S
_S
SSU
1 2 3
S3
BSSS
U
__ 3
F_USB3F
S _
S _
S _
SF
B_
B_
F
_0
S
S
_0F
_F
_
_
__B
U
S _S
_
USB0_B
B_
F_USB3
80110 60 42
SelecttheproperholefortheM.2SSDtobeinstalledandrefastenthescrewandnut.
FollowthestepsbelowtocorrectlyinstallanM.2SSDintheM.2connector.
Step 1:
Get a screw and a standoff from the included M.2 screw and standoff packs. Locate the M.2 connector
whereyouwillinstalltheM.2SSD,useascrewdrivertounfastenthescrewon the heatsink and then
remove the heatsink.
Step 2:
LocatethepropermountingholefortheM.2SSDtobeinstalledandthentightenthestandoffrst.Insert
theM.2SSDintotheM.2connectoratanangle.
Step 3:
PresstheM.2SSDdownandthen secureitwiththescrew.Replacetheheatsink andsecureit tothe
original hole.
SATA3 0 SATA3 1 SATA3 2 SATA3 3 ASATA3 0 ASATA3 1
M.2SATASSD
a a a r a a
M.2PCIex4SSD*
a a a a r r
M.2PCIex2SSD
a a a a a a
NoM.2SSDInstalled
a a a a a a
a: Available, r: Not available
* ForAMDRyzen
™
processor only.
Connector
Type of
M.2SSD
Installation Notices for the M.2 and SATA Connectors:
DuetothelimitednumberoflanesprovidedbytheChipset,theavailabilityoftheSATAconnectorsmaybe
affectedbythetypeofdevicesinstalledintheM2F_32Gconnector.Refertothefollowingtablefordetails.
- 15 -
 Loading...
