- 32 -Hardware Installation
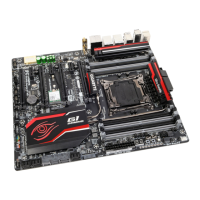
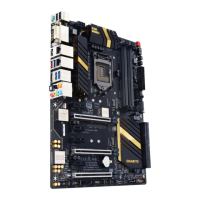
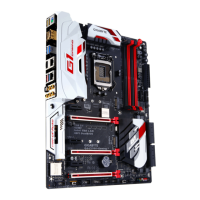
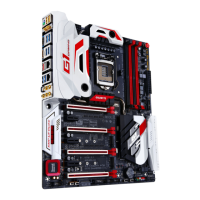
11) M2C_32G/M2D_32G/M2A_32G (M.2 Socket 3 Connectors)
TheM.2connectorssupportM.2SATASSDsandM.2PCIeSSDsandsupportRAIDcongurationthroughthe
Intel
®
Chipset.PleasenotethatanM.2PCIeSSDcannotbeusedtocreateaRAIDseteitherwithanM.2SATA
SSDoraSATAharddrive.TocreateaRAIDarraywithanM.2PCIeSSD,youmustsetupthecongurationin
UEFIBIOSmode.RefertoChapter3,"ConguringaRAIDSet,"forinstructionsonconguringaRAIDarray.
On the motherboard there are three length adjustment holes for the M.2 SSD. Select the proper
hole for the M.2 SSD to be installed and refasten the screw and nut.
Follow the steps below to correctly install an M.2 SSD in the M.2 connector.
Step 1:
Use a screw driver to unfasten the screw and nut
from the motherboard. Locate the proper mount-
ing hole for the M.2 SSD to be installed and then
screwthenutrst.
Step 2:
Slide the M.2 SSD into the connector at an angle.
Step 3:
Press the M.2 SSD down and then secure it with
the screw.
Step 4:
The installation is completed, as shown in the
picture above.
F_USB30
F_U
B_
F_ F_
_
B
BS_
B
SB_
B
_S
S_
_
B
_U
_
B
S
123
123
123
123
1
1
1
1
BSS
S
_S
SSU
1 2 3 4 5
S3
BSSS
U
__ 3
F_USB3F
S _
S _
S _
SF
B_
F
_0
S
S
_0F
_F
_
F_USB30
F_U
B_
F_ F_
_
B
BS_
B
SB_
B
_S
S_
_
B
_U
_
B
S
123
123
123
123
1
1
1
1
BSS
S
_S
SSU
1 2 3 4 5
S3
BSSS
U
__ 3
F_USB3F
S _
S _
S _
SF
B_
F
_0
S
S
_0F
_F
_
F_USB30
F_U
B_
F_ F_
_
B
BS_
B
SB_
B
_S
S_
_
B
_U
_
B
S
123
123
123
123
1
1
1
1
BSS
S
_S
SSU
1 2 3 4 5
S3
BSSS
U
__ 3
F_USB3F
S _
S _
S _
SF
B_
F
_0
S
S
_0F
_F
_
 Loading...
