- 25 - Hardware Installation
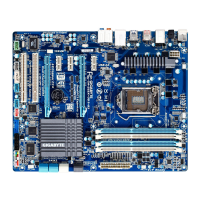
10) CLR_CMOS (Clearing CMOS Jumper)
UsethisjumpertocleartheCMOSvalues(e.g.dateinformationandBIOScongurations)andresetthe
CMOS values to factory defaults. To clear the CMOS values, use a metal object like a screwdriver to
touch the two pins for a few seconds.
Always turn off your computer and unplug the power cord from the power outlet before clear- •
ing the CMOS values.
After system restart, go to BIOS Setup to load factory defaults (select Load Optimized De- •
faults)ormanuallycongurethe BIOS settings(refertoChapter2,"BIOSSetup,"forBIOS
congurations).
Open: Normal
Short: Clear CMOS Values
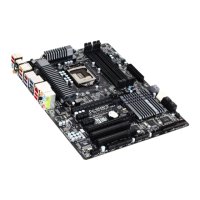
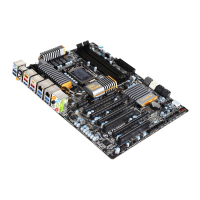
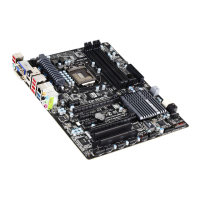
9) mSATA (Solid-State Drive Connector, Controlled by the Intel Z68 Chipset)
The mSATA connector conforms to SATA 3Gb/s standard and can connect to a single solid-state drive.
 Loading...