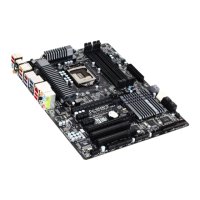
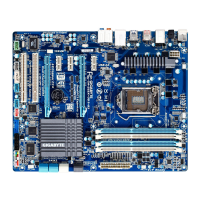
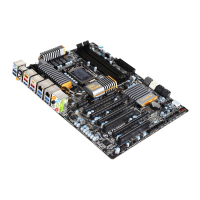
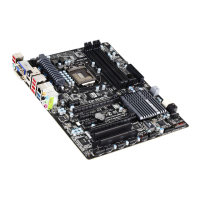
- 31 - Hardware Installation
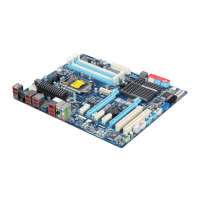
18) F_1394 (IEEE 1394a Header)
TheheaderconformstoIEEE1394aspecication.TheIEEE1394aheadercanprovideoneIEEE1394a
port via an optional IEEE 1394a bracket. For purchasing the optional IEEE 1394a bracket, please con-
tact the local dealer.
• Do not plug the USB bracket cable into the IEEE 1394a header.
• Prior to installing the IEEE 1394a bracket, be sure to turn off your computer and unplug the
power cord from the power outlet to prevent damage to the IEEE 1394a bracket.
• To connect an IEEE 1394a device, attach one end of the device cable to your computer and
then attach the other end of the cable to the IEEE 1394a device. Ensure that the cable is se-
curely connected.
10
9
2
1
Pin No. Denition
1 TPA+
2 TPA-
3 GND-
4 GND
5 TPB+
6 TPB-
7 Power (12V)
8 Power (12V)
9 No Pin
10 GND
19) PHASE LED
The number of lighted LEDs indicates the CPU loading. The higher the CPU loading, the more the
numberoflightedLEDs.ToenablethePhaseLEDdisplayfunction,pleaserstenableDynamicEnergy
Saver
™
2. Refer to Chapter 4, "Dynamic Energy Saver
™
2," for more details.
 Loading...