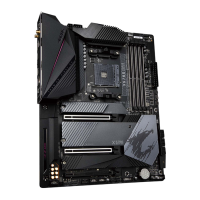
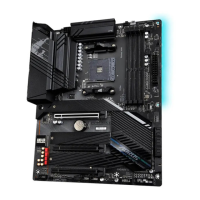
8) M2A_SOCKET/M2B_SOCKET
(Note)
(M.2 Socket 3 Connectors)
The M.2 connectors support M.2 SATA SSDs or M.2 PCIe SSDs and support RAID conguration. Please
note that an M.2 PCIe SSD cannot be used to create a RAID set with a SATA hard drive. Refer to Chapter 3,
"Conguring a RAID Set," for instructions on conguring a RAID array.
(Note) The connector is on the back of the motherboard.
F_USB30
F_U
B_
F_ F_
_
B
BS_
B
SB_
B
_S
S_
_
B
_U
_
B
S
123
123
123
123
1
1
1
1
BSS
S
_S
SSU
1 2 3
S3
BSSS
U
__ 3
F_USB3F
S _
S _
S _
SF
B_
B_
F
_0
S
S
_0F
_F
_
_
__B
U
S _S
_
SF_
B
USB0_B
B_
B_
F_USB3
F_USB303
_
_3U
S_
_S
SS_F
_
80
Follow the steps below to correctly install an M.2 SSD in the M2A_SOCKET connector.
Step 1:
Before installing the M.2 SSD, loosen the screws from the PCH heatsink module and remove the PCH
heatsink module.
Step 2:
Insert the M.2 SSD into the M.2 connector at an angle.
Step 3:
Press the M.2 SSD down and then secure it with the screw. Remove the protective lm from the bottom of the
heatsink before replacing the heatsink. Replace the PCH heatsink module and secure it to the original hole.
M2A_SOCKET
F_USB30
F_U
B_
F_ F_
_
B
BS_
B
SB_
B
_S
S_
_
B
_U
_
B
S
123
123
123
123
1
1
1
1
BSS
S
_S
SSU
1 2 3
S3
BSSS
U
__ 3
F_USB3F
S _
S _
S _
SF
B_
B_
F
_0
S
S
_0F
_F
_
_
__B
U
S _S
_
SF_
B
USB0_B
B_
B_
F_USB3
F_USB303
_
_3U
S_
_S
SS_F
_
80
M2B_SOCKET
(Note)
Follow the steps below to correctly install an M.2 SSD in the M2B_SOCKET connector.
Step 1:
Before installing the M.2 SSD, loosen the ve screws from the heatsink module on the back of the
motherboard as indicated above and remove the heatsink module.
Step 2:
Insert the M.2 SSD into the M.2 connector at an angle.
Step 3:
Press the M.2 SSD down and then secure it with the screw. Remove the protective lm from the bottom of
the heatsink before replacing the heatsink. Replace the heatsink module on the back of the motherboard
and secure it to the original holes.
- 18 -
 Loading...
