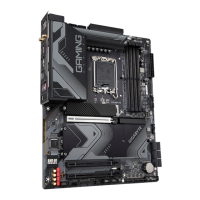
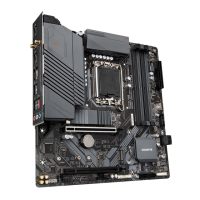
8) M2P_CPU
(Note)
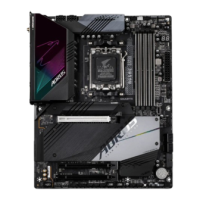
/M2A_SB/M2M_SB (M.2 Socket 3 Connectors)
TheM.2connectorssupportM.2SATASSDsorM.2PCIeSSDsandsupportRAIDconguration.Please
notethatanM.2PCIeSSDcannotbeusedtocreateaRAIDseteitherwithanM.2SATASSDoraSATA
harddrive.RefertoChapter3,"ConguringaRAIDSet,"forinstructionsonconguringaRAIDarray.
FollowthestepsbelowtocorrectlyinstallanM.2SSDintheM.2connector.
Step 1:
LocatetheM.2connectorwhereyouwillinstalltheM.2SSD,useascrewdrivertounfastenthescrewon
the heatsink and then remove the heatsink. (Only the M2P_CPU and M2A_SB connectors has the heatsink)
Step 2:
LocatethepropermountingholebasedonthelengthofyourM.2SSDdrive.Ifneeded,movethestandoff
tothedesiredmountinghole.InserttheM.2SSDintotheM.2connectoratanangle.
Step 3:
PresstheM.2SSDdownandthenusetheincludedscrewtosecureitintheconnector.Replacethe
heatsinkandsecureittotheoriginalhole.Removetheprotectivelmfromthebottomoftheheatsink
before replacing the heatsink.
M2P_CPU
(Note)
F_USB30
F_U
B_
F_ F_
_
B
BS_
B
SB_
B
_S
S_
_
B
_U
_
B
S
123
123
123
123
1
1
1
1
BSS
S
_S
SSU
1 2 3
S3
BSSS
U
__ 3
F_USB3F
S _
S _
S _
SF
B_
B_
F
_0
S
S
_0F
_F
_
_
__B
U
S _S
_
SF_
B
USB0_B
B_
B_
F_USB3
F_USB303
_
_3U
S_
80110 60
M2A_SB
F_USB30
F_U
B_
F_ F_
_
B
BS_
B
SB_
B
_S
S_
_
B
_U
_
B
S
123
123
123
123
1
1
1
1
BSS
S
_S
SSU
1 2 3
S3
BSSS
U
__ 3
F_USB3F
S _
S _
S _
SF
B_
B_
F
_0
S
S
_0F
_F
_
_
__B
U
S _S
_
SF_
B
USB0_B
B_
B_
F_USB3
F_USB303
_
_3U
S_
80110 60
M2M_SB
F_USB30
F_U
B_
F_ F_
_
B
BS_
B
SB_
B
_S
S_
_
B
_U
_
B
S
123
123
123
123
1
1
1
1
BSS
S
_S
SSU
1 2 3
S3
BSSS
U
__ 3
F_USB3F
S _
S _
S _
SF
B_
B_
F
_0
S
S
_0F
_F
_
_
__B
U
S _S
_
SF_
B
USB0_B
B_
B_
F_USB3
F_USB303
_
_3U
S_
80110 60
(Note) Supported by 11th Generation processors only. Be sure to use Intel
®
SSDsifyouwanttosetupa
RAIDcongurationontheM2A_CPUconnector.
- 17 -
 Loading...