Do you have a question about the Gigaset C610 ip and is the answer not in the manual?
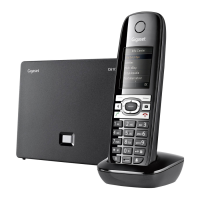
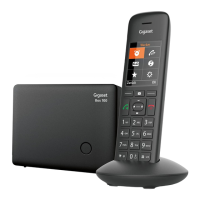
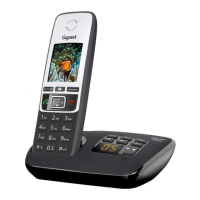
Lists the main base unit included in the package.
Describes the power adapter for the base station.
Mentions the RJ11 telephone cable, noting it's not needed for Telio setup.
Details the RJ45 Ethernet cable for router connectivity.
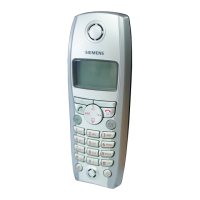
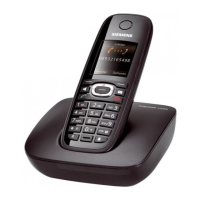
Identifies the cordless handset included with the system.
Specifies the two batteries provided for the handset.
Mentions the cover for the handset's battery compartment.
Lists the accessory for carrying the handset.
Describes the charging unit for the handset.
Explains the power adapter for the handset charger.
Indicates the inclusion of a quick guide and a CD.
Details the RJ45 Ethernet cable for connecting the base to a router.
Identifies the power cable port on the base unit.
Step to connect the network cable to the base's LAN port.
Step to connect the other end of the network cable to the router.
Step to connect the base station's power cable and plug it in.
Describes the blue light indicator on the base when connected.
Instructions for inserting batteries into the Gigaset handset.
Step to connect the handset charger's power cable.
Final step to place the handset into its charger.
First step to initiate handset registration via the menu button.
Guide through menu options to register a new handset.
Instruction to activate registration mode on the base unit.
Step to enter the default system PIN (0000) for registration.
Troubleshooting step to verify all cables are properly connected.
Troubleshooting step to ensure the internet connection is active.
Check for a blue light on the base indicating readiness.
Information on how to get further assistance or support.
| Answering machine | No |
|---|---|
| Number of melodies | 20 |
| Maximum indoor range | 50 m |
| Maximum outdoor range | 300 m |
| Volume control | Digital |
| Personalization | Menu |
| Answerphone remote access | Yes |
| Resolution | 128 x 160 pixels |
| Ethernet LAN (RJ-45) ports | 1 |
| Dialer location | Handset |
| Phonebook capacity | 150 entries |
| Call list capacity phonebook | 30 |
| Mounting type | Desk |
| Product color | Black, Grey |
| Voice codecs | G.711, G.722, G.726, G.729 |
| Backlight color | Amber |
| Display diagonal | 1.8 \ |
| Display number of lines | 6 lines |
| Display number of colors | 65536 colors |
| Headphone connectivity | 2.5 mm |
| Battery type | AAA |
| Standby time | 180 h |
| Number of batteries supported | 2 |
| Base dimensions | 105 x 46 x 132 mm |
|---|---|
| Handset dimensions (WxDxH) | 49 x 28 x 149 mm |