4-7
Operation - Standard Use 4
Essential Steps
Fit the Syringe(s)
1) First you must lower the piston rod(s), as follows:
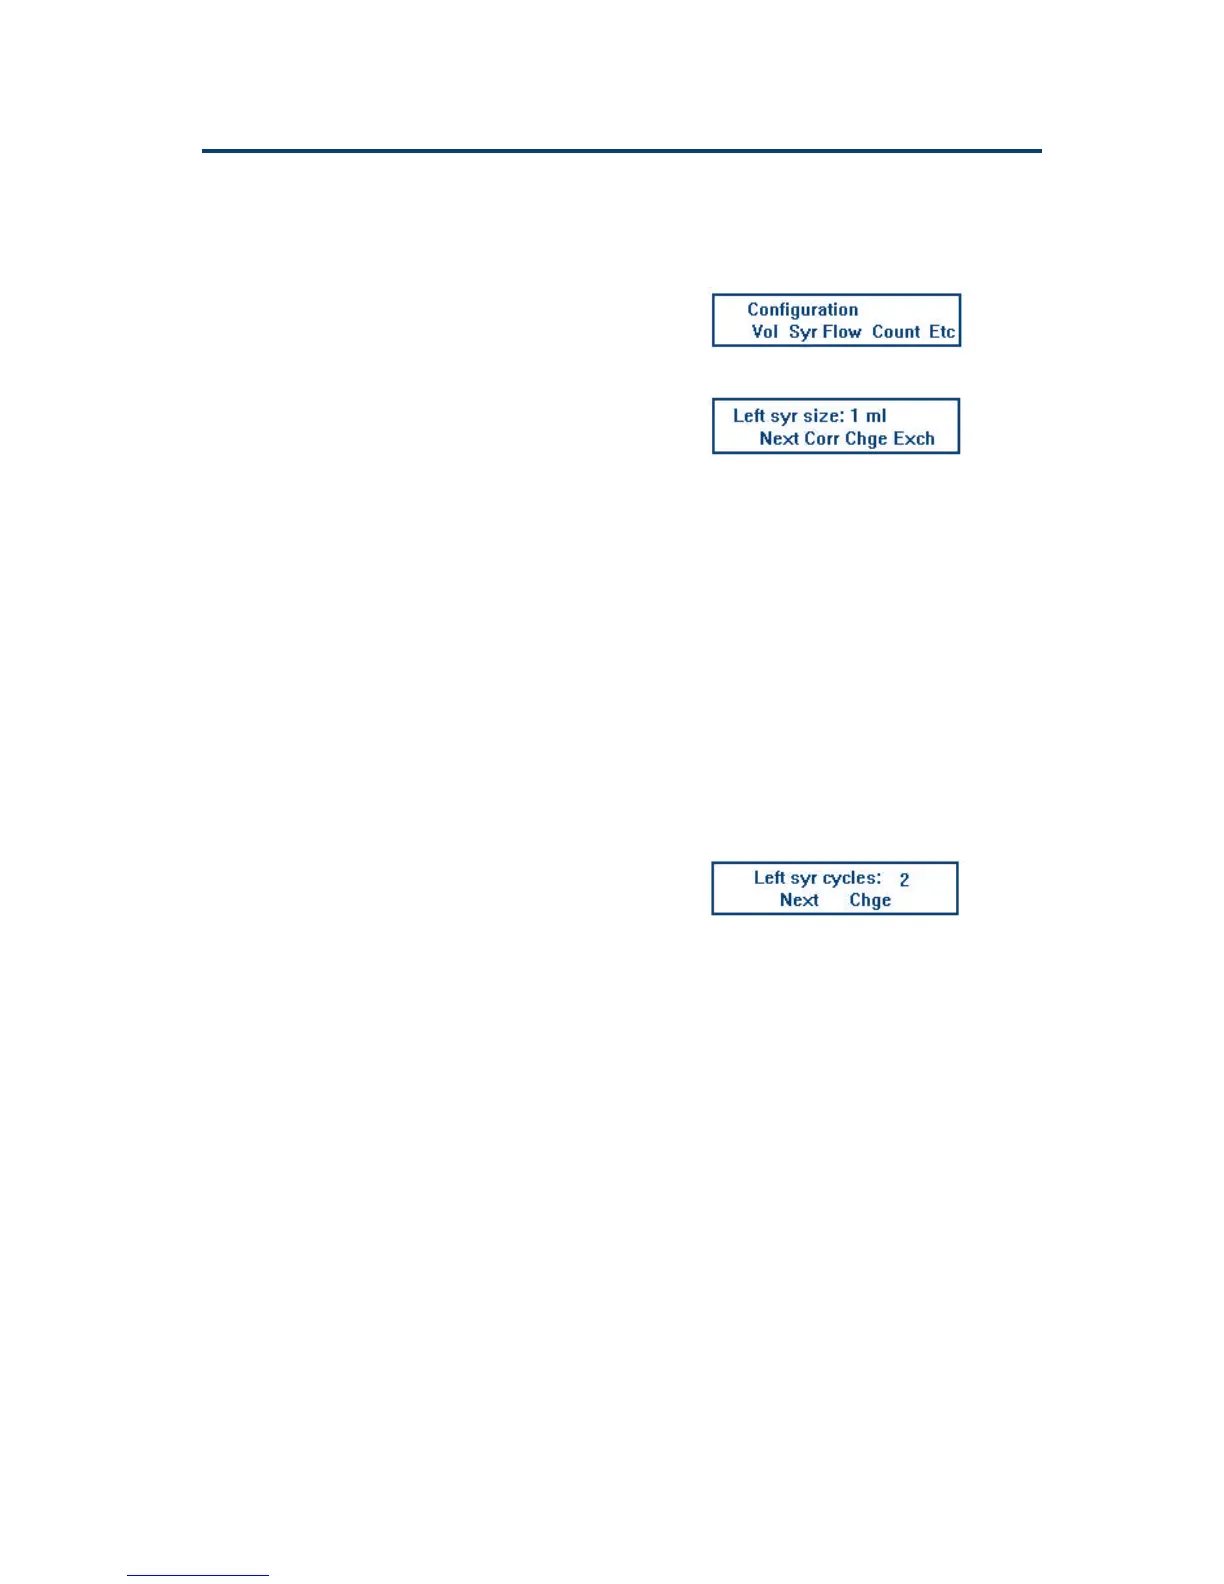
- press the Conf key to access the Configuration
Screen:
- press the Syr soft-key (ensure that the size is
correct before continuing),
- press the Exch soft-key.
‘Please wait ...’ appears on the screen whilst the
piston rod(s) descend; then ‘Exchange the
Syringe(s)’.
2) Screw the assembled syringe into the valve or
Tee until tight (do not over-tighten).
3) Align the threaded recess on the piston-button
with the piston holding screw.
4) Tighten the piston holding screw.
5) Press the Done soft key: ‘Put probe into waste’
appears on the screen.
6) Put the end of the probe into the waste or any
other suitable container.
7) Press the Run soft key:
Whilst the syringe-piston operating-rod(s) move
to their uppermost positions, the Homing Screen
is displayed. When they reach their uppermost
positions a Counter Screen appears.
8) Press the ESC key: the Configuration Screen
reappears.
9) The next step is described below.
Creating a Method (Edit)
Introduction
In this section you will find the basic information
required to enter and save your Method as a file.
The steps are as follows:
- describe the Method on paper (protocols and
parameters),
- use the keypad to enter the Method as a file (one
or more tasks used sequentially),
- save the Method as a file.
Configuration Screen
Syringe Screen
Counter Screen
Alternatively, you could run an
adapted copy of one of the five
pre-fabricated files (90-94). See
Chapter 5 for details.
 Loading...