Quick Start Guide to GLO
®
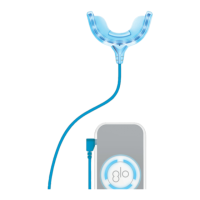
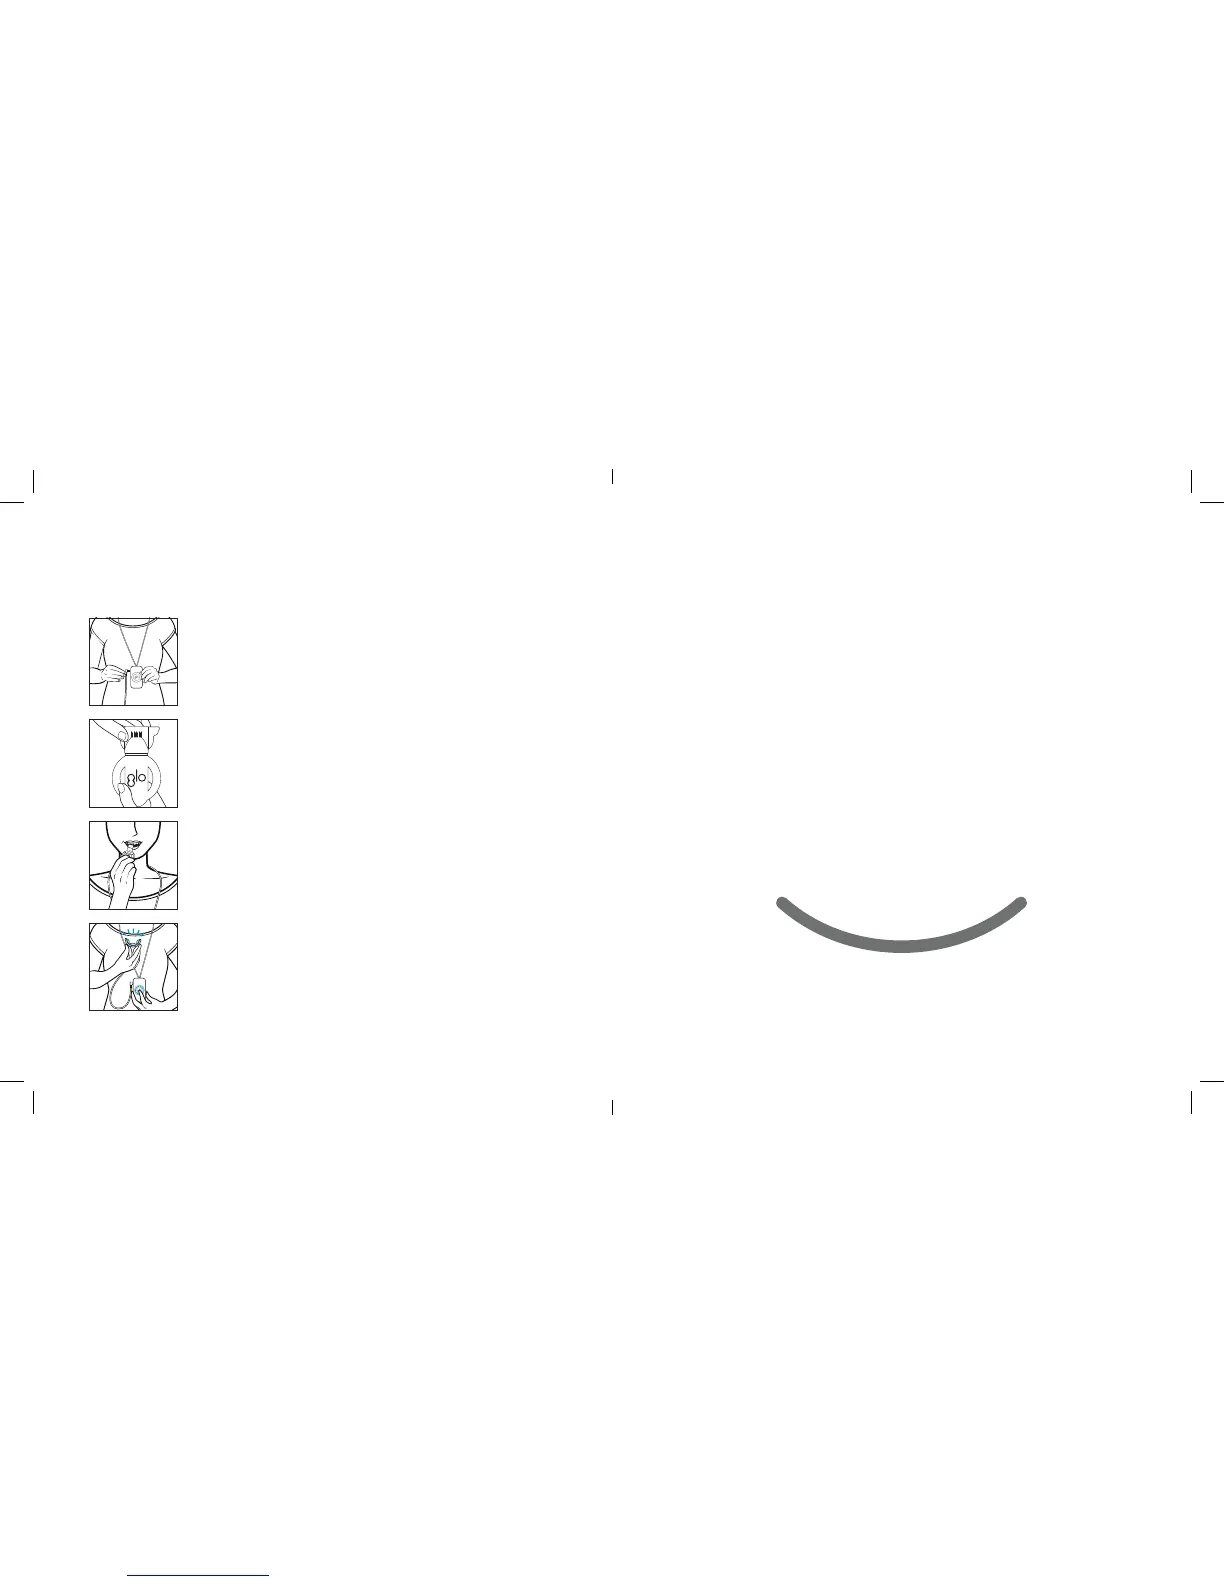
1 Get Ready to GLO
®
Start with a fully charged control and place it around your neck.
Remove mouthpiece from case and insert cord rmly into the side
of the control.
2 Apply Lip Treatment & Open GLO Vial
First apply a thin layer of GLO
®
Lip Treatment to your top and
bottom lips (inside and out). Pull off GLO Vial cap. Squeeze gel
onto the brush tip.
3 Apply Whitening Gel
Using a circular motion, apply a thin layer of gel to the top and
bottom teeth, fronts only.
GLO Tip: Each day, you will use the contents of 1 GLO Vial for all four
whitening applications.
4 Press GLO
®
& Whiten
Place mouthpiece in your mouth and press the GLO button on the
control. Your mouthpiece will light up a brilliant blue. The mouthpiece
will gently warm up with each application. After 8 minutes, your
device will begin blinking and then automatically shut off, indicating
the end of the 8-minute session.
How to GLO
®
When whitening with GLO, you are free to move around and go about
your day. After each 8-minute application, spit out excess saliva. Rinse the
mouthpiece in warm water and begin your next application. Repeat for a
total of four consecutive applications using 1 GLO Vial – it’s just 32 minutes
to GLO!
When complete, rinse the mouthpiece and place it back in its case. Whiten
for 5 consecutive days. Depending on your starting shade and desired
results, you can continue whitening for a total of up to 10 days in a row.
Purchase additional GLO Vials so your GLO Device can keep your smile
white all year long.
Get ready to start smiling more!
 Loading...