1 2
BEFORE YOU
START
WHAT’S IN THE
BOX
STEP 1: MEASURING AND
DRILLING
The following tools are recommended for installation, but are in
no way a comprehensive list.
• Electric drill
• Silver marker or pencil
• 5/16” Drill Bit
• 10mm Wrench
• Cardboard or blanket
• Screwdriver for removing kickstand
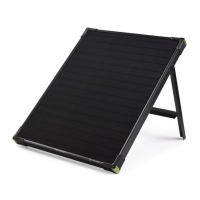
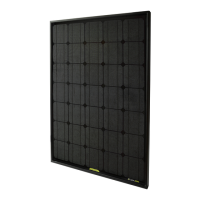
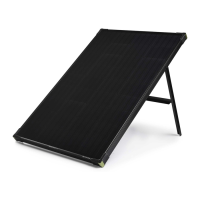
Remove the kickstand from the Boulder Solar Panel before
installation with a Philips screwdriver. We also recommend
placing cardboard or a blanket between the Boulder and the
ground to protect the tempered glass.
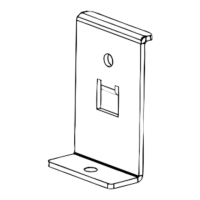
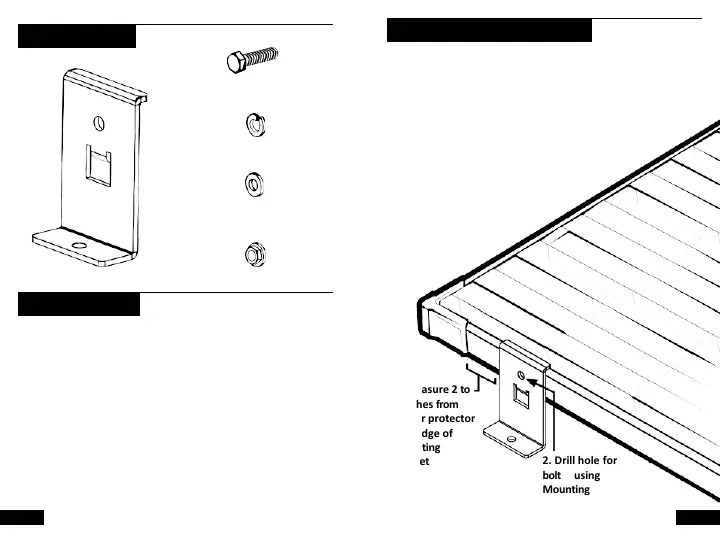
Brackets x 4
1. Measure 2 to
4 inches from
corner protector
to edge of
Mounting
Bracket
2. Drill hole for
bolt using
Mounting
Bracket as guide
1. Measure approximately 2to 4” fromthe corner protectors to the
edge of the mounting bracket. The distance will depend on individual
installations.
2. Mark the position of the hole to be drilled, using the mounting
bracket as a guide.
3. Using the drill fitted with a 5/16” bit, make a hole for the bolt.
4. Repeat 1 through 3 for each mounting bracket.
Split Lock Washer x 4
Flat Washer x 4
Hex Cap Bolt x 4
Hexagonal Nut x 4