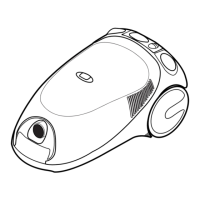
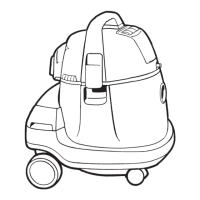
Features
⁄ Waste tank
¤ Motor housing
‹ Power switches
› Tank latches
fi Castors
fl Inlet
‡ Hose end
· Carrying handle
‚ Hose
„ Curved handle
‰ Extension tubes
 Nozzle, varies by model
Ê Bolt
Á Screw
Ë Wheel
È Hub cap
Í Exhaust filter flap
Î Cable storage hook
Ï Cardboard collar (on optional bag)
Ì Tool storage cart
Ó Cartridge filter
Ô Bucket
Foam filter
Ò Foam filter locking plate
Ú Cable rewind button (if fitted)
Assembly
1 Release the tank latches and lift off the
motor housing as shown D.
2 Turn the tank upside down. To fit the
wheels, slot a bolt through the centre of a
wheel, push the bolt into the hole on the
side of the cart and secure by inserting a
screw B1 .
3 Now fit a hub cap B1 . Do the same for
the other wheel.
4 Push the 2 castors into the holes and
press firmly B2 .
5 Refit the motor housing ensuring that the
switches are positioned above the inlet
as illustration A. If the motor housing is
fitted in any other position the latches will
not lock.
•Press the middle and not the bottom of
the latch to lock.
6 Assemble hose, extension tubes and
nozzles as required, see A. Insert the
hose end into the tank inlet and twist to
secure.
6
Wet & dry instructions
 Loading...