9
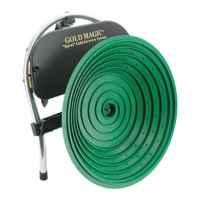
GOLD MAGIC ® MODEL 10M and MODEL 12-10
Hand Crank Set Up and Operating Instructions
The Gold Magic ® 10M is set up and operated just like the other Gold Magic® units.
Follow the directions for the set up as listed previously. The only difference is that with
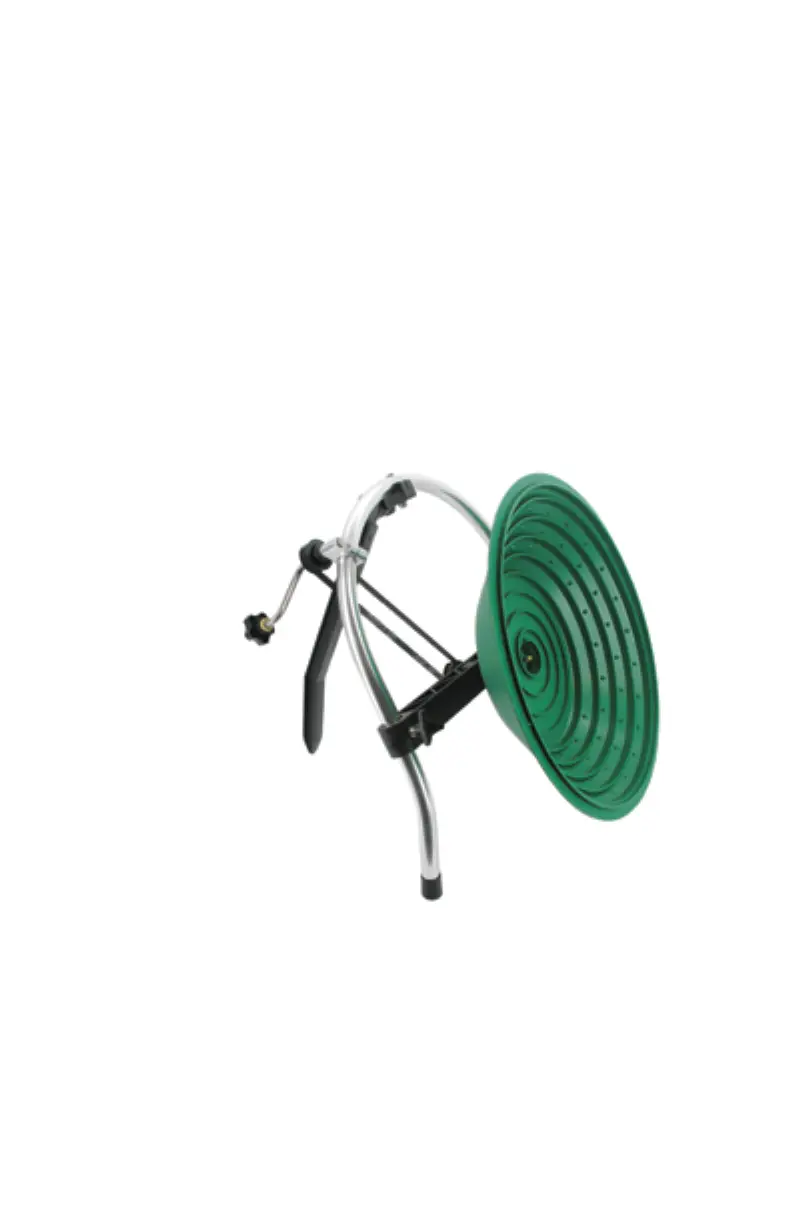
the Model 10M you will be manually turning the pan. If you purchased the MODEL 12-
10, with both electric and hand crank power, you received two drive belts. The longer belt
is to be used with the hand crank. You can store the belt that is not being utilized inside
the Control Box. The way to change operating modes is to change the belts. This is done
by unscrewing the two Axle Bar Knobs on the front of the axle bar. Push up on the bar to
release the pressure on the belt. Remove the current belt. Attach the new belt, push down
on the Axle Bar to set the correct pressure on the new belt and tighten the adjustment
knobs. Do not put too much pressure on the belt. Overtightened belts will increase wear
on the motor and bushings.
Turn the hand crank in a counter clockwise direction. There are arrows molded into the
face of your pan to show the proper direction. For best results rotate the pan at approxi-
mately 19 to 23 RPM.
Upgrading to a 12-10 Electric Powered :
To upgrade your Model 10M to a Model 12-10 you need to purchase the Gold Magic ®
Power Pack. Item number GM-9176. Everything is included to convert your Model 10M
to a Model 12-10.
CONVERT MODEL 12E TO 12-10
You can add the hand crank feature to any gold magic machine with the Hank Crank
Kit, item number GM-9170. This is the Hand Crank assembly, which bolts onto any
Gold Magic without the necessity of drilling or the need of special tools. The longer belt
needed for the hand powered operation is also included.
 Loading...