3
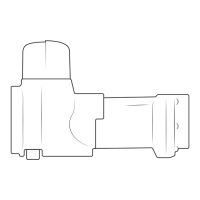
Installing your trap
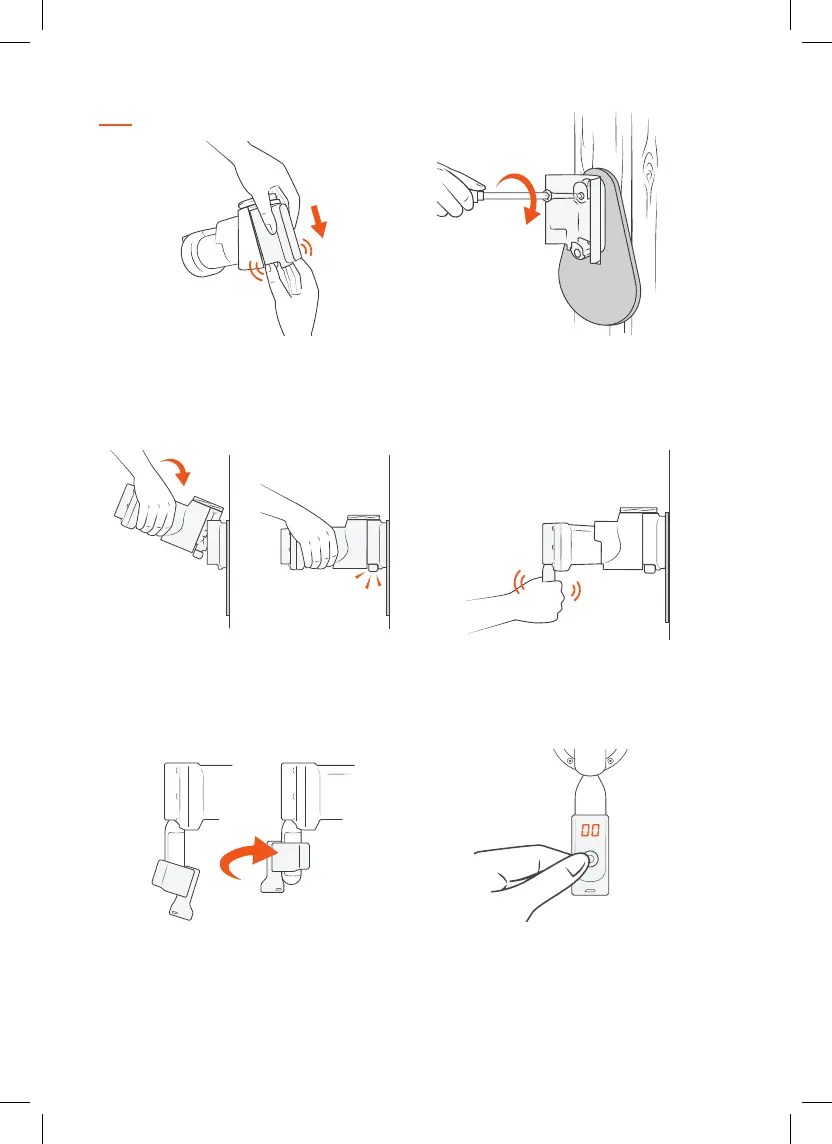
Attach the Trap Body to the Tree Mount
Tilt the Trap Body backwards slightly and lower it onto
the top locking tab of the Trap Mount. As you press
downwards the Trap Body will be guided in toward the
Trap Mount and lock in with a click.
Power up your Trap
Remove the black cap from the gas canister. Be careful
to keep the screw thread clean and free of debris. Screw
the canister firmly into the trap. Hand tighten only.
4.3.
Separate the Tree Mount from the Trap Body
Using your forefinger and thumb, press the Black Tabs
inwards and ease the orange Trap Mount along and o
the Trap Body.
Attach the Tree Mount & Back Plate
Align the holes in the Back Plate with the Tree Mount
holes. Screw into a straight tree or post, 1.5m (5 ft)
above the ground. Do not overtighten the screws.
2.1.
Attach the Digital Strike Counter
Slightly wet the inside of the rubber strap for lubrication
and rotate the Counter anti-clockwise as you ease it up
the canister. The Counter display must face directly
away from the tree.
Zero the Digital Strike Counter
Zero the Counter by pressing the button and holding it
down until the display shows ‘00’. The Counter goes to
sleep a few seconds after the button is released.
5. 6.
 Loading...