2019 | Condential and Proprietary | Do not distribute
Step 6: Remove the old connector
Twist the wire connectors counterclockwise to unscrew them and detach the
120V connector from the old alarm. The exposed wire should be straight and
measure 3/8 in (1 cm).
Step 7: Aach the Nest Connector
Hold the white wire ends together then twist the wires together. This ensures the connection won’t come loose when
pushing the wires back into the ceiling. Then cap them with a wireconnector and twist clockwise until it’s secure.
Repeat with the black wires. Extra wires should be capped with wire connectors. These were likely “communicating”
wires and are not needed because Protect communicates through Wi-Fi. Protect won’t be able to communicate with
other hardwired, non-Nest alarms.
Step 8: Install the Nest Protect backplate
Reuse the existing screws and screw the Nest backplate to the existing
electrical box. Or use the Nest screws and aach the backplate directly
into the wall or ceiling.
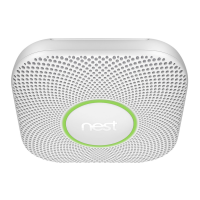
Impoant: In order to aach the Nest Protect to the backplate the Nest
logo must face away from the ceiling and towards the user.
Tip: If the electrical wiring box is recessed and isn't ush with the wall
or ceiling, use the dry wall screws that are included in the Nest Protect
(Wired 120V) box and aach the backplate directly to the ceiling.
Unscrew the backplate from the electrical box. Save the screws for installing the Nest Protect backplate later.
Step 5: Remove old backplate

 Loading...