14
23
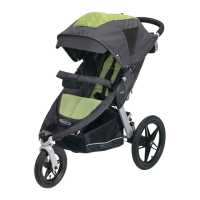
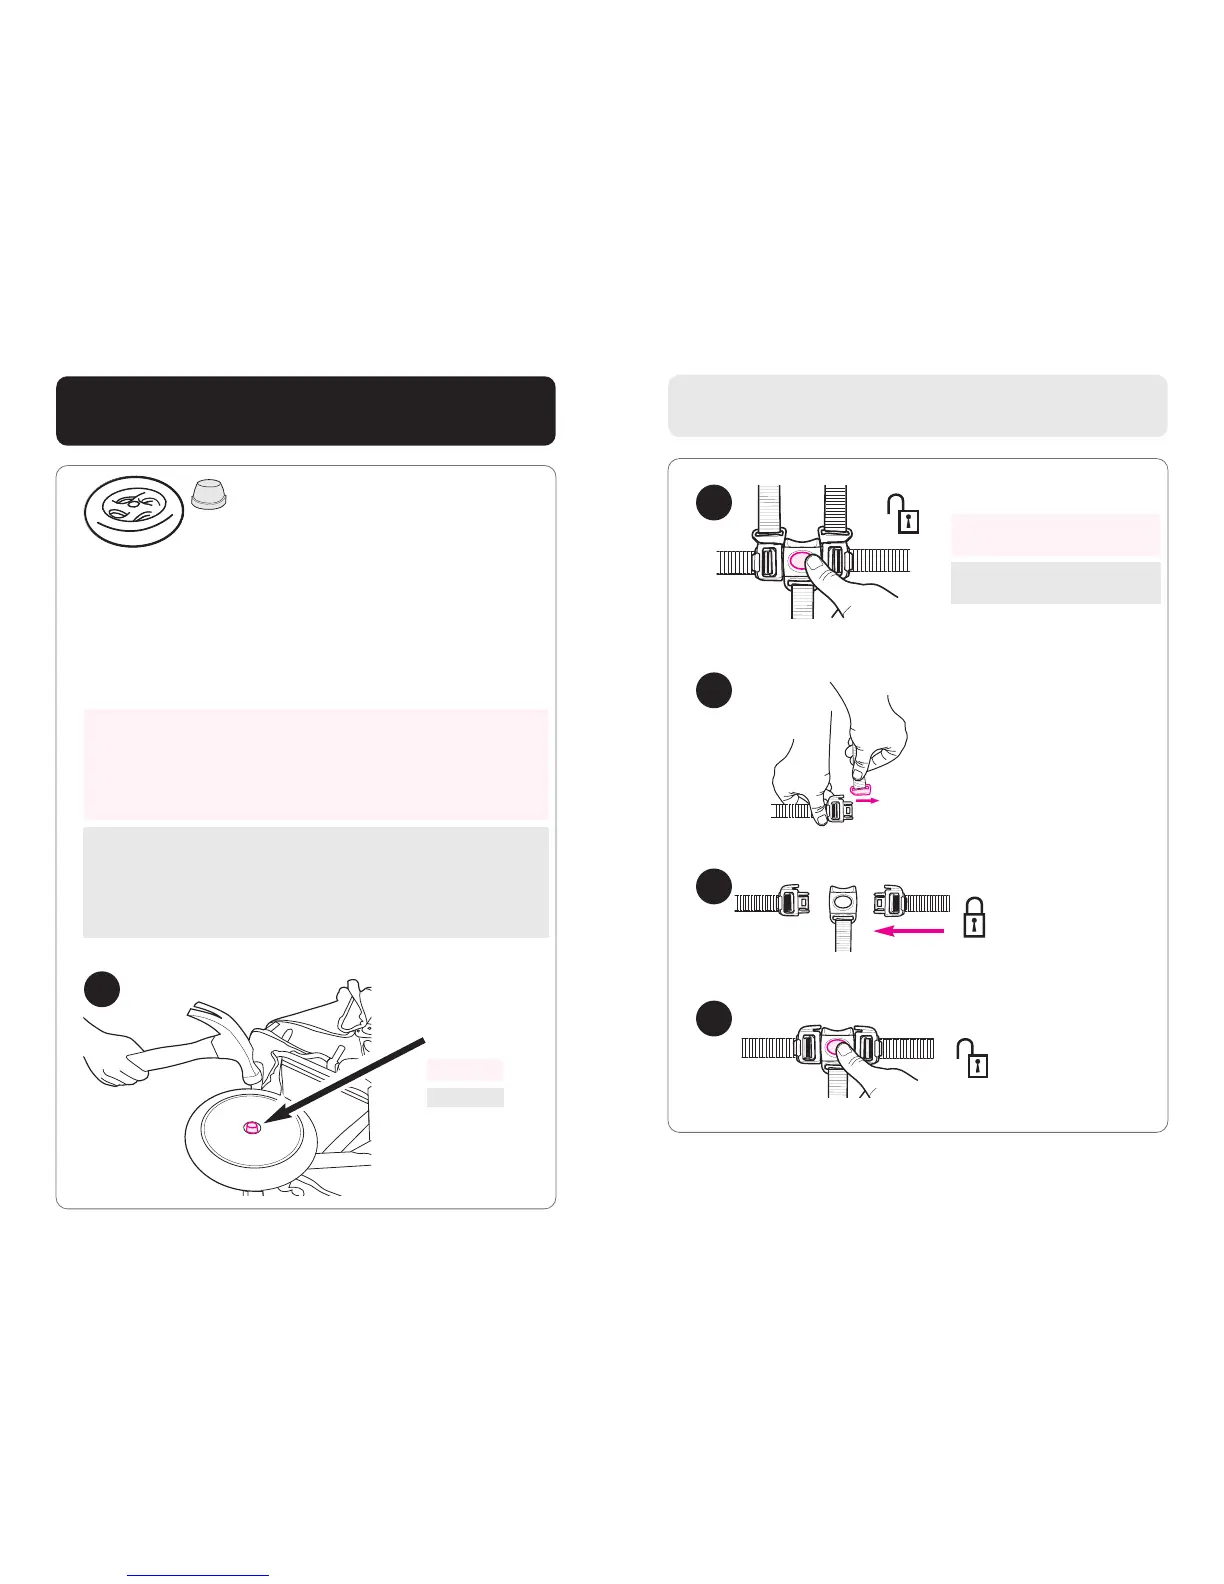
Rear Wheels • Les roues arrières
• Las ruedas traseras
2X
ANTES de instalar la rueda: Asegúrese de poner el cochecito
sobre un pedazo de cartón o algún otro material de protección
para prevenir dañar el piso.
Coloque la rueda en el eje trasero y fije el tapacubos en su lugar.
Coloque el tapacubos en el eje golpeando suavemente con un
martillo. ASEGÚRESE que la rueda esté segura tirando de ella.
AVANT de fixer la roue: Assurez-vous de placer la poussette sur un
morceau de carton ou un autre revêtement de protection pour
prévenir tout dégât au plancher.
Replacez la roue sur l'essieu arrière, et fixez le capuchon en place.
Abaissez le capuchon sur l'essieu avec un marteau. VÉRIFIEZ que
cette roue est solide en la tirant.
BEFORE attaching wheel: Be sure to place stroller on top of a
piece of card board or some other protective cover to prevent any
damage to floor.
Place wheel on rear axle, and set the cap in place. Tap cap onto
axle with hammer. CHECK that wheel is secure by pulling on it.
13
Cap
Capuchon
Tapacubos
31
32
33
34
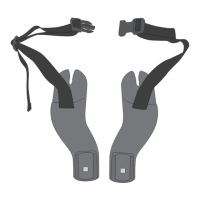
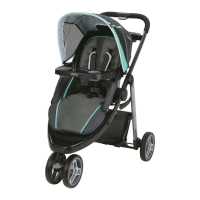
To convert to 3-pt buckle.
Pour convertir en boucle à
3-points.
Para convertirlo en un hebilla
de 3 puntos.
3 Point Buckle • Boucle à 3 point
• Hebilla de 3 puntos
2X
 Loading...