~3~ ~4~
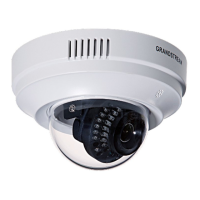
CONNECTING THE GXV3611IR_HD
Refer to the illustration below when following the
instructions on the next page.
NOTE:
Choose Option A if using the power supply; or Option B if
using a Power over Ethernet (PoE) switch.
Option B:
RJ45 Ethernet Cable to Power over Ethernet (PoE) Switch
Option A:
Power Adapter To AC
Outlet
Network
Port
Power Port
12V
Step 3:
Gently counterclockwise rotation to remove the ball cov-
er of camera. Hold camera by aiming the metal columns
to the slot holes of top cover, put in and gently clockwise
rotate the camera to unmovable position. Make sure light
sensor towards down position.
Step 4:
Pan and Tilt lens to desired postion, put back the trans-
parent ball cover, gentlely push and clockwise rotate the
cover to unmovable position to nish the mounting.
Step 5:
Remove the protective lm from the transparent ball cov-
er to nish the installation. It is very important the surface of
ball cover is free of contamination like dust or nger print
to cause IR reection at night.

 Loading...