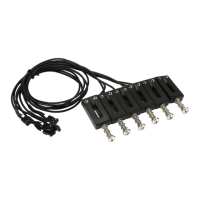
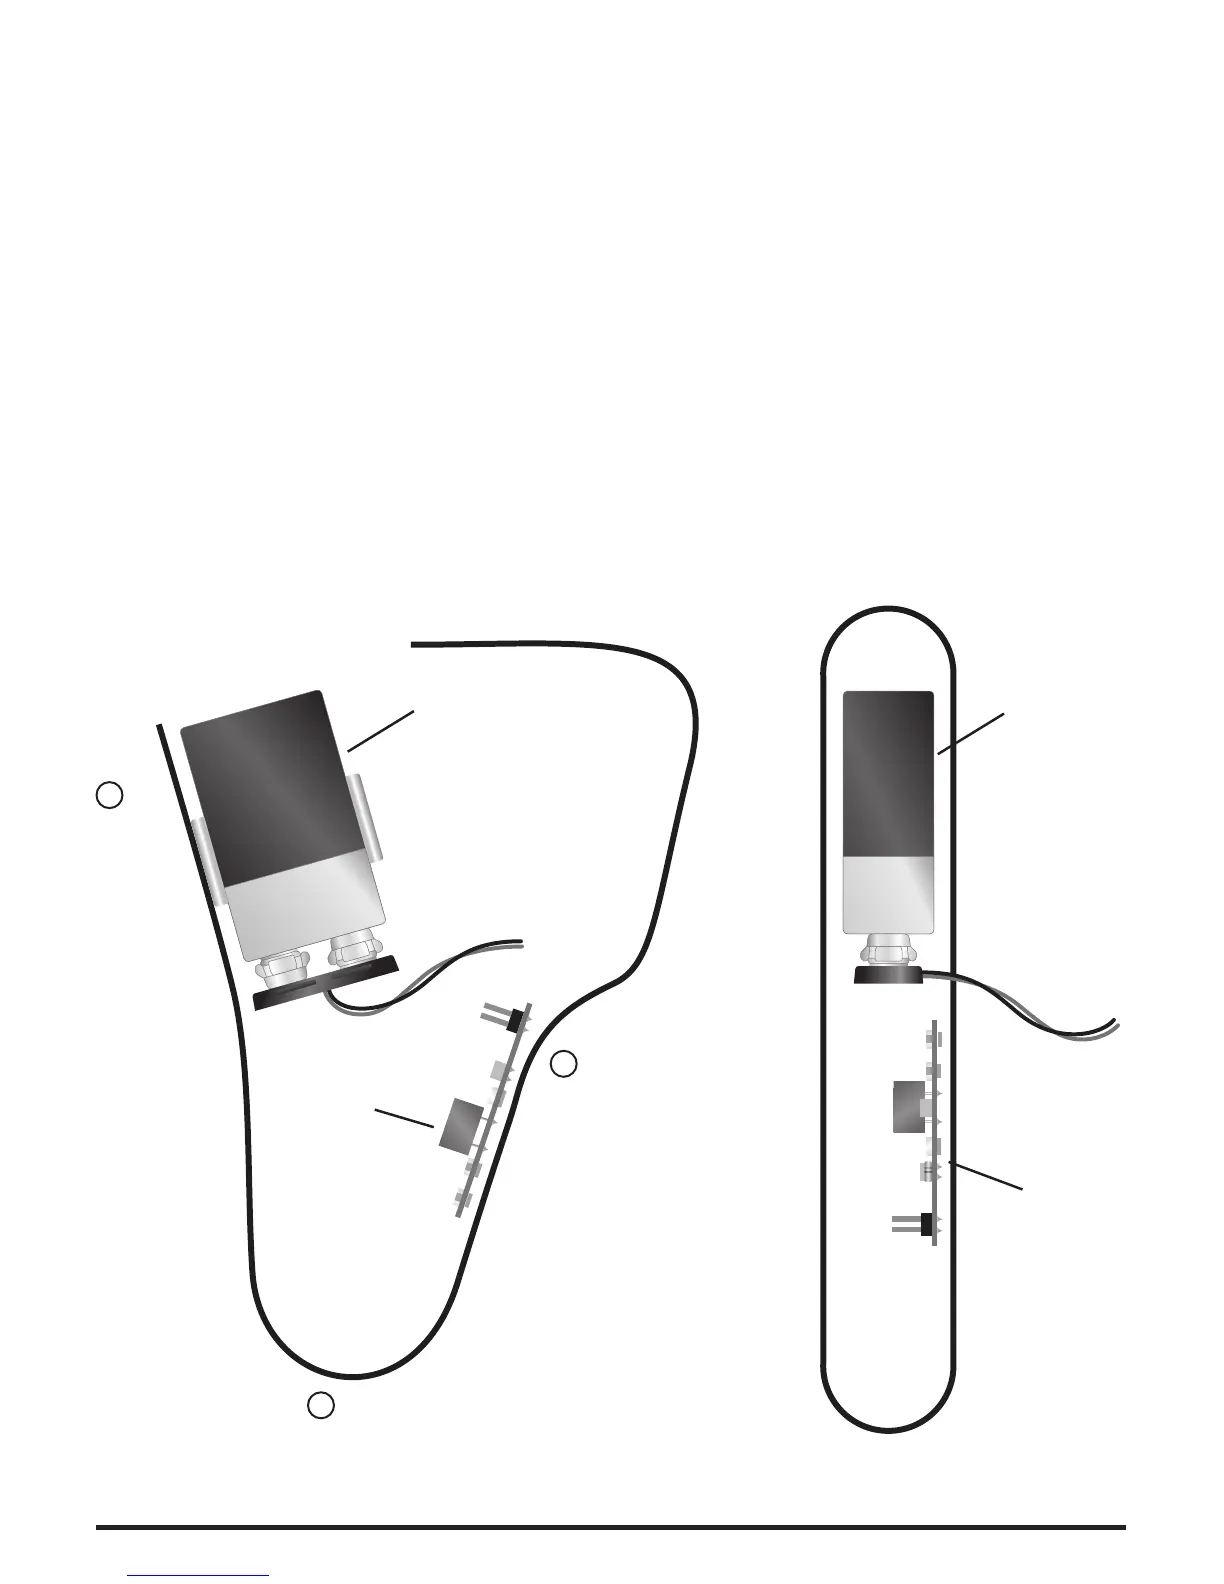
STEP 3B: Installing the Acousti-Phonic Intelligent Pre-Amp
Make sure that there is adequate room in the control cavity for the Acousti-
Phonic Intelligent Pre-amp and battery, and decide how you will arrange them.
Remember that you must leave room to connect the wires to the pins at the end
of the Acousti-Phonic Intelligent Pre-amp.
Secure the battery clip in place with double-sided foam tape supplied, or with
small wood screws.
Secure the Acousti-Phonic Intelligent Pre-amp in place with the double-sided
foam tape supplied.
•
•
•
•
Strat Style Instruments Tele Style Instruments
If you are using an Acousti-Phonic Intelligent Pre-amp, this may be installed
now (Diagram 6).
Battery
Battery
Pre-amp
Pre-amp
Diagram 6.