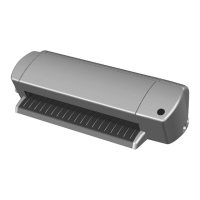
2211
The basic Craft ROBO operations
are described below.
Load a Sheet for Cutting or
Test Plotting.
❑ Mounting the Blade Holder
Confirm that you have the following
items supplied with your Craft ROBO.
Attach a blade adjustment cap.
Test
Plotting
❑ Mounting
❑ Load a sheet in the Craft ROBO
Operation Manual
❑ Media Sizes ❑ Carrier Sheet
Setup is Complete
When using a ballpoint pen, select “Pen”
for “Media Type” in the Craft ROBO
Controller.
Caution
● Be particularly careful with the
cutter blade when changing the
blade adjustment cap or mounting
the blade holder in the Craft ROBO.
● Graphtec does not guarantee the
cutting quality when non-genuine
Craft ROBO media is used.
Using non-standard media may void
the warranty.
When using a ballpoint pen, be
sure to use a narrow one. In
addition, confirm that the tip of
the pen protrudes 3 to 3.5 mm
from the ballpoint pen holder.
Please refer to the Craft ROBO
User’s Manual (CD-ROM) for
further details on the ballpoint
pen types that can be used.
When loading an
A4-size sheet, align
it with the guideline
indented on the
Craft ROBO’s front
guide.
To cut a sheet smaller than A4 size or a sheet without a
protective liner, affix it to the carrier sheet included with the
Craft ROBO before performing cutting.
Peel off the liner from the center of the
carrier sheet, and then affix the sheet for
cutting to the adhesive surface.
To cut regular A4-size media, peel off the
liner strips from both sides of the carrier
sheet as well prior to use.
621341730
Loosen
Tighten
Mount the blade holder in the Craft ROBO.
If you are using media that does not require the carrier sheet, mount the blade
holder while making sure that the protrusion on the holder faces the front and that it
is aligned with the notch in the clamp bracket.
If you are using the carrier sheet, turn the protrusion on the holder 90 degrees to the
right so that it fits against the protrusion on the clamp bracket.
The most suitable blade adjustment cap is automatically displayed when the media
type is selected from the “Media Type” drop-down box in the Craft ROBO Controller.
Protrusion on the holder
Protrusion on the clamp bracket
Notch in the clamp bracket
Lock lever
Loosen Tighten
Front
Holder
Holder
Front
Top view Side view
Note: In the diagram below,
the protrusion on the holder is
facing the front.
Protrusion on the holder
When using media without
the carrier sheet
Firmly insert the blade holder until
this face contacts the clamp bracket.
When using the carrier sheet
Cutting
The most suitable cap
color for the selected
Media Type is
displayed
Media Type selected
to be cut
Ballpoint pen
Ballpoint pen
holder
Tighten
Loosen
Do not load media without a protective liner, or perform a cutting operation
when there is no media loaded, as this will damage the cutting mat.
Note before using
Loadable sheet width
210 mm to 260 mm
Cutting width
190 mm
(Max. 200 mm)
Liner
Paper backing
Adhesive
Liner
Use the Media Trial Kit to learn how to operate the Craft ROBO.
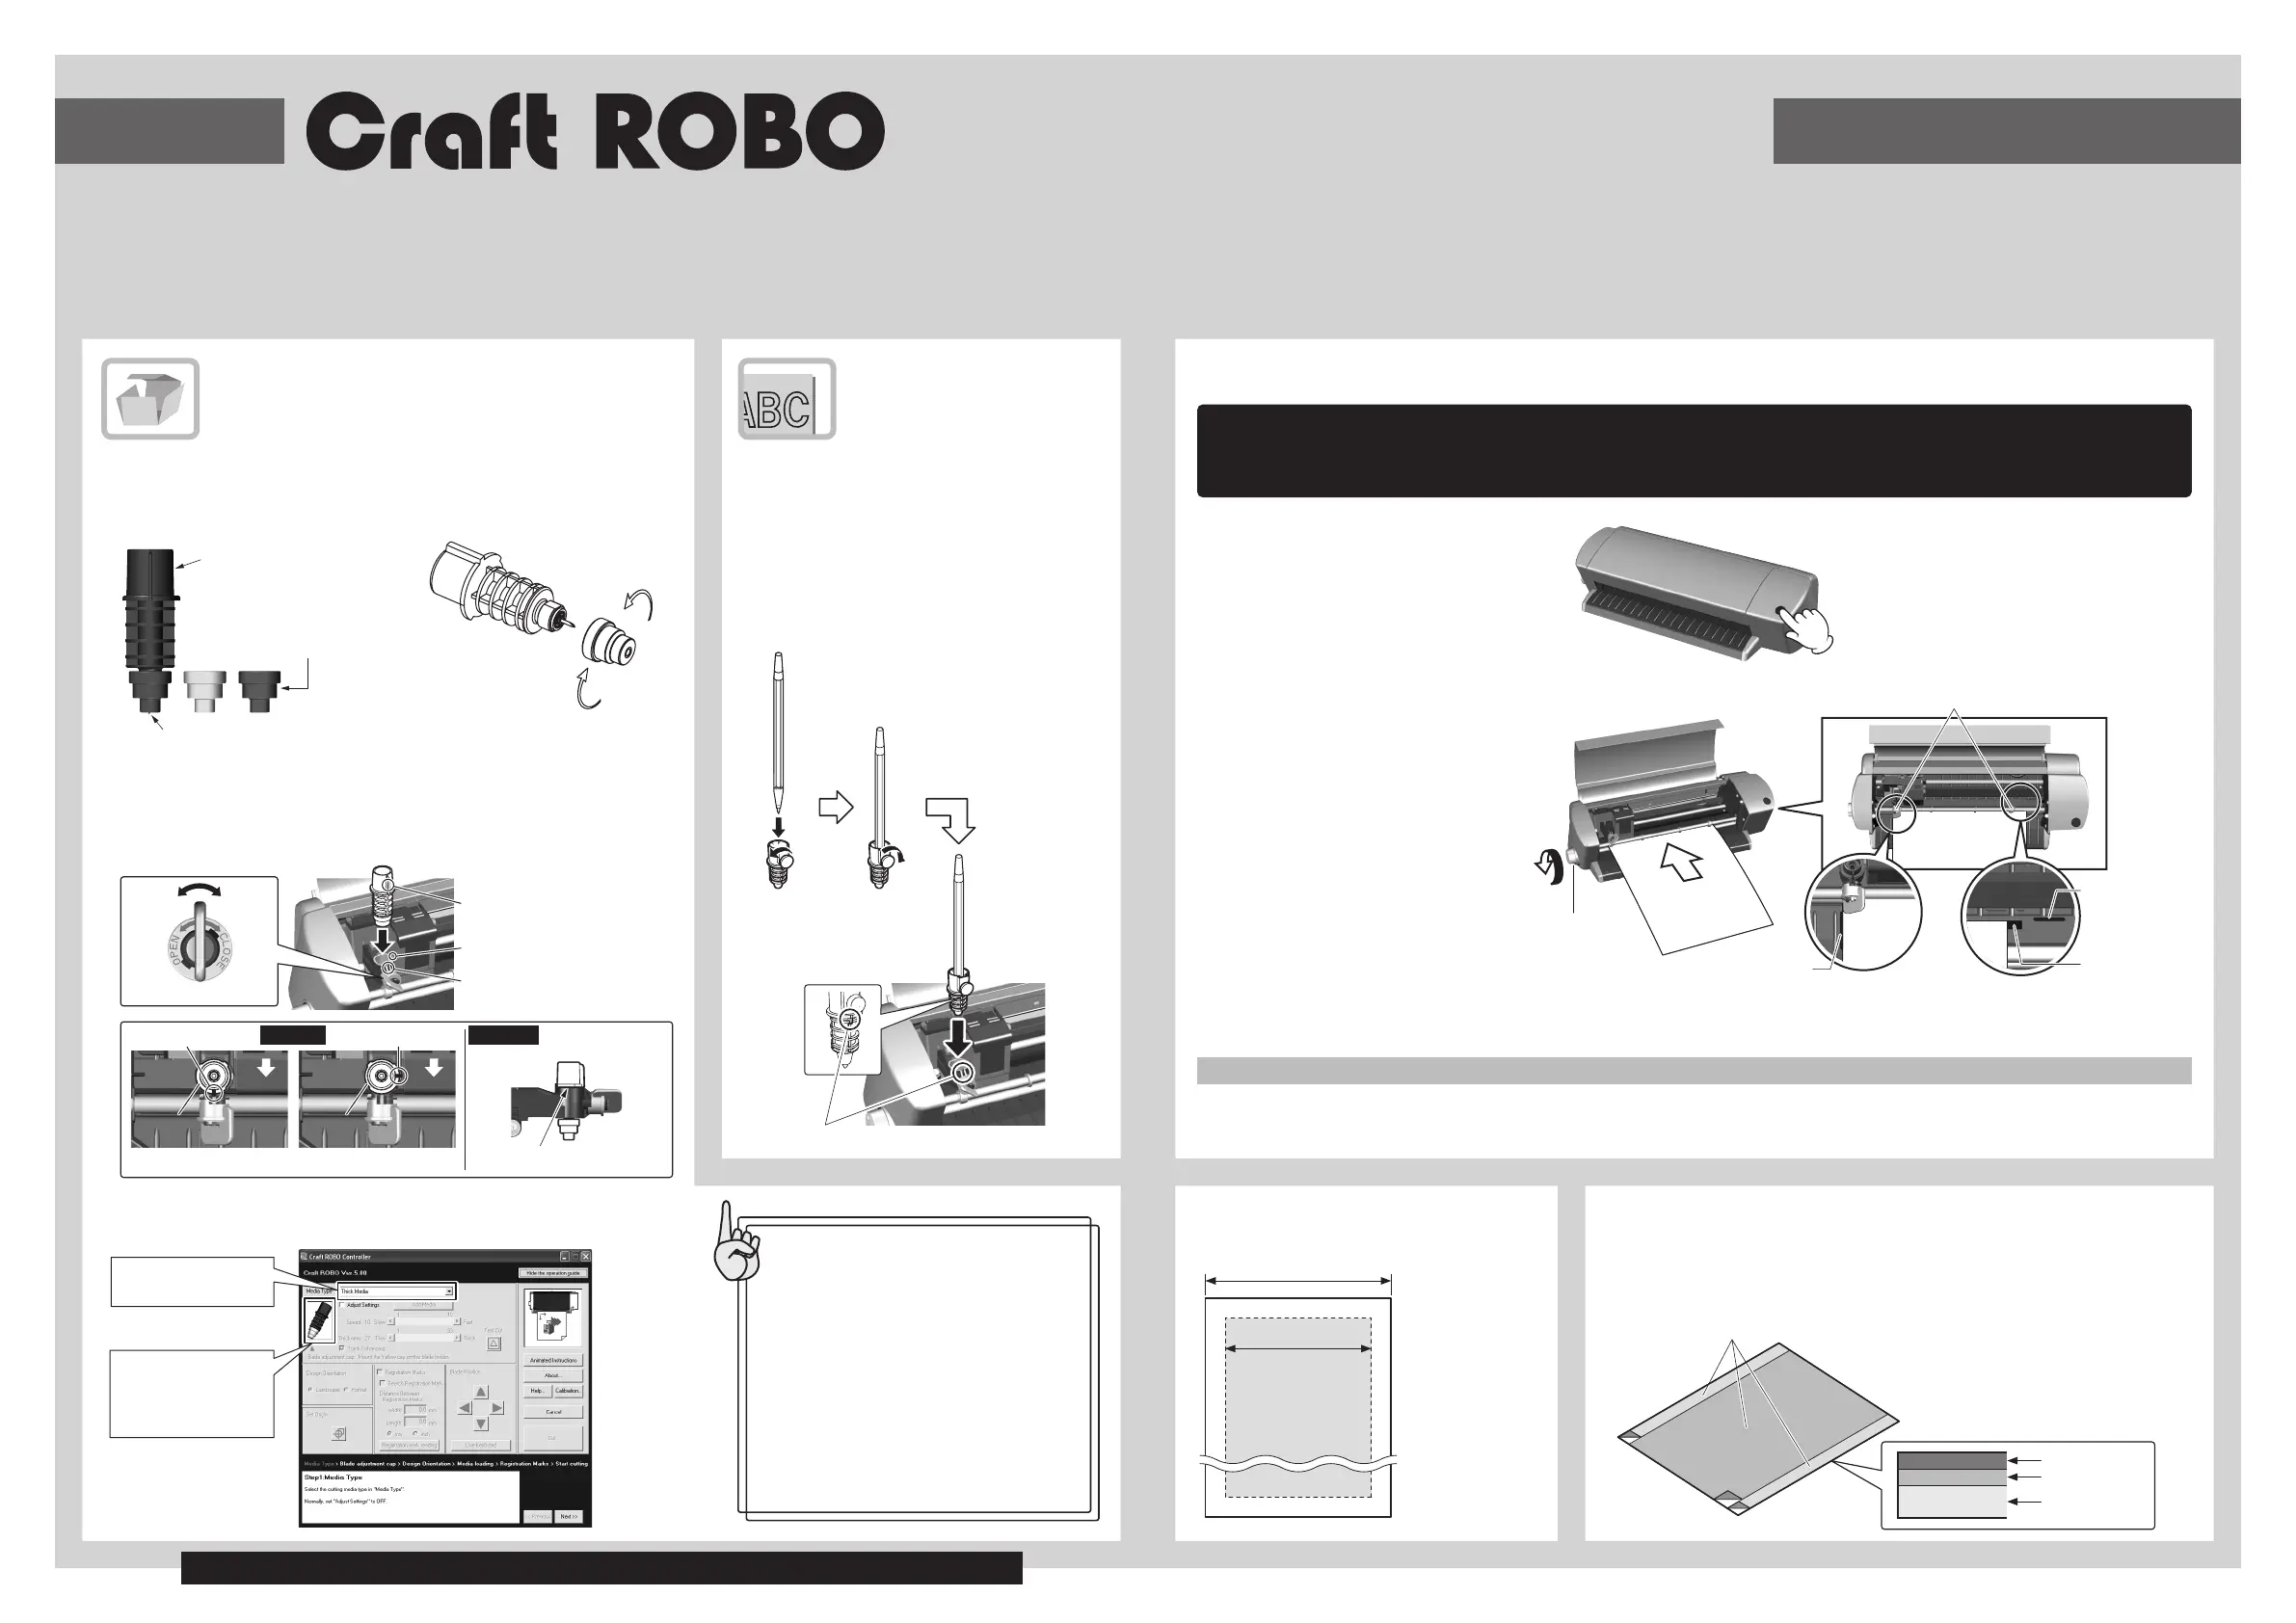
● Press the standby switch to turn
on the power, and confirm that
the lamp on the standby switch is
lit (blue).
● Align the left edge of the sheet
with the vertical guideline
indented on the front guide.
Place the top edge of the sheet
against both pinch rollers,
making sure that the sheet is
straight.
● Turn the feed knob in the
direction toward the rear of the
Craft ROBO to feed the sheet
until its top edge is aligned with
the rear edge of the cutting mat,
or with the indented guideline
located next to the cutting mat.
Note: Turn the feed knob to remove the sheet.
When cutting has been completed, press the standby switch and confirm that the lamp on the standby switch goes out.
Align with the notch
Place the top edge of the sheet
against both pinch rollers.
Guideline indented
on the front guide
Guideline located
next to the cutting
mat
Cutting mat
Holder
Holder
Protrusion on the holder
Feed knob
Holder
Blade adjustment cap
·Blue (0.1 mm): Thin film
·Yellow (0.2 mm): Thick film, thin paper
·Red (0.3 mm): Thick paper such as a postcard
Blade
To ensure that the loaded sheet is straight,
align the left edge of the sheet with the
guideline indented on the front guide.
 Loading...