121
U-Match Series DC
Inverter Service Manual
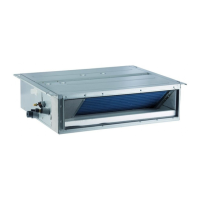
3. Disassembly of
EHDULQJ¿[LQJSODWHV
Unscrew the 3 screws and 2 nuts of support
to remove the mounting support.
4. Disassembly of motor
Loosen the 2 screws of the motor attaching clamp,
remove the motor attaching clamp and motor
attaching clamp subassembly to remove the motor.
'LVDVVHPEO\RIULJKWDQGOHIW¿[LQJSODWHV
Remark: Make sure that the power supply is cut off before disassembling and protect all the parts during disassembly.
Step Illustration Handling Instruction
Disassembly of right
DQGOHIW¿[LQJSODWHV
'LVDVVHPEOHWKHEROWVRQULJKWDQGOHIW¿[LQJSODWHV
with tools. (As is shown by the arrow in the graph.)
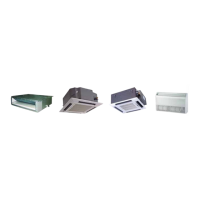
Model: GTH09K3FI~GTH24K3FI, GTH48K3FI, GTH60K3FI
Disassembly of panel grating module
Remark: Make sure that the power supply is cut off before disassembling and protect all the parts
GXULQJGLVDVVHPEO\'RQRWSXW¿OWHUVFUHHQQHDUWKHKLJKWHPSHUDWXUHKHDWVRXUFH
Step Illustration Handling Instruction
Disassembly of sub-
assy of front grill
1. Unscrew the 2 clasps of the upper grill
and the 2 screws of the clasps.
2. Open the grill, disassemble the 2
down clasps to remove the grill
'LVDVVHPEO\RIULJKWDQGOHIW¿QLVKLQJSODWHV
Remark: Make sure the power supply is cut off before disassembling and protect all
the parts during disassembly. Do not scratch the outer parts.
Step Illustration Handling Instruction
Disassembly of right and
OHIW¿QLVKLQJSODWHV
Disassemble the screws as shown in the graph with
screwdriver and then push upward to remove the
ULJKWDQGOHIW¿QLVKLQJSODWHV$VLVVKRZQLQWKH
graph, arrow represents the position of screws.)
 Loading...