-32-
Model G1066R/Z/G1079R (Mfd. Since 02/11)
Overloading the motor or pushing the sand-
er to failure weakens the electrical sys-
tem. Repeatedly doing so is abuse to the
machine that will cause motor, capacitor, or
circuit breaker damage, which is not cov-
ered under warranty.
Setting Conveyor
Speed (G1066Z)
The conveyor speed control allows you to set the
conveyor speed from 0–10 (0–20 FPM). The cor-
rect speed to use depends on the type of stock
you are using (hardwood vs. softwood) and the
stage of finish you are at with that workpiece.
As a general rule, a slower speed will sand the
surface smoother, but runs the risk of burning the
wood; a faster speed will remove material faster,
but runs the risk of overloading the motor. Use
trial-and-error to determine the best settings for
your specific applications.
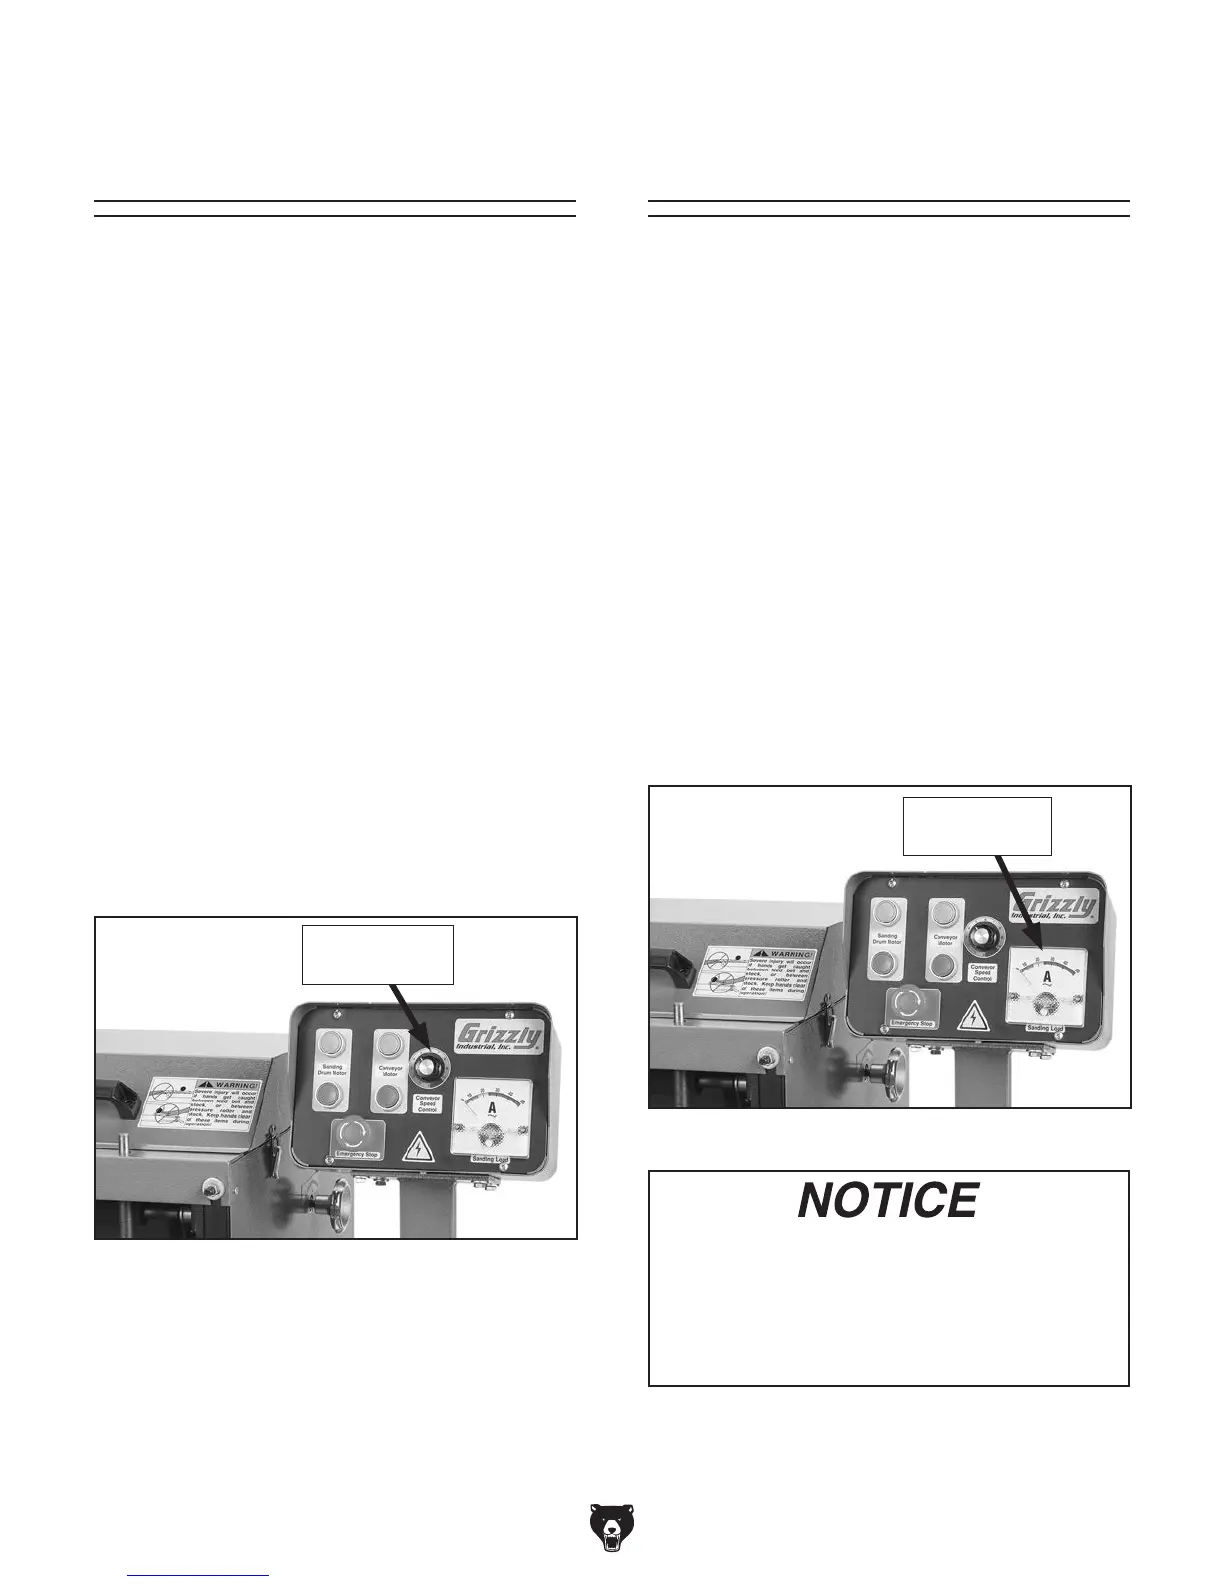
Figure 69. Location of conveyor speed control
(G1066Z).
To set conveyor speed:
1. Set conveyor speed control to "0," and then
turn conveyor motor ON.
2. Slowly turn conveyor speed control (see
Figure 69) clockwise to increase conveyor
speed.
— If conveyor speed is too high, turn control
counterclockwise to decrease conveyor
speed.
Conveyor
Speed Control
Monitoring Sanding
Load (G1066Z)
The load meter (see Figure 70) displays the
amperage draw of the sanding drum motor. The
needle moves to the right when you increase the
load on the sanding drums and moves to the left
when you decrease the load. Use this meter to
avoid overloading your machine with too heavy
of a cut.
IMPORTANT: NEVER exceed 25 amps—this
is the maximum that your machine can safely
handle!
Since various types of stock will react differently
with various loads, use trial-and-error to deter-
mine the best settings for your applications. As
a general rule, always start with a small load
and work your way up. We recommend that you
do not push your machine to its maximum load;
instead, make multiple passes or install a coarser
grit paper.
Figure 70. Location of load meter (G1066Z).
Sanding Load
Meter
Setting Conveyor Speed
 Loading...