1
English
Application
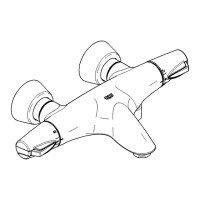
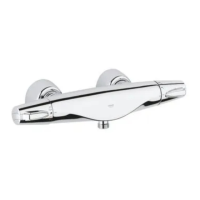
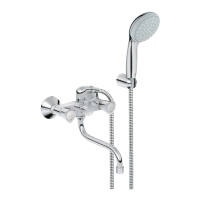
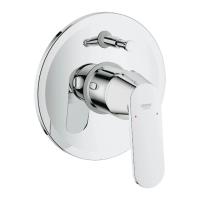
Surface mounted thermostatic mixers are designed for
hot water supply via pressurized storage heater and
utilized in this way provide the best temperature
accuracy.
Thermostats cannot be used in connection with low
pressure storage heaters.
All thermostats are adjusted in the plant at a flow
pressure on both sides of 45 psi.
If temperature deviations should exist due to special
installation conditions, then the thermostat is to be
adjusted to the local conditions (see Adjustment).
Specifications
Minimum flow pressure without
downstream resistances 7.25 psi
Minimum flow pressure with
downstream resistances 14.5 psi
Max. working pressure 145 psi
Recommended flow pressure 14.5 psi-72.5 psi
Test pressure 232 psi
Flow rate approx. 3.5 gpm/20 psi
approx. 5.3 gpm/45 psi
approx. 8.0 gpm/100 psi
Max. water temperature at hot
water inlet 176 °F
Recommended max. stored
temperature (energy saving) 158 °F
Safety check 100 °F
Hot water temperature at supply connection
min. 4 °F (2 °C) higher than mixed water temperature
Cold water connection right
Hot water connection left
Minimum flow rate = 1.3 gpm
At a flow pressure over 72.5 psi it is recommended that
a pressure reducing valve be fitted in the supply line.
Installation
Flush pipes thoroughly!
Install S-unions and fit mixer, for required
dimensions, see fold-out page I, fig. [1].
1.Install the S-unions and sleeve, preassembled with
the escutcheon.
2.Screw-mount the mixer and check connections for
leakage.
3.Push the sleeve with escutcheon onto the union nut.
4.Screw the escutcheon flush against the wall.
Refer to the dimensional drawing on fold-out page I.
Reversed union (hot on right - cold on left).
Replace thermoelement (A), see replacement parts
fold-out page II, ref. No. 47 657 (1/2”).
Adjustment
For temperature-adjustment, see figs. [2] and [3].
• Before the mixer is put into service if the mixed
water temperature measured at the point of
discharge varies from the specified temperature set
on the thermostat.
• After any maintenance operation on the thermostatic
cartridge.
1.Open the shutt-off valve and check the temperature
of the water with a thermometer, see fig. [2].
2.Lever out cap (B), see fig. [3].
3.Unscrew screw (C).
4.Pull off temperature control handle (D).
5.Turn adjusting nut (E) until the water temperature
reaches 100 °F.
6.Install temperature control handle (D) in such a way
that the button (G) facing the front.
7.Reinstall screw (C).
8.Fit cap (B) back on.
Temperature limitation
The safety stop limits the temperature range
to 100 °F.
If a higher temperature is desired, the 100 °F limit can
be overridden by pressing the button (G).