41
ENGLISH
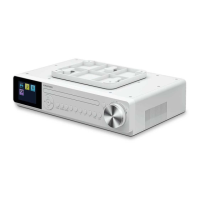
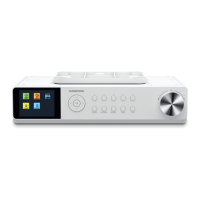
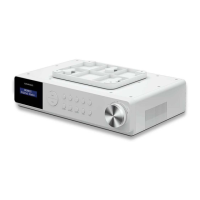
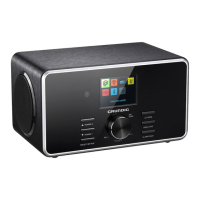
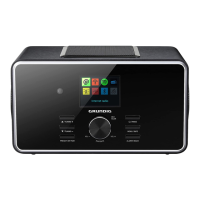
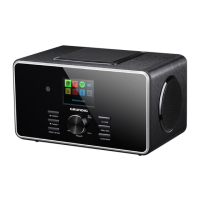
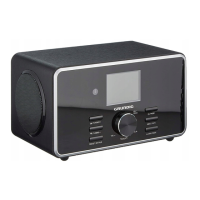
MOUNTING THE DEVICE
-----------------------------------------------------------------------------
4 Radio reception may be restricted in bad
weather.
Device’s mains power connec-
tion and settings
Mains adapter connection – first instal-
lation
Place the connection cable’s DC plug in the
socket DC IN, 6V
2A and the mains adapter
into a properly installed 230V ∼ 50Hz earthed
power socket which is accessible at all times.
1 When the device is connected power at first
time, the device starts at the standby mode.
– Display: < GRUNDIG > and then < 00:00
(blinking) > and < Time is not set >.
– In background operation, the device starts to
search DAB and FM radio stations for auto
time sync function.
2 The time will be updated automatically in min-
utes.
– Display: < Current Time and Date (if avail-
able) >.
Note:
7
If the radio station signal is too weak, the
time will not be sync. In this case, the blinking
< 00:00 > and < Time is not set > will keep
show on the display.
7
Then the time need consider be set manually.
Tuning and storing radio stations
(DAB and FM) – first installation
When the device is connected to power source
for the first time or after factory reset; as default-
ed the Auto Tuning System will start to scan the
whole DAB bandwidth. The device will then scan
the FM waveband. The time is updated automati-
cally.
1 Once power source is connected, the device
starts at the standby mode. (when you use the
device for the first time)
2 Long press the » / MODE« button, for 3 se-
conds, to switch the device on.
3 The device starts the Auto Tuning System func-
tions to scan the whole DAB bandwidth and
stores the found stations in the station list (pro-
gram list).
4 After the full scan processing completed, the
device is used DAB mode and the first received
station for listen.
5 Rotates the »OK « knob to »-« / »+« on pro-
duct or press »VOL-« / »VOL+« on remote
control to set the desired volume level when
necessary.