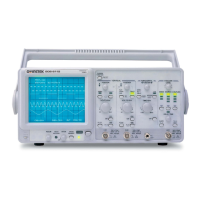
Fault/Servicing Notes
• Be careful of sharp edges on the chassis. It will bite!
• With any brightness issues or dim/weak traces, first check the CRT board for dry joints
• Access to the X input circuits can be tricky. Desoldering the screening plate at the two rear
corners, and then sliding the plate to the rear will give access to the components. Undo the
6 fixing screws through holes in the PCB will allow the complete panel to be removed by
sliding backwards and tilting upwards, be careful though as the front of the panel will jam
against the boss on the plastic foot
• The ‘X’ I/P circuits are roughly the same as the GWInstek GOS6200 ‘scopes. Until I get
around to mapping the I/P board schematic, it will do at a pinch for general signal flow
• Main problems seem to be with the PSU’s. The HV unit seems to eat the HT diode D1012.
I’ve used R3000 ones as a substitute. Dry joints around the HV transformer are another
issue.
• The LV PSU has a bunch of regulators and transistors that are fixed to the chassis for heat
sink purposes, however I have rebuilt a board with the heatsinks and regulators etc. fitted to
the PCB. During use the heat sinks do not get overly hot, so maybe it’s only really needed on
the scopes with more boards/features where more current is drawn
• The mains switch is a very weak area, I have found 3 scopes, all in new physical condition
with O/C switches. I have been unable to find an exact replacement, but there are many
versions available that can be used with a small amount of PCB fettling. This is another of my
gripes about these scopes. The mains switch is fitted to the LV PSU PCB, and makes removal
of the board a bit of a faff. I’m looking at alternate ways to mount the switch in future, and
remove it from the PCB completely
• The relays on the X I/P board are all A5W-K, 2 Pole 2 Pos. Pin1 is at the black line marking,
and not the square indentation in the plastic case
• Most of the S/M component on the X I/P board lack identification markings. This makes it
tricky to transfer to a schematic
 Loading...