2
G Operating instruction
Thank you for choosing aHama product.
Take your time and read the following instructions
and information completely.Please keep these
instructions in asafe place for futurereference. If
you sell the device, please pass these operating
instructions on to the new owner.
1. Explanation of Warning Symbols and Notes
Warning
This symbol is used to indicate safety instructions
or to draw your attention to specific hazards and
risks.
Note
This symbol is used to indicate additional
information or important notes.
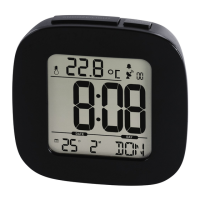
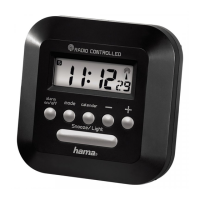
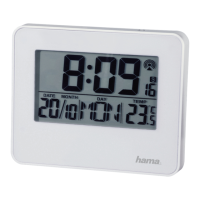
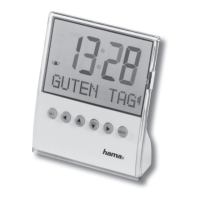
2. Package Contents
•“Heart” alarm clock
•1AA battery
•These operating instructions
3. Safety Notes
•The product is intended for private, non-
commercial use only.
•Protect the product from dirt, moistureand
overheating, and only use it in adry environment.
•Donot use the product in areas wherethe use of
electronic devices is not permitted.
•Donot drop the product and do not expose it to
any major shocks.
•Donot attempt to service or repair the product
yourself.Leave any and all service work to qualied
experts.
•Donot modify the product in any way.Doing so
voids the warranty.
•Keep the packaging material out of the reach of
children due to the risk of suffocation.
•Dispose of packaging material immediately
according to locally applicable regulations.
Warning -Batteries
•Immediately remove and dispose of dead
batteries from the product.
•Only use batteries (or rechargeable batteries)
that match the specied type.
•When inserting batteries, note the correct
polarity (+ and -markings) and insert the
batteries accordingly.Failuretodosocould
result in the batteries leaking or exploding.
•Donot overcharge batteries.
•Keep batteries out of the reach of children.
•Donot short circuit the batteries/rechargeable
batteries and keep them away from uncoated
metal objects.
4. Startup and Operation
•Open the battery compartment, insert one AA
battery,ensuring that the battery is inserted
correctly in terms of polarity,and then close
the battery compartment. The clock is ready for
operation.
Setting the time
•Use the setting wheel on the back of the alarm
clock to set the time (hours/minutes).
•Toset the seconds, remove the battery to stop
the seconds. Put the battery back in to start the
seconds hand again at the right second.
Setting the alarm
•Move the setting wheel
on the back of the
alarm clock in the direction of the arrow to set the
appropriate alarm time. The hand for the alarm
time moves in an anticlockwise direction.
•Toactivate/deactivate the alarm, move the slide
switch to the ON or OFF position.