RIDING HAMMERSCHMIDT™
HERE’S HOW TO USE HAMMERSCHMIDT
HammerSchmidt has two front transmission gears: 1:1 and Overdrive. In 1:1, everything in the mechanism is locked and
spinning together; one turn of the pedals equals one revolution of the chainring. This is great for tackling steep climbs! In
Overdrive, one turn of the pedals equals approximately 1.6 revolutions of the chainring. This is great for hammering big
descents!
The shift from 1:1 to Overdrive can be made smoothly and instantly using the proprietary HammerSchmidt X.0 or X.9 trig-
ger shifters. Press the large shifter paddle to pull cable and you’re in 1:1. Instantly! Press the small shifter paddle to release
cable and you’re in Overdrive. Instantly! With only two shifting directions, you’ll never make a bad shift.
Remember, you can shift in any circumstance, no matter what your chain tension is without having to plan ahead.
HammerSchmidt does not depend on pedaling; shift while regrouping with your crew before the next climb, shift mid-
manual, even shift while coasting or pedaling backward. Shift smoothly and instantly anytime, every time. Your days of front
shifting as you know it are over. HammerSchmidt!
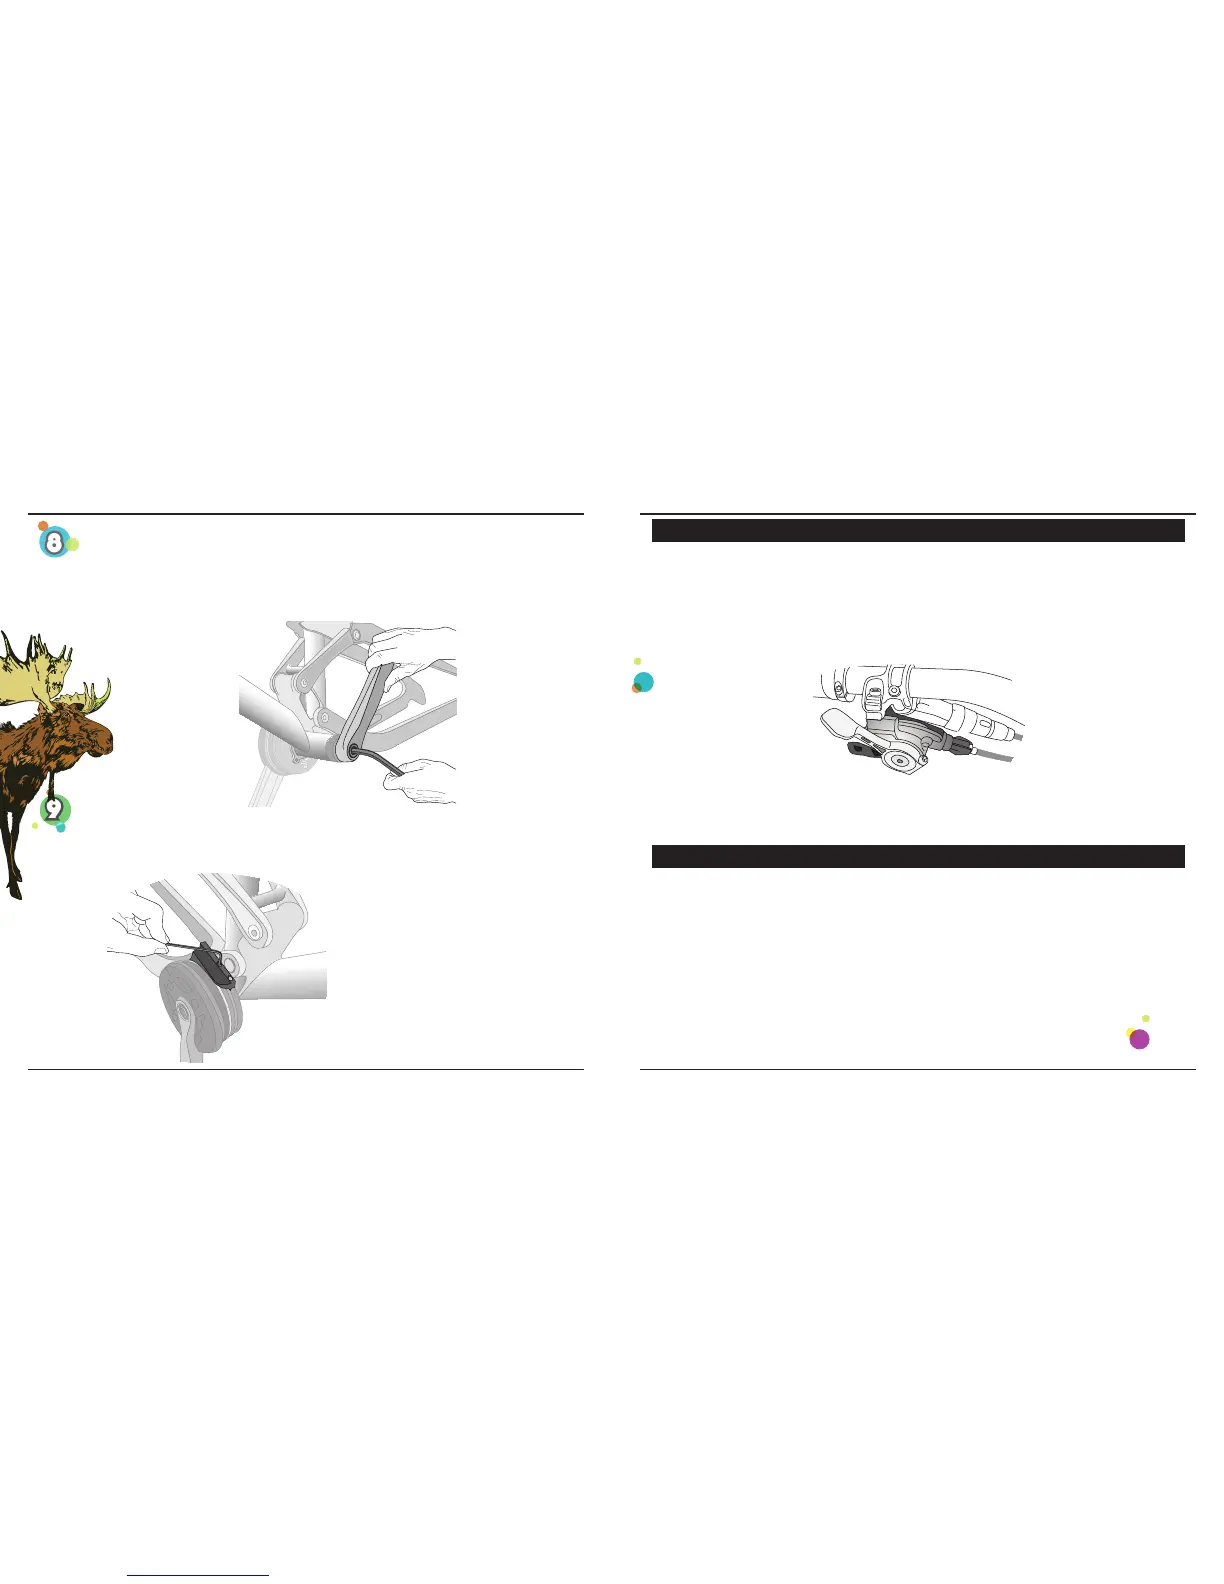
INSTALL CHAIN AND ADJUST CHAIN GUIDE
Size and install a new SRAM chain according to the installation instructions. Use a 3 mm hex to adjust the location of the
chain guide if necessary. Make sure the chain guide does not interfere with the chain when the rear suspension is fully
compressed.
INSTALL NON-DRIVE SIDE CRANK ARM
Apply grease to the non-drive side bottom bracket splines and crank bolt threads. Align the non-drive side crank arm to be
180° opposite the drive side crank arm. Use an 8 mm hex to install the non-drive side crank arm, making sure the spindle
splines engage with the bottom bracket. Tighten the crank bolt until it stops and torque to 48-54 N·m (425-478 in-lb). Check
that the crank arm contacts non-drive side crank stop (no gap). If it doesn’t, you will need to remove the crank arm, apply
additional grease and re-install.
HAMMERSCHMIDT™ MAINTENANCE
HERE’S HOW TO MAINTAIN YOUR HAMMERSCHMIDT
Use only water and a mild soap to clean your HammerSchmidt unit.
Do NOT use a pressure washer. This will damage the seals and allow dirt/debris to contaminate and potentially damage the
internals of the HammerSchmidt unit.
Periodically inspect all of the bolts of the HammerSchmidt unit and crank arms for proper torque.
After approximately 100 hrs of riding we recommend you take your HammerSchmidt to your local Truvativ dealer to have it
disassembled and the internals inspected for signs of damage or wear. Instruct your dealer to replace any parts that appear
to be damaged or worn.
To obtain service information or instructions, you can visit www.magicmechanics.com or our website at www.truvativ.com
or contact your local Truvativ dealer or distributor.
 Loading...