Title: PCM-1 to PCM-2 Upgrade Instructions Sheet 9 of 25 Rev: A Dwg: 873-4514-001
STEP 13. Lift the PCM-1 module upward to remove it from the connector on the
TCU chassis.
STEP 14. Remove the PCM-2 from its packaging, verify that battery BT1 has been
installed, and remove any shipping tape if it is present. If this battery has not
been installed and was shipped separately go ahead and install it now.
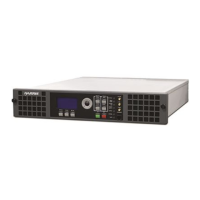
Figure 12 (PCM-2 Module)
STEP 15. Install the PCM-2 module by aligning it with the connector in the TCU
and gently pressing the board down into the card edge connector.
STEP 16. Install the hold down screw at the rear of the PCM-2 module.
STEP 17. Connect the ethernet cables on the rear of the PCM-2 module.
STEP 18. Connect the ethernet cable from the TCU Panel PC to the ethernet port
on the front of the PCM-2 that is near the bottom of the card. This ethernet port
is recessed back from the front edge of the card. See figure 13.
 Loading...