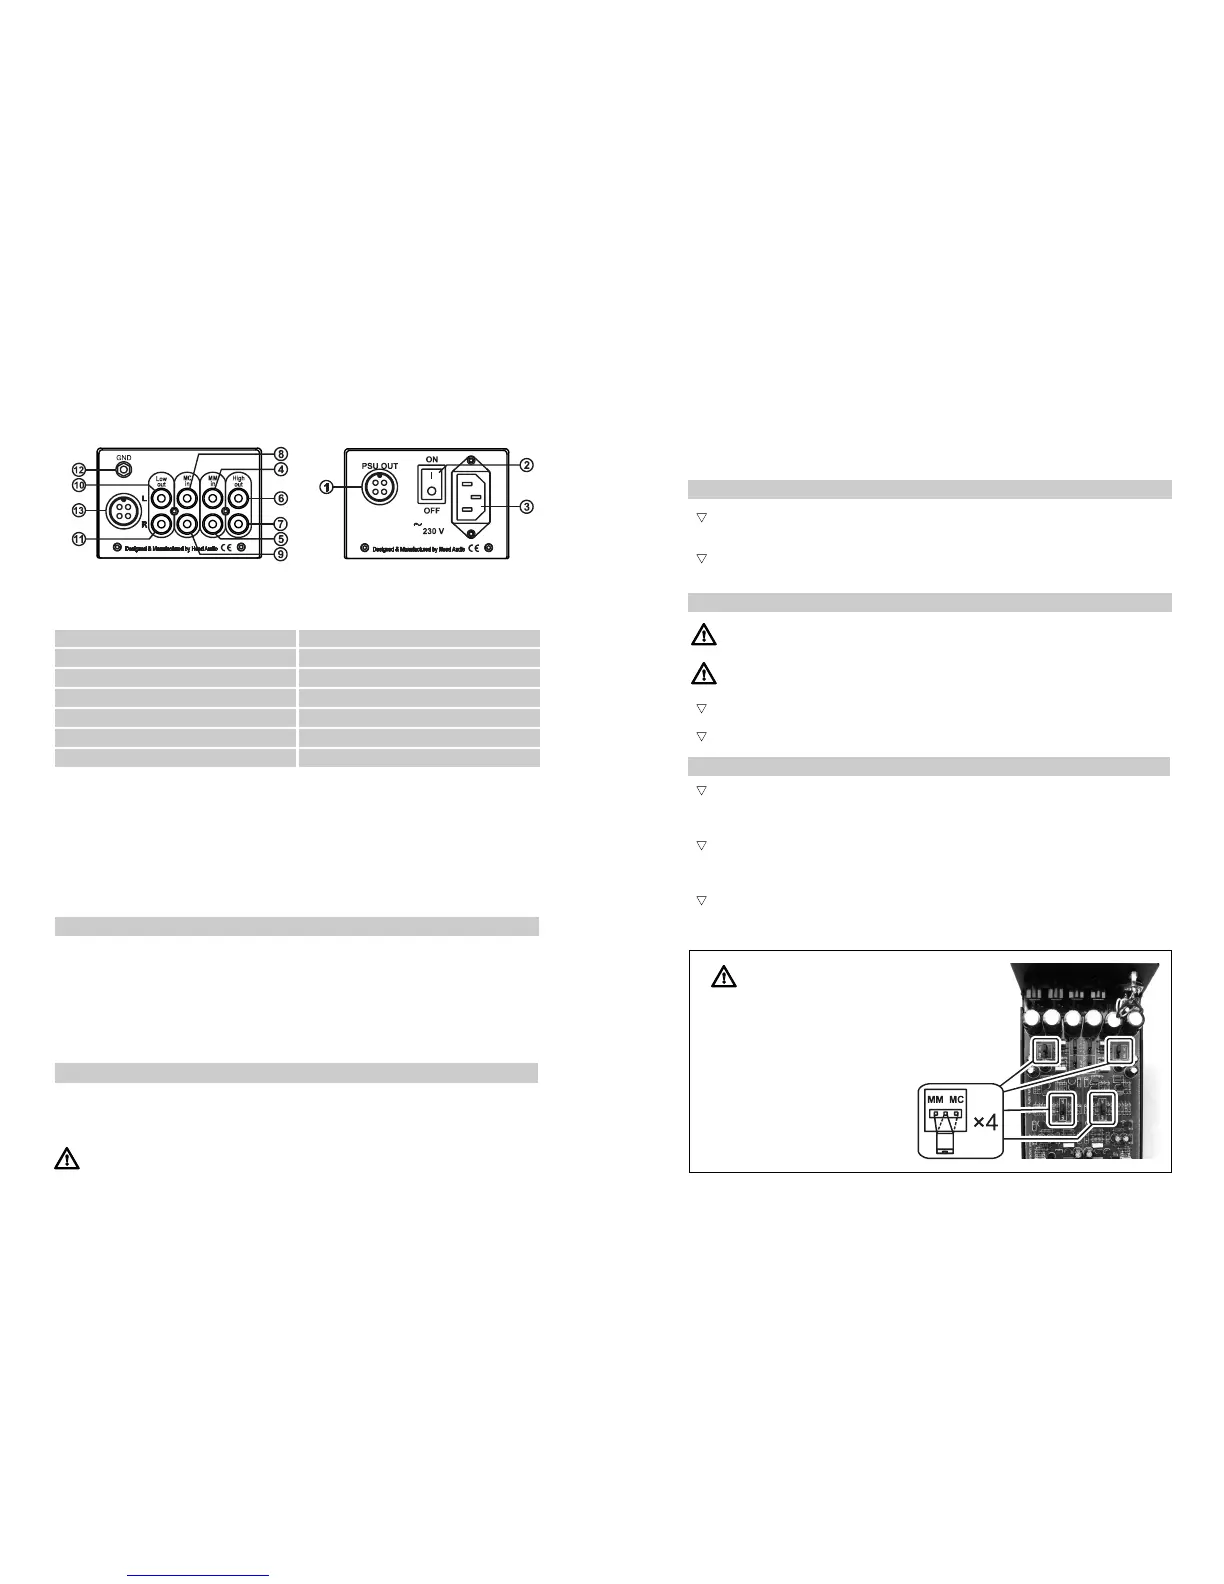
3
Mains connector and fuse socket assy
10
Low Out connector, left channel
4
MM input, left channel
11
Low Out connector, right channel
1
Auxiliary Power Supply connector
8
MC input, left channel
2
Power on/off switch
9
MC input, right channel
5
MM input, right channel
6
High Out connector, left channel
7
High Out connector, right channel
12
Earthing (
for tonarm cables only
)
13
Auxiliary Power Supply connector IN
rear view
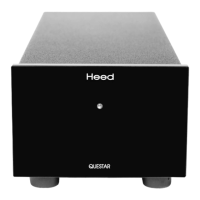
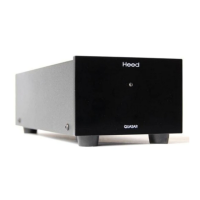
Quasar amplification unit Q-PSU auxiliary power supply
First steps
We believe that a Heed Audio component should optimally be installed by an approved Heed dealer. Nevertheless,
the procedure is straight-forward enough that you may install your new QUASAR phono preamplifier yourself by
following the instructions contained herein. Should any problems be experienced which are not covered here, contact
your local dealer. If you are unable to do so, or problems persist, however, do not hesitate to contact our distributor/reseller
in your country (see our website <www.heedaudio.com> “worldwide distributors” for details), or contact us directly at
Heed Audio …we're here for you!
When opening the boxes and unpacking the units, you will find the following items:
— (1) Heed Quasar MM/MC phono preamplifier (amplification unit)
—
(1)
Heed Q-PSU auxiliary power supply
— (1) special 4-pin PSU connection cable
— (1) IEC-norm mains power cord
— (1) 2.5 mm Allen key
— (1) Users Manual
In common with all high-quality audiophile equipment, the QUASAR and its Q-PSU auxiliary power suppy perform
optimally when positioned on their own individual mounting surface, ideally a light rigid structure. There are many
purpose-built examples readily available from all better dealers.
Do not site the amplification unit near to your tonarm/cartridge. Due to the extremely
low signal level (a few hundred microvolts) unwanted interferences may occur.
unpacking
placement
I
Installation
The Heed Quasar is a two-box device consisting of an amplification unit and an auxiliary power supply which must
be connected to each other first.
_
q
Connect the supplied special PSU connection cable of the Q-PSU auxiliary power supply to the 4-pin PSU
socket on the Q-PSU marked as PSU OUT (1) and on the Quasar marked as PSU IN (10) respectively.
_
q
After plugging the power supply cable into both units, do not forget to tighten the plugs with their special
tightening rings.
Before performing any connections or disconnections, ensure that the on/off power
switch (2) of the unit is in the ’off’ position.
Always check that the voltage and frequency of the mains supply corresponds to
the specifications as marked on the unit!
_
q
Insert the power cord's IEC type plug into the power inlet connector (3) of the Q-PSU power supply.
_
q
Connect the power cord's mains plug to your power outlet.
_
q
C
onnect your record player to the Quasar by inserting the phono RCA plugs into one of the amplification
unit’s input connectors. They are unequivocally marked on the rear: use the connectors 1,2 if your cartridge
is a moving-magnet (MM) type or 5,6 if it is moving-coil (MC).
_
q
If an additional earthing is used with your record player — it is usually a small clip at the end of a thin wire
beside the phono plugs —, it has to be connected to the grounding screw (GND) of the case next to the input
sockets on the rear (9).
_
q
The Quasar is factory set for MC
(100 µV / 100 Ohm). If you want to use a moving-magnet (MM)
system you have to open the unit and switch over from MC to MM. You can change the jumper settings with
a pair of tweezers, or even with your fingertips on the PCB inside of the amplification unit. Follow these steps:
connection to mains supply
connection of amplification unit and power supply
I
I
input connections
Before opening the housing and changing
settings inside, the Quasar has to be switched
off and disconnected from the mains supply by
pulling out the mains plug from power outlet.
Doing so, you must wait until the blue LEDs
have gone out. All input/output cabling should
be disconnected, too.
1.
Remove the housing cover of the Quasar.
2. Change the positions of all four jumpers.
3. Refit the housing cover and fix it with
the screws.
I
 Loading...