July 2013 6.1 Control loops 603
6 Configuring the axes and spindle
6.1 Control loops
6.1.1 Selecting the axes
With MP10 you define which machine axes are to be operable.
The bits may be changed during the run-time without a control reset.
However, the bits to be changed must have been set before the control was
switched on.
Changing bits that had not been set leads to a control reset.
MP10 Active axes
Format: %xxxxxxxxxxxxxxxxxx
Input: Bits 0 to 17 represent axes 1 to 18
0: Axis not active
1: Axis active
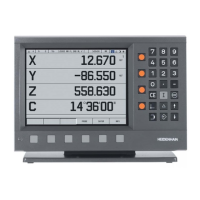
Screen display You can define how the axes are shown on the screen:
In MP100.x, assign a designation to each logical axis.
Define in MP7291.x the screen line in which the axis is to be displayed.
Rules for the display:
NC axes are designated with uppercase letters.
PLC axes are designated with lowercase letters.
Axes that are not present are given a hyphen "-".
MP100 Designation of axes
Format: -wvucbazyxWVUCBAZYX
Input: Characters 1 to 18 from the right represent axes 1 to 18
MP100.3 Designation of axes for traverse range 1
MP100.3 Designation of axes for traverse range 2
MP100.2 Designation of axes for traverse range 3
MP7291 Display of axes on the screen
Format: SXYZABCUVWxyzabcuvw-
Input: Characters 1 to 18 from the right represent lines 1 to 18
At far left is the spindle "S," which is always output in the lowest
line.
MP7291.0 Display in traverse range 1
MP7291.1 Display in traverse range 2
MP7291.2 Display in traverse range 3
 Loading...