EN
EN
Fan casing types ELS-GAP / ELS-GAPB
Installation and Operating Instructions
6
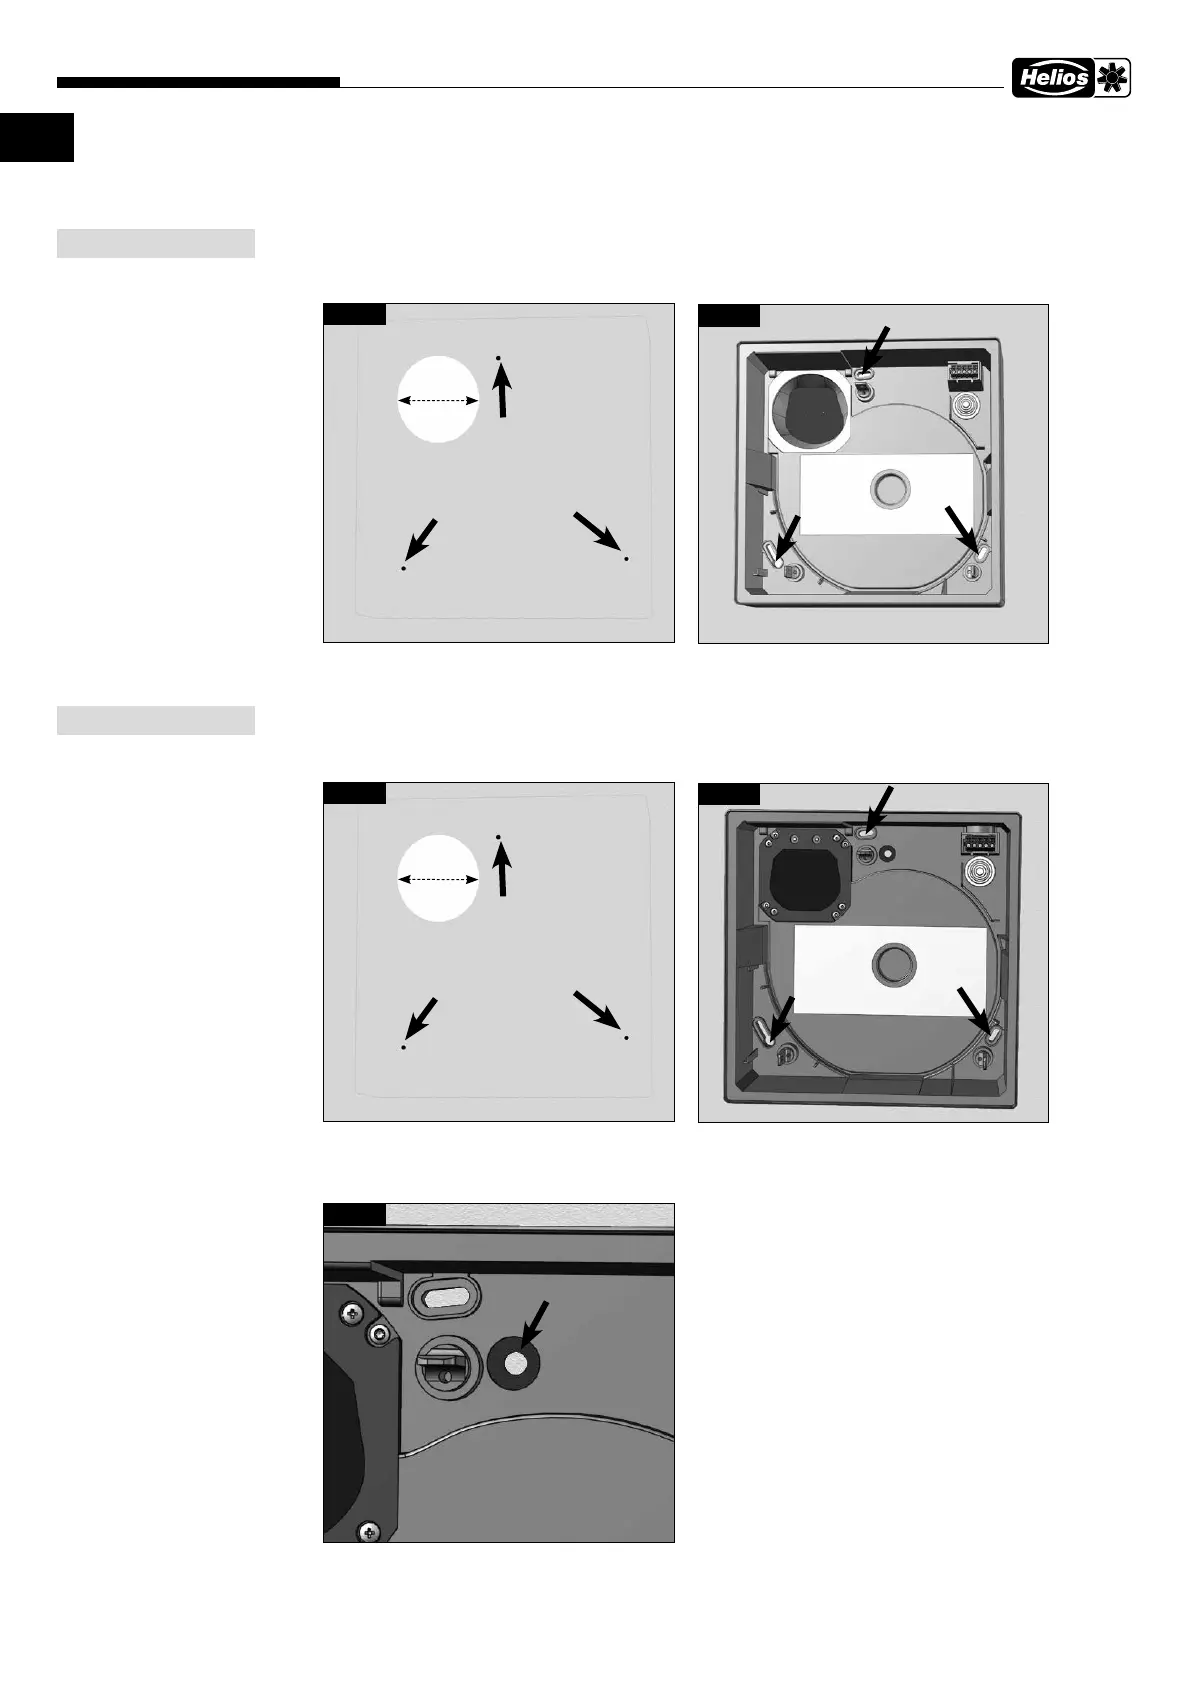
4.2 Install surface-mounted casing ELS-GAP
Mark the screw positions on the wall using the casing or drill and insert dowels.
Vertically align casing and tighten all three screws (on-site). It must be ensured that the casing is not warped. Wall
unevenness must be evened out in the contact area.
4.3 Install surface-mounted casing ELS-GAPB
Mark the screw positions on the wall using the casing or drill and insert dowels.
Vertically align casing and tighten all three screws (on-site). It must be ensured that the casing is not warped. Wall
unevenness must be evened out in the contact area.
The fire protection shutter must be firmly attached to the wall of the K90 shaft.
(screws provided by customer, see Fig. 8, Pos. a.).
NOTE
+
Fig.4
ELS-GAP
DN 80
Take screw positions
from the casing.
(see Fig.43)
Fig.5
ELS-GAP
NOTE
+
Fig.6
ELS-GAPB
Fig.7
ELS-GAPB
DN 80
Take screw positions
from the casing.
(see Fig.43)
Fig.8
ELS-GAPB
Pos a.