4 5
EN EN
Preview of the appliance Preview of the appliance
A A
1
Tank
6
Door
2
Power Cord
7
Air supply
3
Drum
8
Handle
4
Lint lter
9
Maintenance grille
5
Control panel
Accessories
The following parts are optional depending on the model.
If your dryer has the following parts, you can install them according to the instructions below
to transform your condenser dryer into a vented dryer:
Hose support (optional)
Condensate drain pipe (optional)
Installation:
Step 1: Remove the drain hose from the hose connector with pliers
Max. 120 cm
Step 2: Insert the external drainage pipe
Description of the appliance
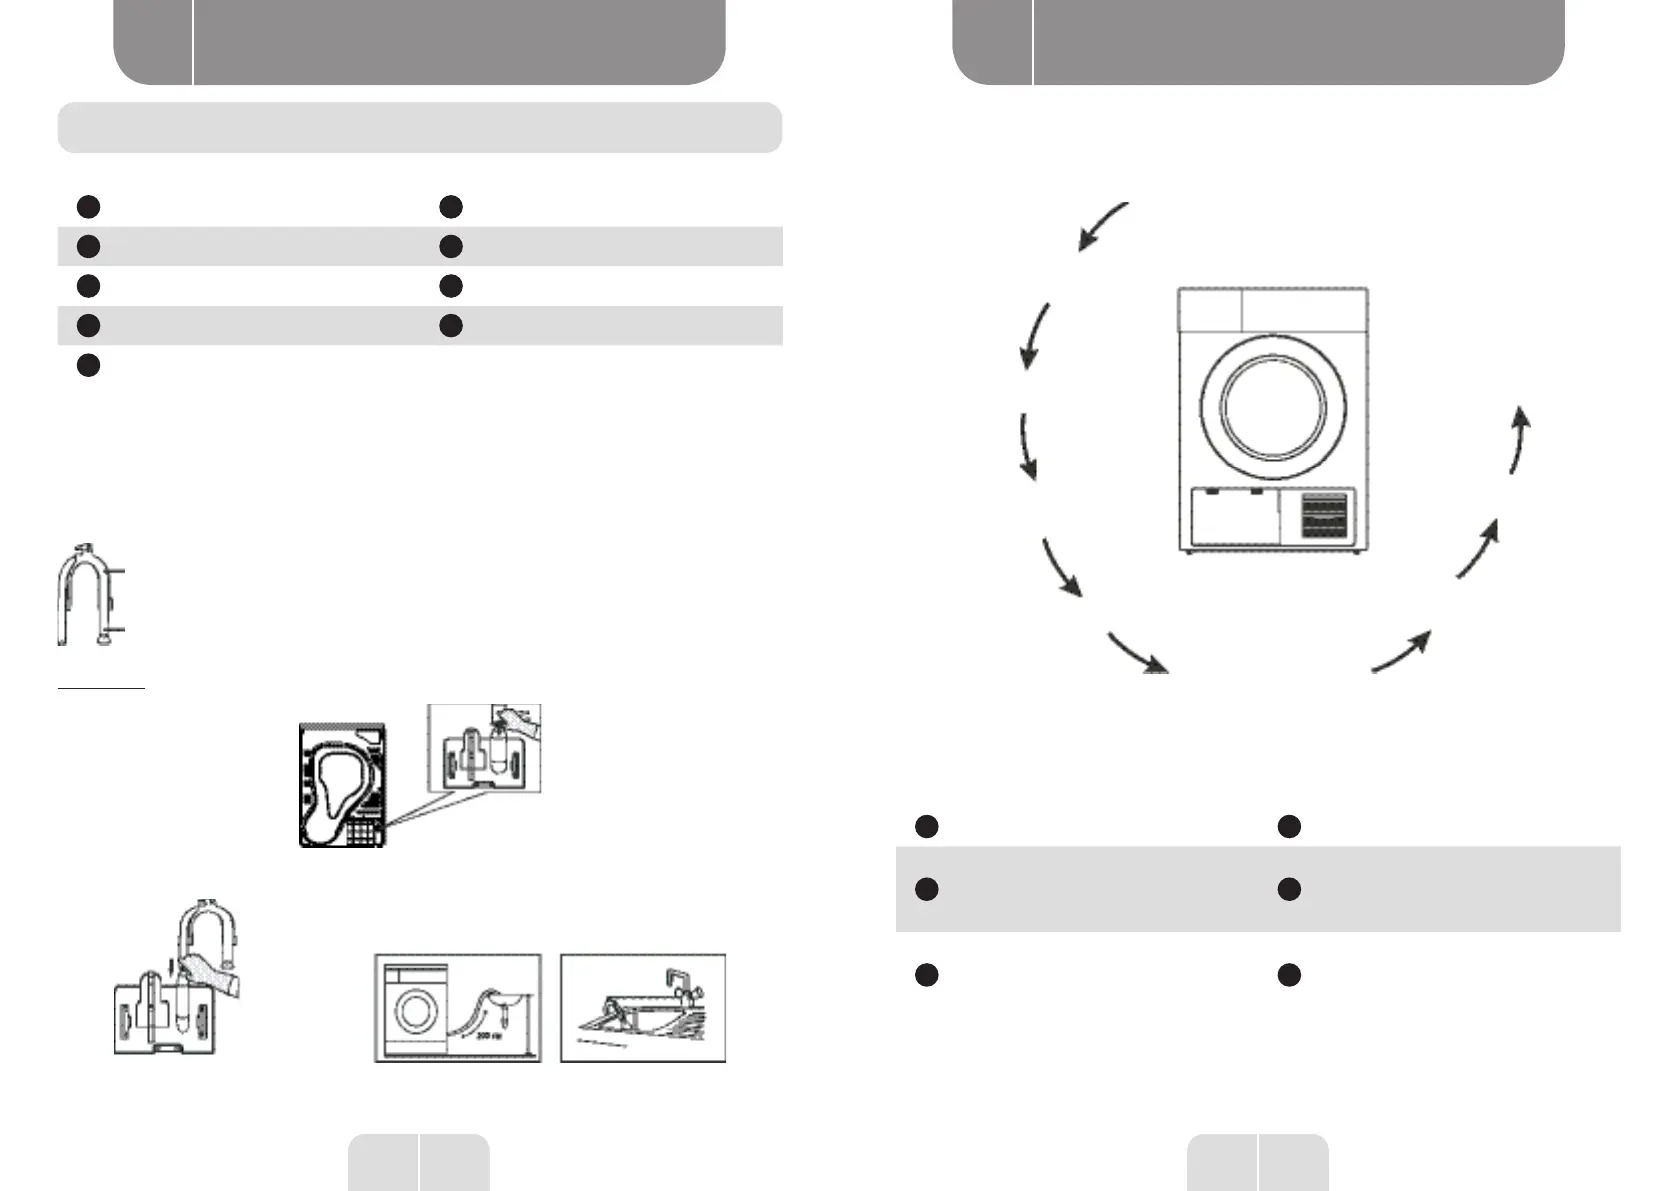
Quick operation
1. Check that the tank and lters have
been cleaned.
2. Open the door and
load the laundry.
3. Close the door to
the machine.
4. Connect the power cable and
turn on your machine by pressing
the [On/O] button.
5.Select the desired programme.
6. Start your program by
pressing the [Start/Pause]
button.
7. Remove the laundry once
the programme is nished.
8. Turn off your machine by
pressing the [On/O] button.
9. Clean the lters and empty
the tank.
Control panel
1
Programme selection button
4
ON/OFF button
2
LED indicator (Delayed start, 3h, 6h,
9h, 12h, Child Lock, Filter, Full water
tank and Anti-crease
5
Start/Pause button
3
Special function selector buttons
(Delayed start, Anti-crease, Child
Lock)
6
Operation light indicator
 Loading...