Steps:
1.Drill the screw holes and the cable hole on the
ceiling according to the supplied drill template.
2.Route the cables to the cable hole and connect
the corresponding power cable and video cable.
3.Secure the camera to the ceiling with the
self-tapping screws.
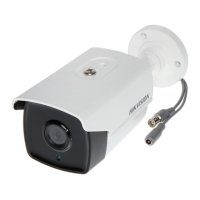
Figure 2-2 Secure the Camera to the Ceiling
4.Adjust the Lens.
1).Loosen the panning table to adjust the
panning position (0 to 360 .
2).Tighten the panning table.
3).Loosen the tilting lock screw to adjust the
tilting position (0° to 90°).
4).Tighten the tilting lock screw.
5).Loosen the rotation lock screw to adjust the
azimuth angle of the image (0° to 360°).
6).Tighten the rotation lock screw.
° °)
Figure 2-3 Adjust the Lens
Steps:
1.Secure the mount to the wall with the screws.
Figure 2-5 Secure the Camera
Steps:
1.Drill the screws holes and the cable hole on the
ceiling according to the supplied drill template.
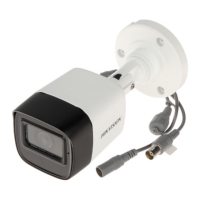
Figure 2-7 Secure the Camera to the Ceiling
2.Route the cables to the cable hole and connect
the corresponding cables.
3.Secure the camera to the ceiling with the
self-tapping screws.
4.Adjust the lens.
1).Loosen the panning table to adjust the
panning position (0°to 360°).
2).Tighten the panning table.
3).Loosen the tilting lock screw to adjust the
tilting position (0° to 90°).
4).Tighten the tilting lock screw.
5).Loosen the rotation lock screw to adjust the
azimuth angle of the image (0° to 360°).
6).Tighten the rotation lock screw.
Figure 2-8 Lens Adjustment
5.Adjust the Zoom and the Focus
1).Output the image to the monitor.
2).Adjust the Zoom Screw and Focus Screw till
you get the optimum surveillance angle.
Zoom
Focus
Figure 2-9 Zoom and Focus Adjustment
2.4 Power Supply
Figure 2-10 The Powe Cable & the Video Cable
Note:
Please make sure that the power adapter is
compatible with the camera, and the standard
power supply is 12V DC. Please refer to the
technical specification for more information.
Figure 2-6 Drill Template
Figure 2-4 Secure the Mount
2.Secure the camera to the mount with the
screws to complete the installation.
2.1 Ceiling Mounting for Type I
Camera
2.2 Ceiling Mounting for Type II/ III
Camera
2.3 Ceiling Mounting for Type IV
Camera
Figure 2-1 Drill Template
 Loading...