12 English 2126636
*2126636*
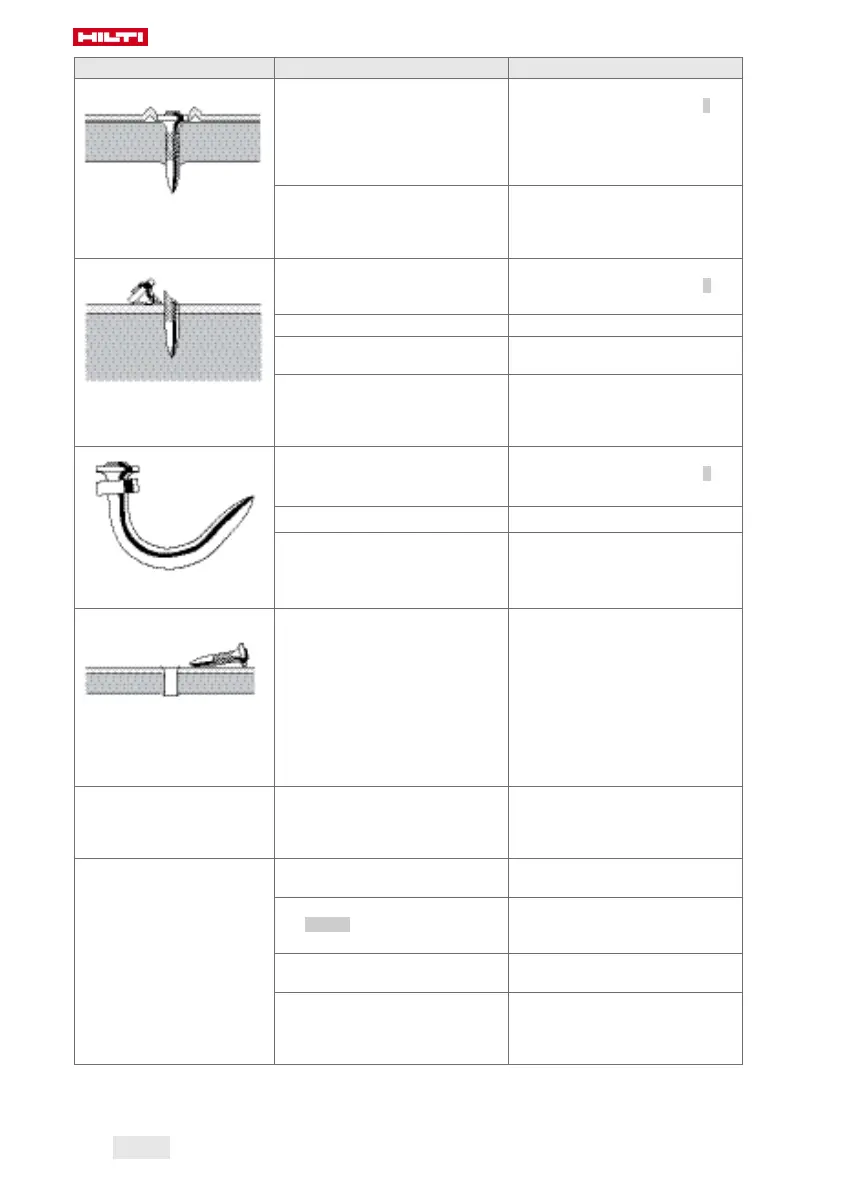
Malfunction Possible cause Action to be taken
Fasteners are frequently
driven too deeply.
Driving power is too high. ▶ Move the fastener driving depth
adjustment slider to the ‒
position.
The fasteners are too short. ▶ Use longer fasteners.
Fasteners break.
Driving power is too low. ▶ Move the fastener driving depth
adjustment slider to the +
position.
The fasteners are too long. ▶ Use shorter fasteners.
The supporting material is too
hard.
▶ Consider using a DX fastening
tool.
The fastener guide is not held per-
pendicular to the working surface.
▶ Press the nosepiece against
the working surface, keeping
the tool perpendicular to the
surface.
Fasteners bend.
Driving power is too low. ▶ Move the fastener driving depth
adjustment slider to the +
position.
The fasteners are too long. ▶ Use shorter fasteners.
The fastener guide is not held per-
pendicular to the working surface.
▶ Press the nosepiece against
the working surface, keeping
the tool perpendicular to the
surface.
Fasteners do not hold in steel
base material.
The supporting material is too thin. ▶ Use a different fastening
method.
The content of the gas can is
inadequate for the number of
fasteners in the package.
High gas consumption due to fre-
quent compression of the tool
nosepiece without driving a fas-
tener.
▶ Avoid compressing the tool
nosepiece without driving a
fastener.
The tool remains compressed
(nose does not extend when
pressure is released).
Incorrect piston position. ▶ Remedy the incorrect piston
position. → page 10
The nail detector is jammed and
the RESET button is not flush with
the casing when pressed.
▶ Remove foreign objects and
nails from the area around the
fastener guide. → page 10
A fastener has jammed in the fas-
tener magazine.
▶ Release the jammed fastener.
A nail is jammed under the lever
ahead of the piston face.
▶ Remove the gas can, press
the tool nosepeice against the
working surface and pull the
trigger firmly.
Printed: 07.06.2018 | Doc-Nr: PUB / 5261663 / 000 / 02
 Loading...