14
INSTALLATION & MAINTENANCE MANUAL
(2) According to different controller installation methods, choose one of the following two methods to
install the mounting plate and connect the cable .
Method 1 : To mount the controller directly on the surface of a wall:
a. Secure the mounting plate onto the wall with M4 × 16mm screws (supplied).
b. Plug the connector of the connecting wire into CN1 connector.
c. Connect the supplied cable that has been plugged in to CN1 to the eld-supplied cable with
suitable connectors or by soldering. Insulate the connections with electrical tape.
d. Attach a cable-tie to the cable on the inside of the draw-out hole.
d
Band Stopper
(Field-Supplied)
Cable
Draw-out Hole
b
c
CN1
a
上
Method 2 : to install the controller on a 86 x 86mm surface
mounting box:
a. Prepare eld-supplied 86 x 86mm mounting box.
b. Feed the cable through the conduit tube in the wall.
c. Connect the supplied cable that has been plugged in to
CN1 to the eld-supplied cable with suitable connectors
or by soldering. Insulate the connections with electrical tape.
d. Secure the mounting plate to the mounting box with M4 screws.
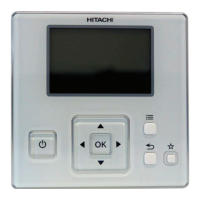
(3) Attach the controller body to the mounted mounting plate.
Be careful not to pinch the cable when attaching it.
(4) After installation, remove the protective film from the LCD screen.
86 x 86mm Mounting Box
(Field-supplied)
M4 Screws
(Field-supplied)
Cable Connection
Mounting Plate
protective film.
上
 Loading...
