Tip:Tip:
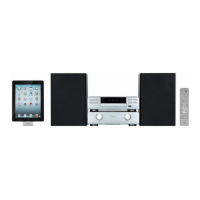
MICRO HI-FI SYSTEM with
docking for ipad/ iphone/ ipod
Quick Start Guide
AXM846E
Thank you for purchasing your new Hitachi Micro HI-FI
SYSTEM with docking for ipad/ iphone/ ipod.
Please follow this quick start guide for a successful rst
time set up.
We recommend that you spend some time reading this
instruction manual in order to fully understand all the
operational features it oers.
Read all the safety instructions carefully before use and
keep this instruction manual for future reference.
Step 1Step 1
Unpacking
Step 2Step 2
Operating Your Remote Control
GB
Step 5Step 5
Clock Setting
Step 6Step 6
Basic Operation
Step 3Step 3
Connecting the Speakers
Step 4Step 4
Power On
Remove all packaging from the unit. Retain the packaging. If you
dispose of it please do so according to any local regulations.
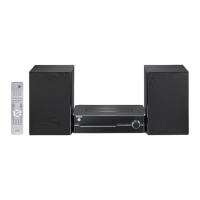
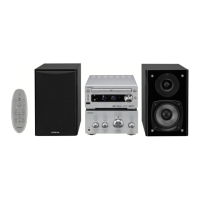
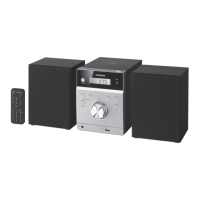
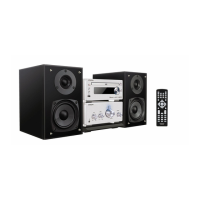
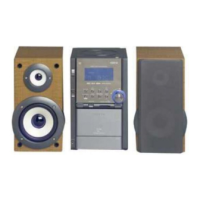
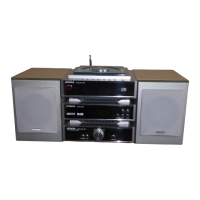
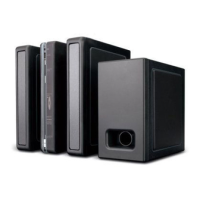
The following items are included:
The remote control requires two AAA size batteries (not included).
1. Press and slide the back cover to open the battery compart-
ment of the remote control.
2. Insert two AAA size batterues.
Make sure the (+) and (
-
) ends of the batteries match the (+) and
(
-
) ends indicated in the battery compartment.
3. Close the battery compartment cover.
QSG-AXM846E-120822V2
Well done, your new Micro HiFi System is now ready to use.
You will nd that there are many exciting features available. To get to know all these features, please take some time to
read the Instruction Manual provided with your Micro HiFi System.
Remote Control
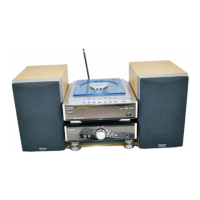
Speakers
FM Aerial
Quick Start Guide
Instruction Manual
Mains Cable
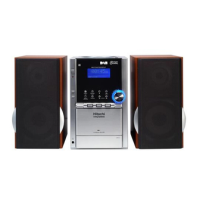
The Main Unit
Ensure all the cables to the main unit are disconnected before installing or
removing the base stand.
Selecting Modes
Tap the icon repeatedly on the unit to switch between USB, TUNER,
DOCK, AUX and DISC modes. Alternatively press the USB, TUNER,
DOCK, AUX or DISC buttons on the remote control to select desired
mode.
Manually Setting the Clock
Press the STANDBY button on the unit or the remote control to
switch the unit back to STANDBY mode.
1. In STANDBY mode, press and hold the CLOCK button on the
remote control until the hour digits are ashing.
2. Press the buttons on the remote
control to adjust the hour digits while
ashing, then press the ENTER or
CLOCK buttons on the remote control
to conrm, then the minute digits will
ash.
3. Press the buttons to adjust the
minute digits while ashing, then press
the ENTER or CLOCK buttons on the
remote control to conrm. The clock
setting is now complete.
Auto Setting the Clock
In FM mode, press the RDS button repeatedly until RDS CLOCKS
shows on the display. Once RDS CLOCKS has selected, clock will
automatically update.
This unit is designed to operate with an AC 230V ~50Hz power supply.
Connecting to the Mains Socket
Connect the mains cable at the rear of the
main unit to the mains socket.
Switching the Unit ON
Press the STANDBY button on the unit or
the remote control to switch the unit on.
VOLUME
+
_
VOLUME
+
_
iR
MENU REPEAT
DISPLAY SHUFFLE
VOL
DISC USB DOCK TUNER
AUX CLOCK TIMER SLEEP
INTRO RDS DIM – DIM +
POP
JAZZ ROCK
CLASSIC
FLAT
– +
MUTE
BASS
TU– TU+
– +
7 8 9 PROG
4 5 6 0
1 2 3
PRESET
ENTER
MENU REPEAT
DISPLAY SHUFFLE
VOL
DISC USB DOCK TUNER
AUX CLOCK TIMER SLEEP
INTRO RDS DIM – DIM +
POP
JAZZ ROCK
CLASSIC
FLAT
– +
MUTE
BASS
TU– TU+
– +
7 8 9 PROG
4 5 6 0
1 2 3
PRESET
ENTER
OPEN
Connect the speaker cables at the back of the speakers to the Speaker
Out (L/R) sockets at the rear of the unit.
SPEAKER OUTR L
AUX IN
R L
FM ANT
AC~
SPEAKER OUTR L
AUX IN
R L
FM
ANTENNA
AC~
To the Mains
socket
main unit
USB TUNER
AUX DISC
DOCK
MENU REPEAT
DISPLAY SHUFFLE
VOL
DISC USB DOCK TUNER
AUX CLOCK TIMER SLEEP
INTRO RDS DIM – DIM +
POP
JAZZ ROCK
CLASSIC
FLAT
– +
MUTE
BASS
TU– TU+
– +
7 8 9 PROG
4 5 6 0
1 2 3
PRESET
ENTER
MENU REPEAT
DISPLAY SHUFFLE
VOL
DISC USB DOCK TUNER
AUX CLOCK TIMER SLEEP
INTRO RDS DIM – DIM +
POP
JAZZ ROCK
CLASSIC
FLAT
– +
MUTE
BASS
TU– TU+
– +
7 8 9 PROG
4 5 6 0
1 2 3
PRESET
ENTER
CLOCK
ENTER
DISC USB DOCK TUNER
AUX
AXM846E_QSG_Final120822_RC.pdf 1 23/8/12 12:07 PM