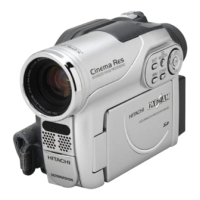
6 - 6
Item Setting
Camera Functions Setup
Program AE Auto
White Bal. Auto
EIS On
Dig. Zoom 100×/120×
(*1)
MIC Filter Off
Recording Functions Setup
VIDEO Mode FINE
Quality FINE
16:9
Off
Self Timer Off
OSD Output Off
Item Setting
LCD/EVF Setup
LCD Brightness
EVF Brightness
Color Level
EVF Display Auto
Initial Setup
Beep On
Power Save Off
Record LED On
Language English
Demo Mode
Off
6-1-5
Settings when Creating Reference Data
When the connections for creating reference data are complete, set the DVD video camera/recorder
and test equipment as follows:
1) Make sure that no disc or card is inserted: Neither is necessary when creating reference data.
2) Set the power switch to “Movie”: After that operate the DVD video camera/recorder while
watching the LCD monitor screen.
3) Press the MENU button to display the camera function setup screen.
4) Use the
/ / / buttons to choose “Initial Setup”, and then press the button.
5) Use the / / / buttons to choose “Reset”, and then press the button.
6) Use the / / / buttons to choose “YES”, and then press the button.
7) When reset is complete, use the above procedure to operate the / / / buttons and set
16:9 in the Recording Function Setup menu to “off”, set Demo Mode in the Initial Setup menu to
“Off”: Forgetting to set it to “Off” will cause a problem during creation of reference data.
8) Press the MENU button to restore the normal display.
Information:
The following table shows the menu status after the above settings:
The settings for Date Setup are not shown in the table below, since they do not have any meaning
when creating reference data.
Adjustment > Creating Reference Data
*1: 100x will appear on DZ-GX5000A; and 120x,
on DZ-GX50800A/GX5020A.
 Loading...