Setting the SVP date, time, and timezone settings
Set the SVP date, time, and timez
one to the local time where the SVP is
installed. You specify these settings using the Microsoft Windows 7 operating
system running on the SVP.
You perform this procedure using the management console PC. This
procedure assumes the following:
• The management PC is connected to the LAN 2 port on the SVP.
• The PC has established a Remote Desktop Connection with the SVP.
• The Management Utility window is displayed on the PC.
Procedure
1. In the desktop, click the Start button, and then click Control Panel.
2. Click Clock, Language, and Region.
The Clock, Language, and Region window appears.
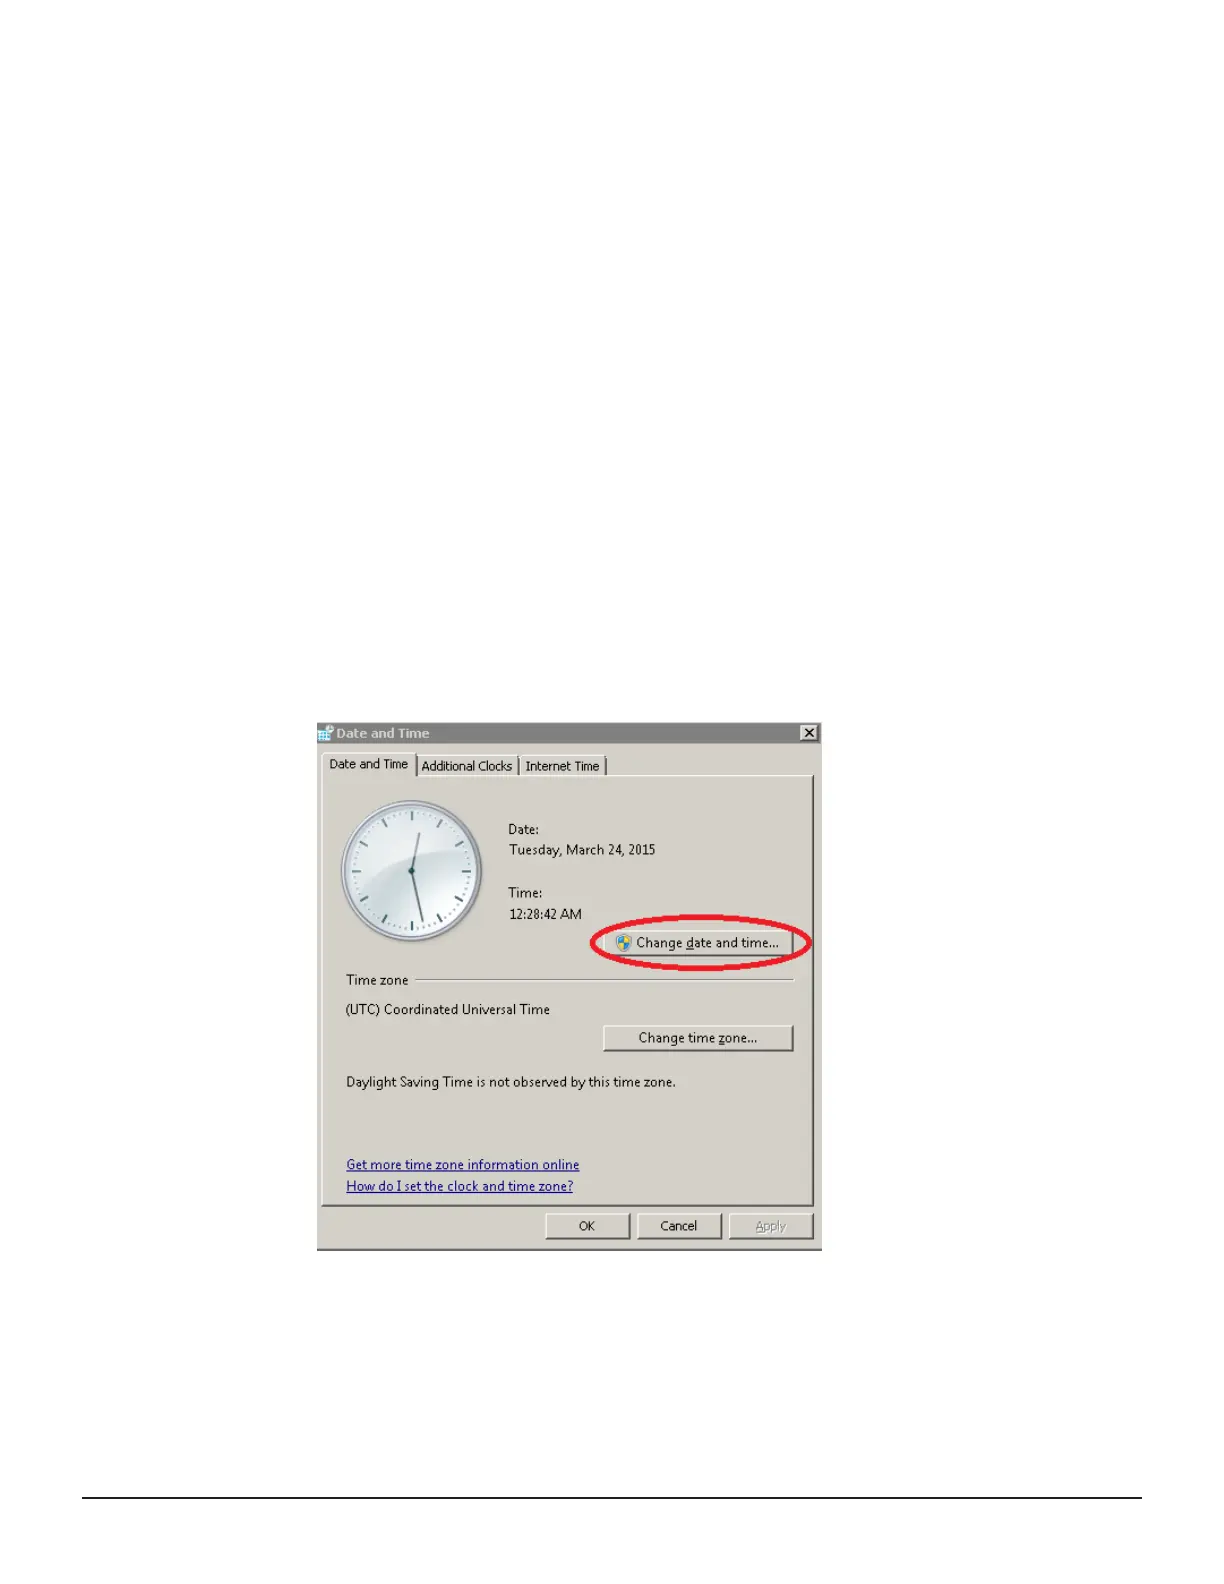
3. Click Date and Time.
The Date and Time window appears, with the Date and Time tab
displayed.
4. Click Change date and time.
The Date and Time Settings
window appears.
Installing the SVP 31
Hitachi Virtual Storage Platform G200, G400, G600 Service Processor Technical Reference

 Loading...