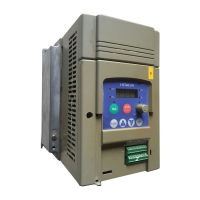
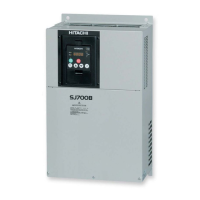
The inverter will reach a high temperature (up
inverter on a vertical wall surface made of
nonflammable material (e.g., metal) to avoid
Surface on which to install the inverter
A clearance of 22 cm or more is required below the inverter to
replace aged parts for the following models:
The inverter needs to be removed to replace aged parts for
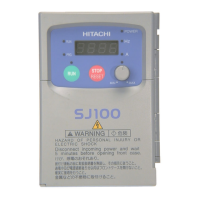
The inverter will reach a high temperature (up
50°C) during operation. Install the
inverter on a vertical wall surface made of
nonflammable material (e.g., metal) to avoid
Surface on which to install the inverter
A clearance of 22 cm or more is required below the inverter to
replace aged parts for the following models:
The inverter needs to be removed to replace aged parts for
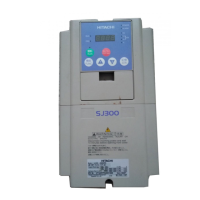
The inverter will reach a high temperature (up
50°C) during operation. Install the
inverter on a vertical wall surface made of
nonflammable material (e.g., metal) to avoid
Surface on which to install the inverter
A clearance of 22 cm or more is required below the inverter to
replace aged parts for the following models:
The inverter needs to be removed to replace aged parts for
The inverter will reach a high temperature (up
50°C) during operation. Install the
nonflammable material (e.g., metal) to avoid
A clearance of 22 cm or more is required below the inverter to
The inverter needs to be removed to replace aged parts for
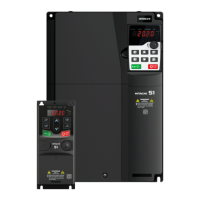
Keep enough clearance between the inverter and the wiring
latter from obstructing the ventilation of the inverter.
See “Chapter 20 Specifications” for the dimension drawing
Leave sufficient space around the inverter.
Keep sufficient distance between the inverter
other heat sources (e.g., braking resistors
and reactors) so that the heat discharged from
the heat sources does not affect the inverter.
Keep enough clearance between the inverter and the wiring
above and below the inverter to prevent the
latter from obstructing the ventilation of the inverter.
See “Chapter 20 Specifications” for the dimension drawing
Keep sufficient distance between the inverter
other heat sources (e.g., braking resistors
and reactors) so that the heat discharged from
 Loading...