Procedure
1. Click an e
xisting drive tray in the path.
The existing drive tray is highlighted in orange.
2. Click the existing drive tray.
3. Drag the existing drive tray to the destination drive tray.
An empty tray can be the destination; however you cannot specify a controller and
empty trays for controller as the destination.
Drive trays are exchanged, the box is highlighted in orange, and the unit ID and box
code are exchanged accordingly.
4. After moving and exchanging units by dragging and dropping them, click Cable
Figure to display the cable gure.
Note: Cable Figure also lets you display the cable gur
e without rst
creating conguration gures.
Editing the physical configuration figure
Procedure
1. In the physical conguration gure, click Edit or click the physical conguration
gure.
2. When the message May logical configuration figure be initialized?
appears, click OK to remove the message.
All the units, unit IDs, and box codes in the logical conguration gure are cleared.
The physical congured gure is highlighted in green.
3. From this screen, you can:
■ Set rack size.
■ Assign units to a rack or set up an empty rack box.
■ Move and exchange units.
Setting the rack size
You can specify the rack size in the physical conguration gure. Rack sizes are specied
in 0 to 42 U. The default setting is 42 U. You can also set the rack size when you are not
editing the physical conguration gure.
The following sizes are represented by a box in the physical conguration:
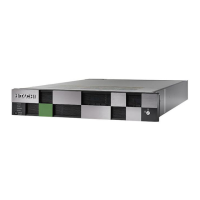
■
VSP G350 and VSP G370VSP F350 and VSP F370: 2U
■
VSP G700VSP F700: 4U
■
VSP G900VSP F900: 4U
Editing the physical congur
ation gure
Chapter 1: Installation site considerations
Site Preparation Guide for VSP G/F350, G/F370, G/F700, G/F900 24
 Loading...