7
English
3 Connections and Control
Features
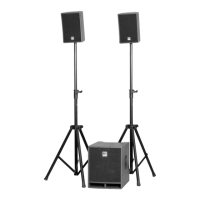
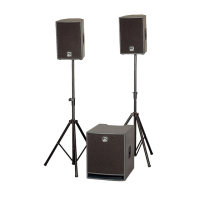
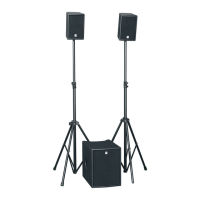
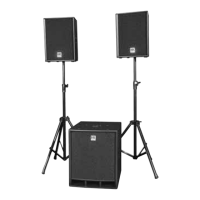
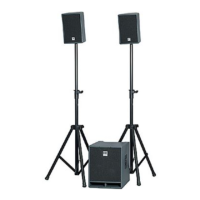
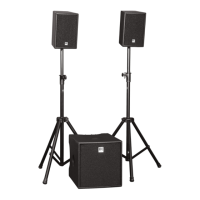
L.U.C.A.S MAX Subwoofer
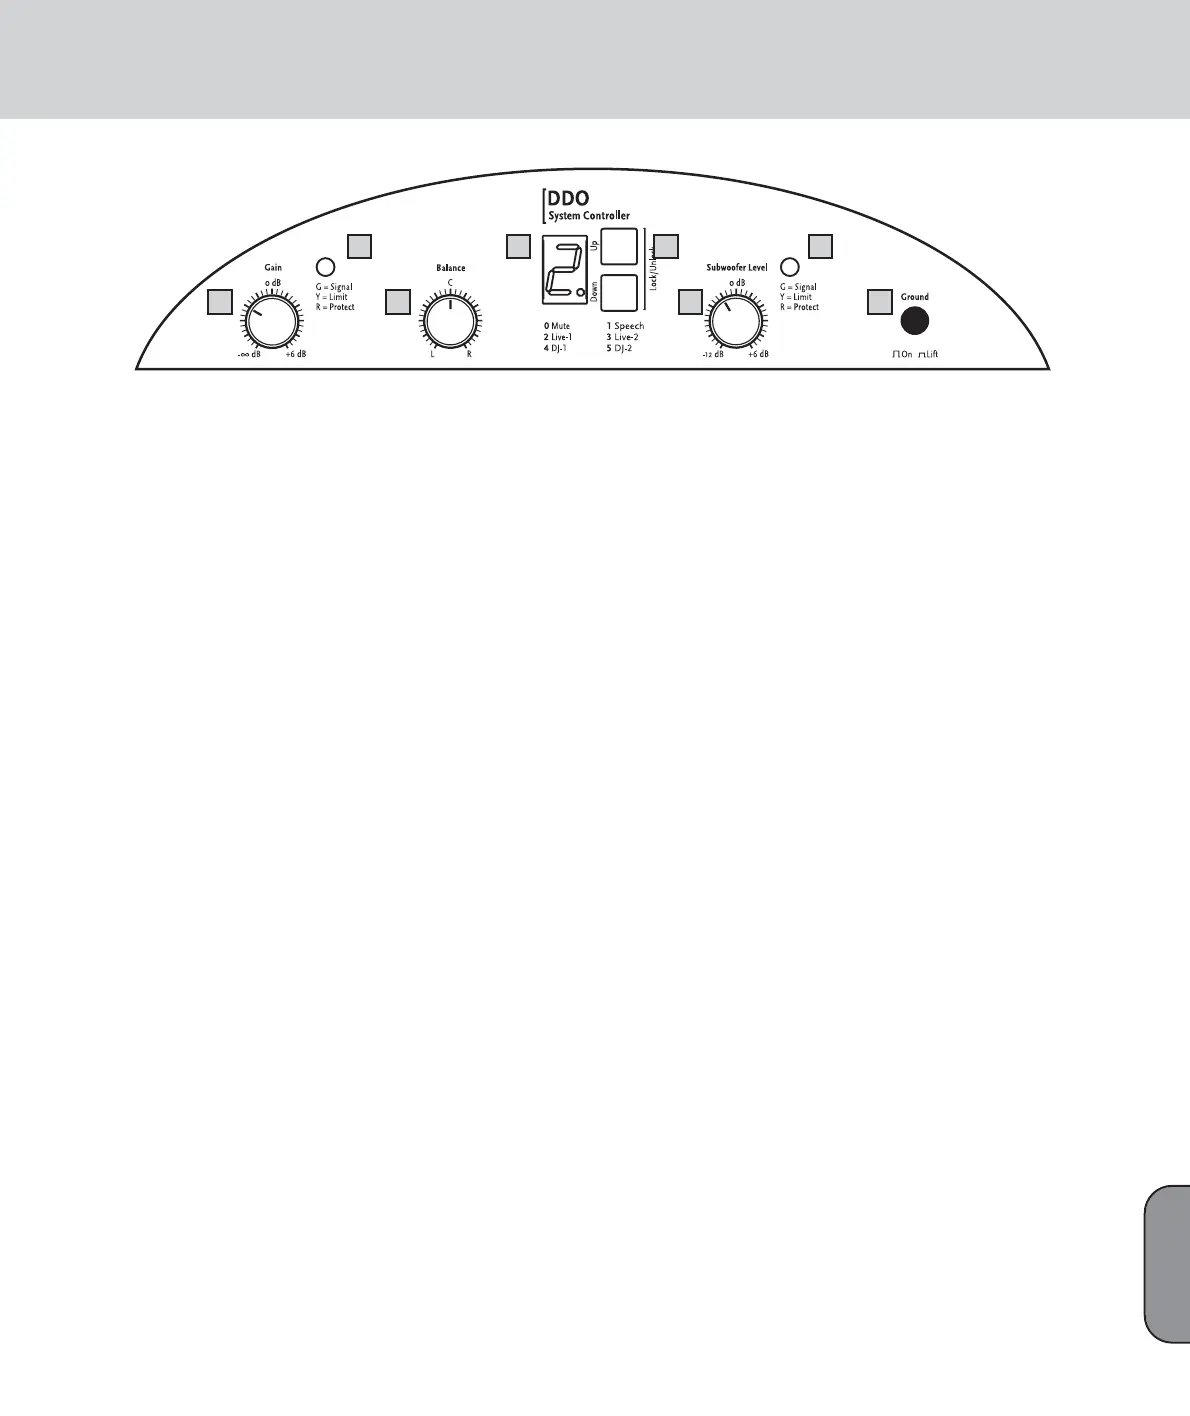
1 Limiter LEDs
Much like rev counters, these LEDs indicate the
active system’s operating status. For more info, read
the sidebar “More about Limiter LEDs.”
2 Gain
Operation: Turn the Gain knob all the way down
(counterclockwise) before switching the system on.
Ensure the system is connected to the satellites and
all other connected components are on before
powering it up. Be sure to switch on the connected
mixer as well as all signal sources connected to it,
for example, keyboards, amps, effects, and so forth.
After you power the system up, set the Gain knob to
the 0 dBV or 12 o’clock setting. This is the preferred
level if you have connected a mixer. (Note: If you
connect a CD player or a keyboard directly to the
system, you may not be able to achieve peak volume
at this setting. If this is the case, twist the Gain knob
to the far right.)
If you hear distortion or a saturated signal, first
check the signal sources and, if possible, reduce the
output signal level there. If you are unable to turn
down the level of the signal sent to L.U.C.A.S MAX
®
at the signal source, adjust the input sensitivity
using the Gain knobs. (see also Tips and Tricks—
section 4).
3 Balance
Operation: Twist the Balance knob to the left or right
to adjust the relative balance of levels between the
left and right channels.
4 Display
Display: The numeric display indicates the currently
selected system configuration (0 to 5).
0 Mute . . .System is muted
1 Speech . .Voice/speech setup (announcements)
2 Live 1 . . .Gig setup 1
3 Live 2 . . .Gig setup 2
4 DJ 1 . . . .CD playback setup 1
5 DJ 2 . . . .CD playback setup 2
Note: A flashing display indicates that the controller
has muted the input. This mute function is triggered
via the input signal level. The system is muted when
its level falls below the threshold value. The system
is enabled as soon as the input signal level rises
above the threshold value.
5 Up/Down Buttons
Press these buttons to change system configura-
tions. Operation: Simultaneously press and hold the
Up and Down buttons for about 1-2 seconds. Once
the letter U (Unlock) appears briefly in the display
you can use the Up and Down buttons to select the
desired setup. The buttons lock again automatically
after a moment, at which time the letter L (Lock)
appears briefly in the display.
6 Subwoofer Level
Handling: When this knob is set to the 12 o’clock
position, the subwoofer’s and the satellite’s respec-
tive volumes are matched, ensuring the proper
balance between the subwoofer’s bass output and
the stallites’ mid/high-range output. If desired, you
can twist the Subwoofer Level knob to the left, i.e.
counterclockwise, to cut the subwoofer’s level by as
much as -12 dB and to the right to boost it by as
much as 6 dB.
7 Ground
Ground lift button for separating the signal and
chassis ground in the event of hum. To rid the
system of low-frequency hum, press the Ground
switch in. If this doesn’t solve the problem, check all
power and audio cables connected to L.U.C.A.S
MAX
®
for damage, as well as all cables routing
signals to the mixing console (see also Tips and
Tr icks in Section 4).
L.U.C.A.S MAX - user panel
2 3 6 7
1 4 5 1
 Loading...