EN
[30]
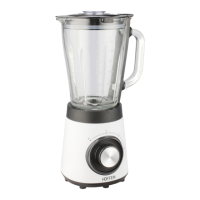
TABLE BLENDER HOFFEN
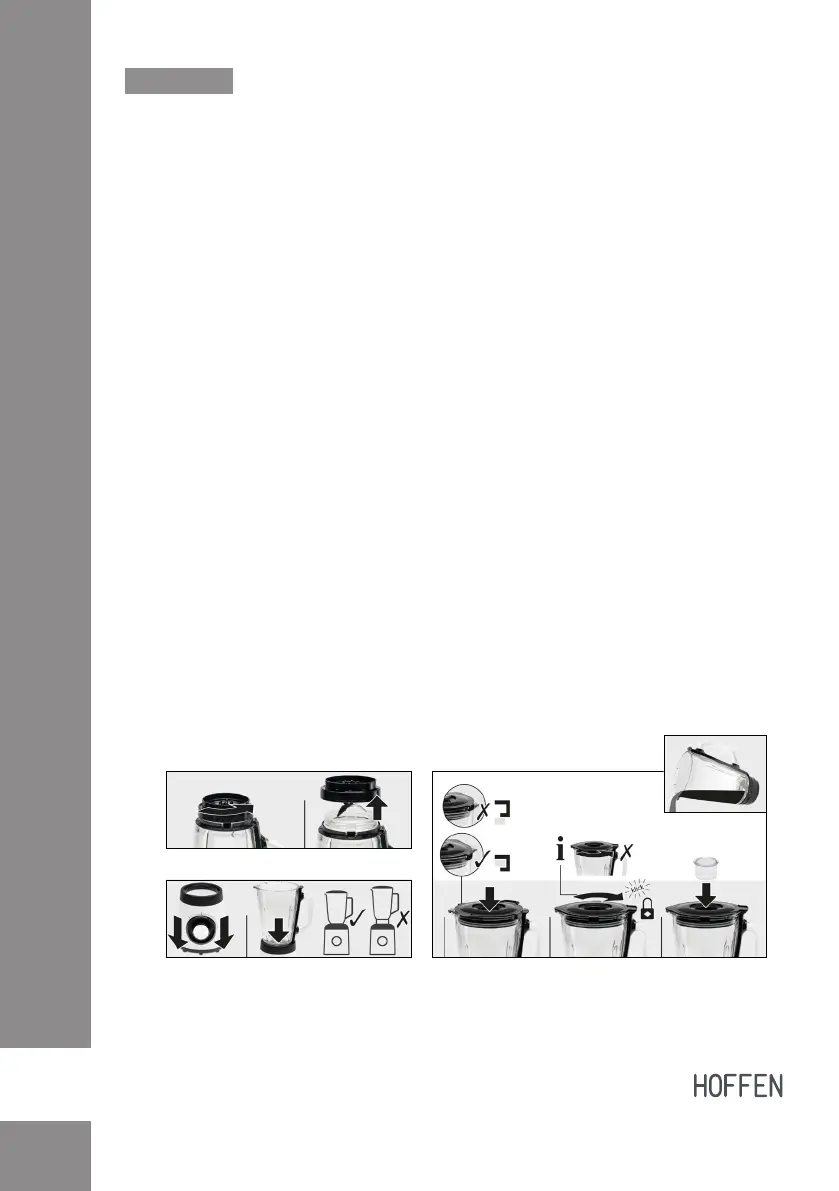
Assembly
• Place all the acessories of the device on a stable, at surface,
protected from impacts and away from the edges.
• To assemble the glass jug (D), carefully insert the blade (C) into the
adapter (J), placing the rubber seal ring on the groove of the adapter
(J).
• Screw the adapter (J) to the base of the glass jug (D) ensuring it is
tight. (Fig. 1)
• Place the rubber insulation ring in the groove of the main cover (G).
• Fit the main cover (G) into the glass jug (D), turn it so that the
protrusions of the cover t into the locking system (H) until the nozzle
(E) is aligned with the tip of the cover (G). You can verify that the lid is
closed correctly by clicking the lock. (Fig. 2)
• Place the dosing cap (F) on top of the main cap (G).
• Place the motor unit (A) on the surface correctly.
• Carefully take the glass jug (D), place it on top of the motor unit
(A) and t it, aligning the function selector button (B) with the
measurements indicated on the graduated jug (D). (Fig. 3)
• When serving, remove the main cover (G) and avoid spills and
splashes. (Fig. 4)
• To remove the cover (G), turn it counterclockwise. The “click” conrms
that the lid has been properly opened. Turn it as necessary until you
remove the locking system cover (H).
• To remove the jug (D) from the motor unit (A), simply grab and pull it
upwards.
(Fig. 1)
(Fig. 3) (Fig. 2)
(Fig. 4)
 Loading...