General Sauna Operation & maintenance
• It is important to have a yearly routine of cleaning and rearranging the sauna stones to re-
move old and weathered stones replacing them with new stones.
• Homecraft Sauna Sealant is a protective, water based, product that should be applied to
the sauna room every 2-3 years for maintaining wood quality
Sauna Room Information:
1.2. The walls and ceiling of a sauna room should be thermally well insulated. All surfaces
that store heat, such as tiled and plastered surfaces must be insulated. It is recommended to
use proper wood panel cladding inside the sauna room. If there are heat storage elements in
the sauna room, such as decorative stone, glass etc., note that these elements may extend
the pre-heating period even though the sauna room is otherwise well insulated (see page 6,
section 2.7 Preparing for sauna heater installation).
Heater Guard:
The Homecraft Heater guard is designed to keep the heater at the safely tested space from
combustible Materials. The Heater Guard is installed simply by attaching the brackets to the
sauna.
A heater guard must be installed on every unit for safety purposes. Each guard must be in-
stalled with the supplied screws. Never remove the heater guard.
Ventilation:
•Proper venting and positioning of sauna vents will prevent nuisance tripping of the High Lim-
it Temperature Switch and will also result in a more comfortable sauna experience. Ideally,
intake and exhaust vents are placed on opposite walls. It is not recommended to use any
powered intake / exhaust fans. Replenishing oxygen with proper ventilation is important for
the enjoyment of the sauna experience.
•Homecraft Vented Doors come with an exhaust vent installed whereas the Homecraft win-
dow door and full window door do not have a vent installed in the door. Homecraft manufac-
tured doors are intentionally provided with a gap for airflow under the door.
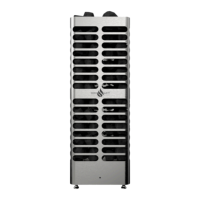
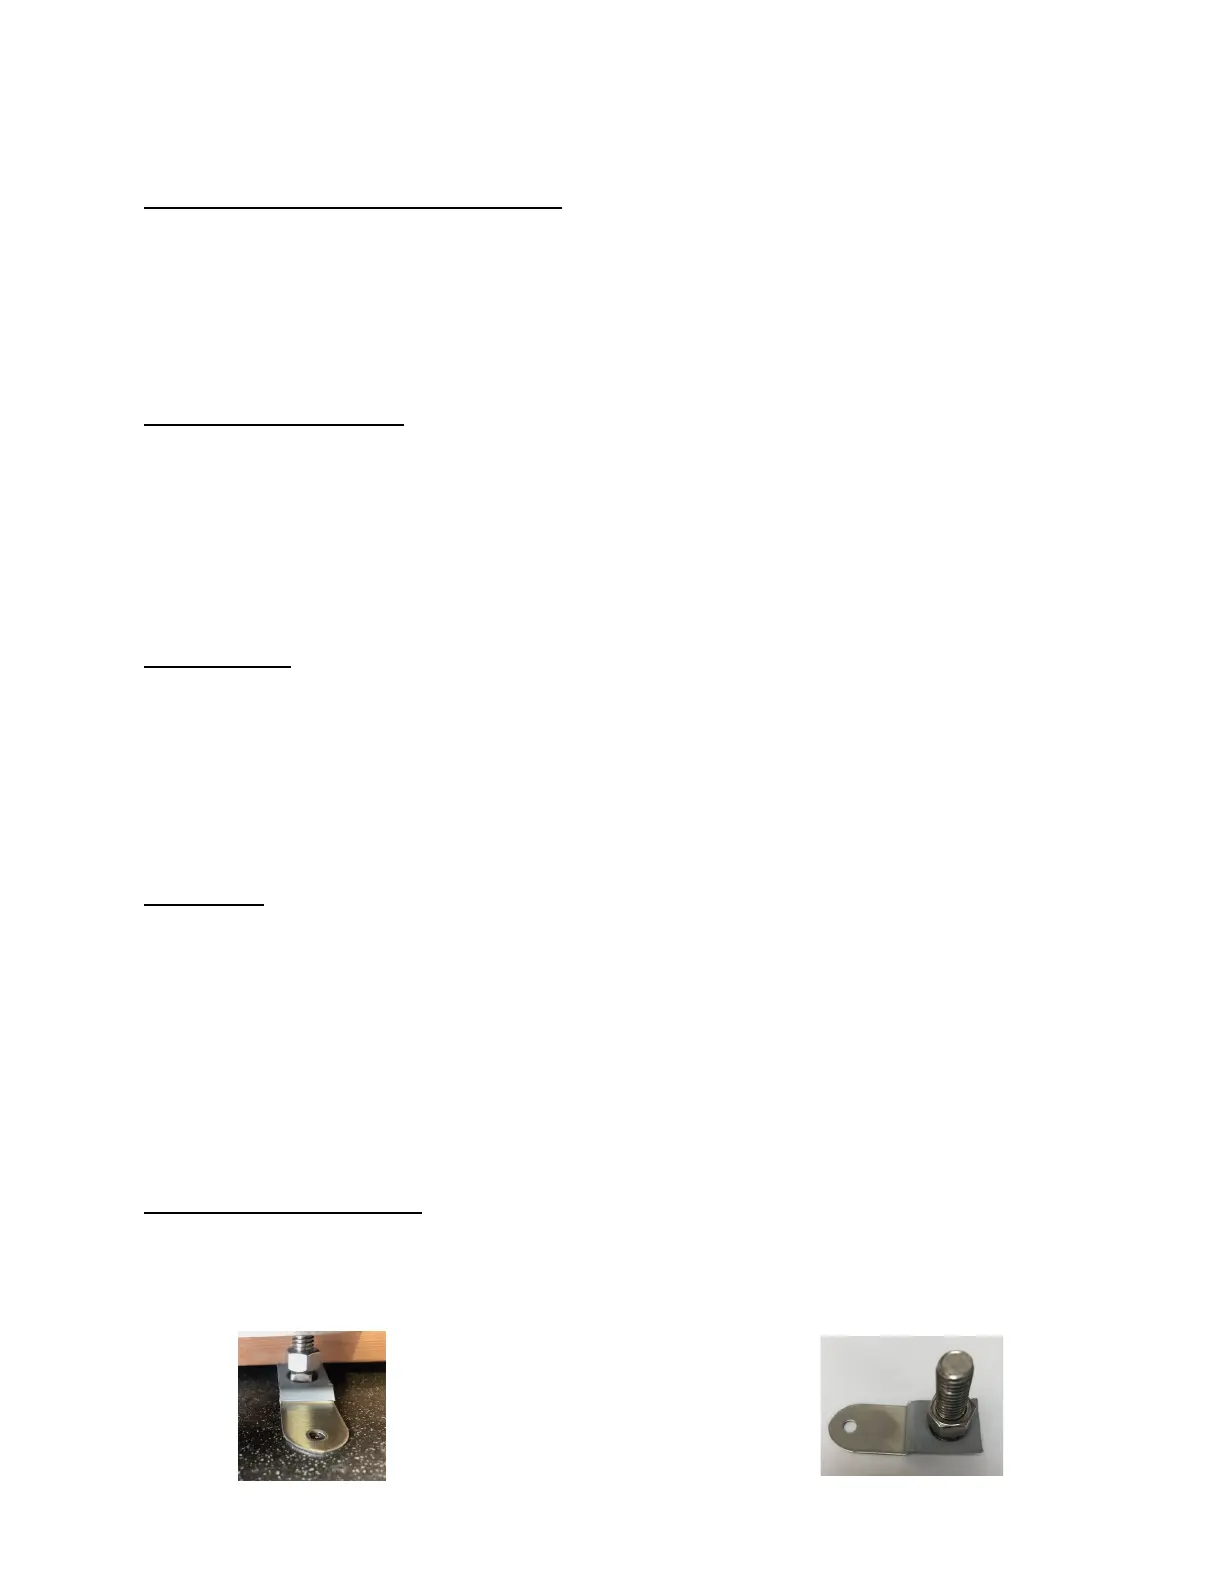
Securing the sauna heater:
Homecraft has provided to safety brackets with the adjustable sauna legs. Place the bracket
onto the adjustable sauna leg and insert the adjustable leg into the base. Secure, with
screws, the heater to the floor.
 Loading...