EasyManuals Logo

Honeywell DT92 User Manual

Honeywell DT92
17 pages
To Next Page IconTo Next Page
To Previous Page IconTo Previous Page
Page #7 background imageLoading...
Page #7 background image
DT92 WIRELESS DIGITAL ROOM THERMOSTAT
7
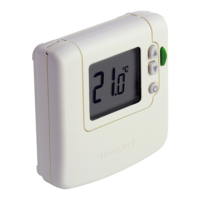
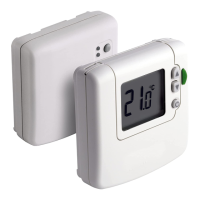
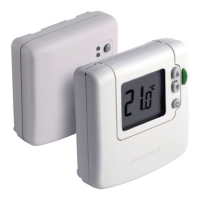
Installing the DT92 Room Thermostat
Before mounting the DT92 thermostat onto its
backplate, power it up by removing the battery tab.
Bring the DT92 thermostat to a distance 2-3 m from
relay box and initiate the RF Communication Test to
confirm the BDR91 relay box is wired correctly and that
both devices are bound (linked) to each other.
2 – 3 m
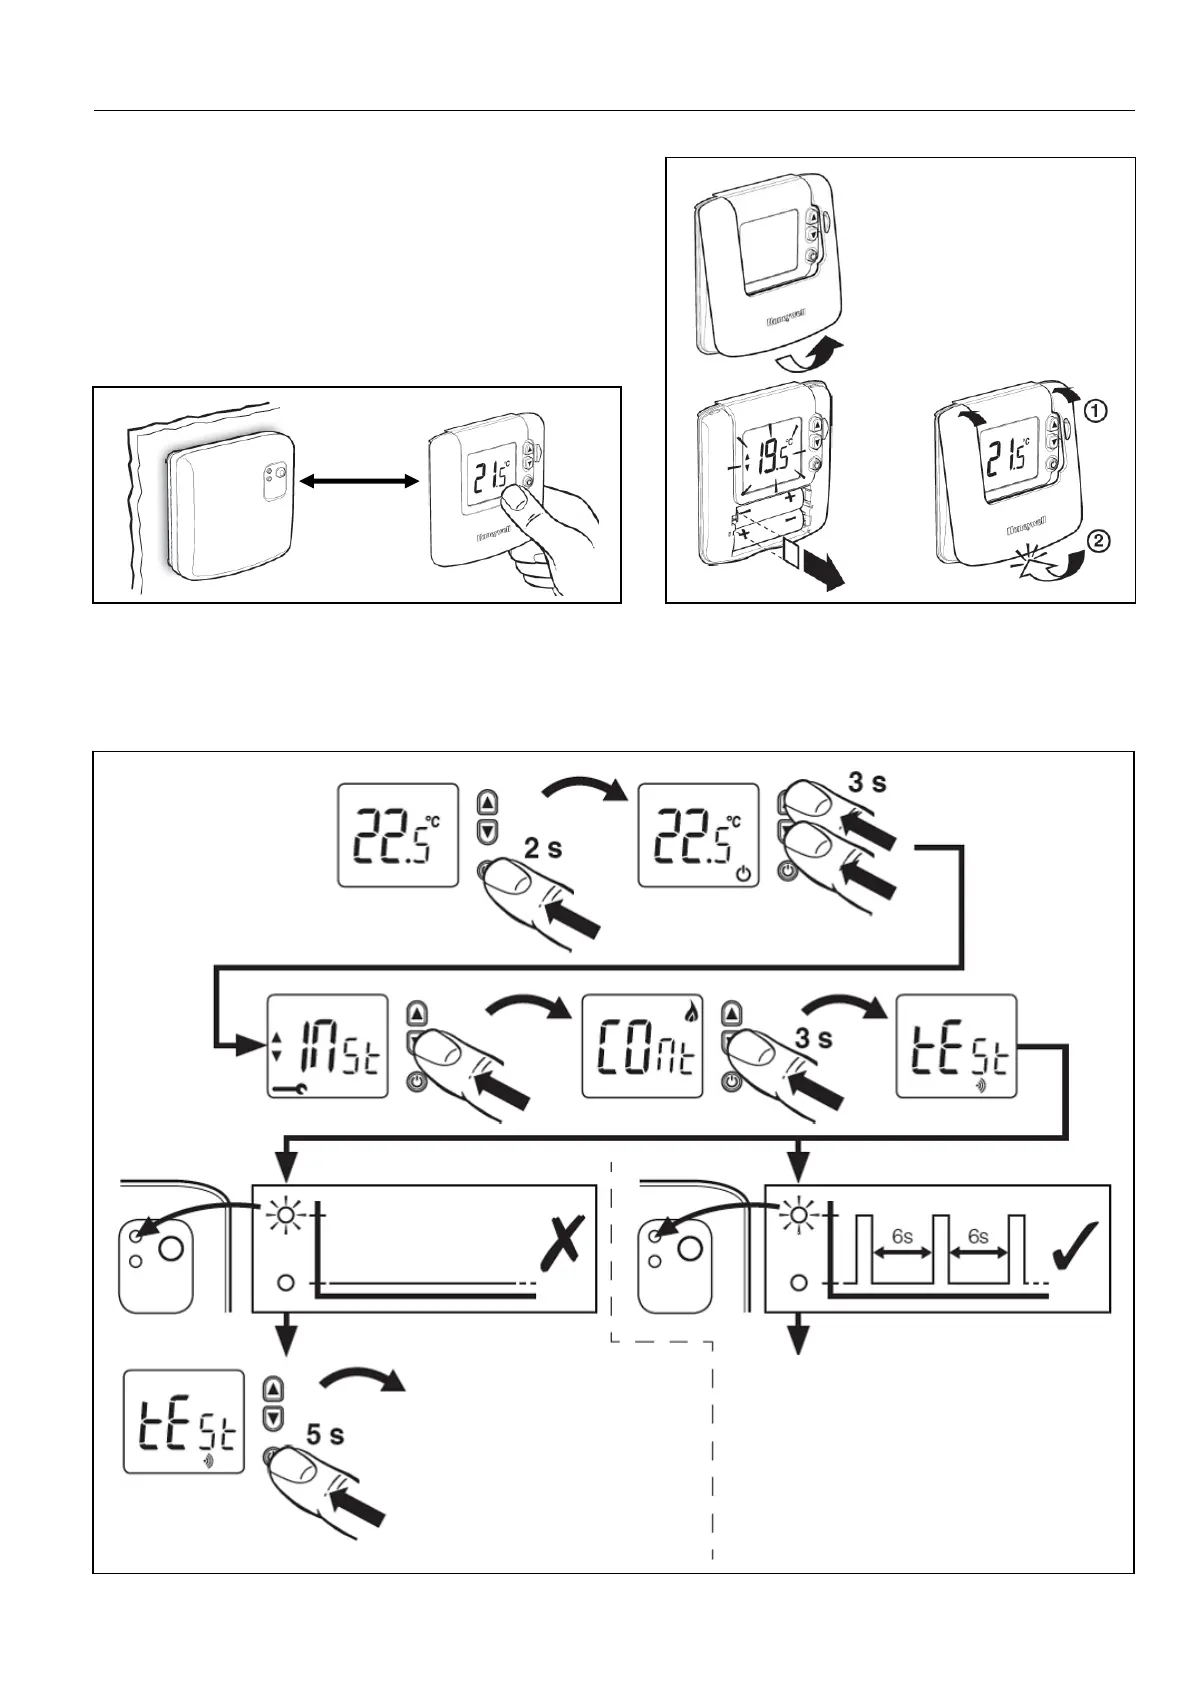
RF COMMUNICATION TEST
Initiate RF Communication Test by the following
sequence of actions applied to the DT92 thermostat.
If green LED does not
flash, units are not linked
and must be bound
together again.
If green LED flashes every 6
seconds, units are correctly
bound and a suitable location
for the DT92 thermostat can
now be identified.

Questions and Answers:

Question and Answer IconNeed help?

Do you have a question about the Honeywell DT92 and is the answer not in the manual?

Honeywell DT92 Specifications

General IconGeneral
TypeDigital Thermostat
DisplayLCD
Control ModeTPI (Time Proportional Integral)
Switching Voltage230V AC
Protection ClassIP30
Accuracy±0.5°C
BacklightYes
Power Source2 x AA Batteries
CommunicationWireless
Wiring2-wire
Switching Current8A resistive, 3A inductive
CompatibilityCompatible with most heating systems

Related product manuals