C300 Controller installation
To install a C300 Controller
24 Experion C300 Controller User's Guide R301.1
Honeywell 11/06
details.
Parts include:
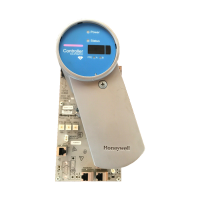
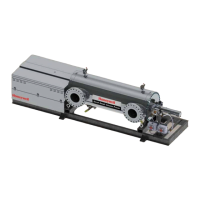
− the C300 Controller assembly (control module with IOTA board and mounting
hardware)
− 2 STP Cat5 Ethernet cables (one Yellow cable, one Green cable)
− 2 or 4 IOLink cable assemblies for connecting on-board IO Link interface if the
controller is supporting Series C I/O or Process Manager IO modules.
• Ensure the cabinet enclosure is connected to a protective earth ground using #8
AWG solid copper wire. There should be metal to metal contact between the
grounding bus bar and the enclosure as well as the carrier.
Considerations
• When installing a redundant controller pair consisting of a primary and a partner
secondary controller:
− The secondary controller should be installed in the same cabinet as the primary
controller.
− The secondary controller may be installed on a separate carrier from the primary
controller.
− Both the primary and partner secondary controllers must be connected to the
same pair of Control Firewall (CF9) assemblies.
To install a C300 Controller
Step Action
1
Refer to appropriate site location drawings for the specified controller
installation location, controller Device Index (FTE address) and wiring
diagrams.
2
Select the mounting location on carrier and align mounting holes in IOTA with
screw hole locations on the carrier.
3
Be sure component side of IOTA is facing up. Secure IOTA to carrier using
screws, washers and spacers provided. Insert spacers and washers between
bottom of IOTA and top of carrier.
 Loading...